
Elder Scrolls Online’s Codex and Cartel quest is the third in the Thieves Guild questline, and requires the player to solve quite a few small, but intricate puzzles. We’ve finished this one however, so we know what you need to do and where. You can watch the video connected to this article, if you want to see it all come together. If you want to do the whole quest at once, you’re looking at roughly 40 minutes of gameplay.
From stealing uniforms to solving extra bonus quests with aggressive spirits, we’ve got everything you need for Elder Scrolls Online’s Codex and Cartel Thieves Guild quest. It’s certainly getting us closer to a real, new guild, so don’t give up!
Complete Codex and Cartel walkthrough in Elder Scrolls Online
After The Codex Caper and Three Thieves in Daggerfall, Elder Scrolls Online will immediately give you, as the budding thief, Codex and Cartel. This mission will see the players out seeking further information, and solving the puzzles of a Hidden Library.
You can see the full quest below from where I played it. Before going into this quest, make sure you either have quite a few lockpicks, or are good at lockpicking, because there is a required Intermediate Lock to get past.
Codex and Cartel Objectives
- Meet with the Gang Leaders
- Talk to Basil Menant
- Talk to Quen (Optional: Speak to other Gang Leaders)
- Meet Abrasia and Quen at Dresan Keep
- Talk to Abrasia
- Investigate the Area
- Look for Clues About the Hidden Library
- Enter the Hidden Library
- Explore the Hidden Library
- Deal with the Skaarfin
- Search Zyax
- Examine Librarian Henard’s Collection
- Leave the Hidden Library
- Protect the Lens and Books
- Talk to Abrasia
- Meet Seline and Edwane at Lion Guard Redoubt
- Talk to Edwane the Hawk
- Talk to Seline Menant
- Enter Lion Guard Redoubt
- Reach Restricted Tower (Optional: Find a Lion Guard Uniform)
- Talk to Marten Cogwine (Optional: Look around the area)
- Talk to Seline Menant
- Leave the Tower
- Speak to Lieutenant Renoit
- Go to the Menant Hideout
- Find Basil Menant
- Help Basil Menant
- Return to the Thieves Den (Optional: Speak with Seline Menant)
- Turn in the Documents
1) Meet with the Gang Leaders, Talk to Basil Menant, Talk to Quen (Optional Speak to other Gang Leaders)
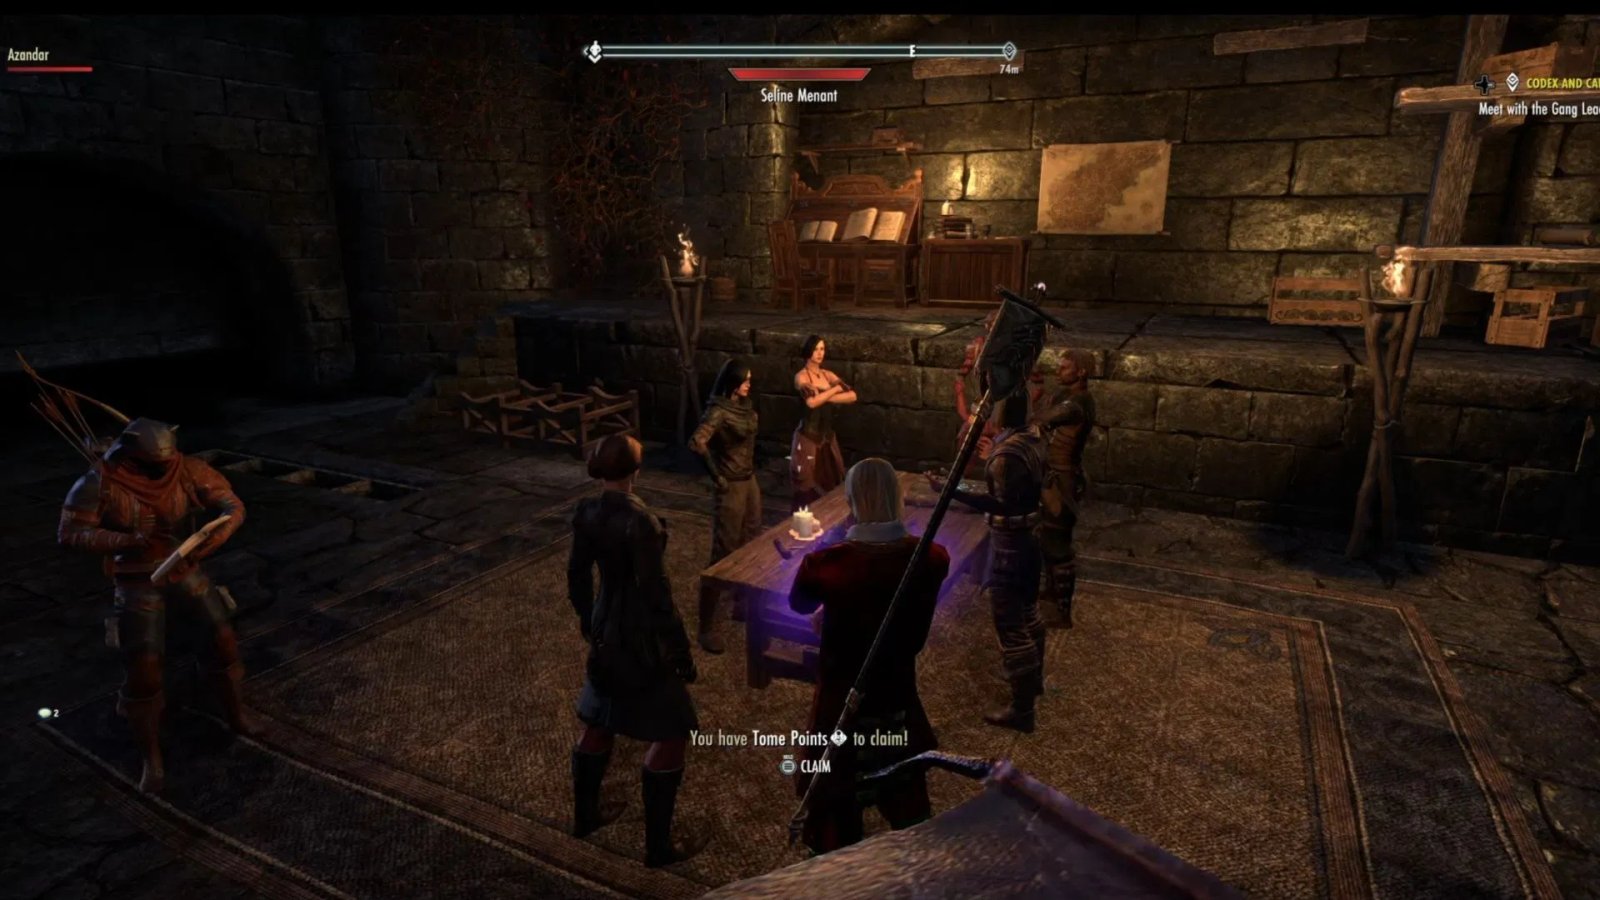
The beginning of Codex and Cartel takes place in the Thieves Den in Elder Scrolls Online, where you have a quick chat with Basil Menant and Quen. You can then, before heading off to Dresan Keep, speak to the other Gang Leaders.
You don’t have to, but you might as well. We’re trying to foster good will, and build a Thieves Guild here, after all. In addition to exploring Dresan Keep, we need to get into the Lion Redoubt Camp, and get some information out of a Cartel member that’s being kept prisoner. When you’re ready, leave the area, and set out for Dresan Keep, which is on your map.
2) Meet Abrasia and Quen at Dresan Keep, Talk to Abrasia, Investigate the Area
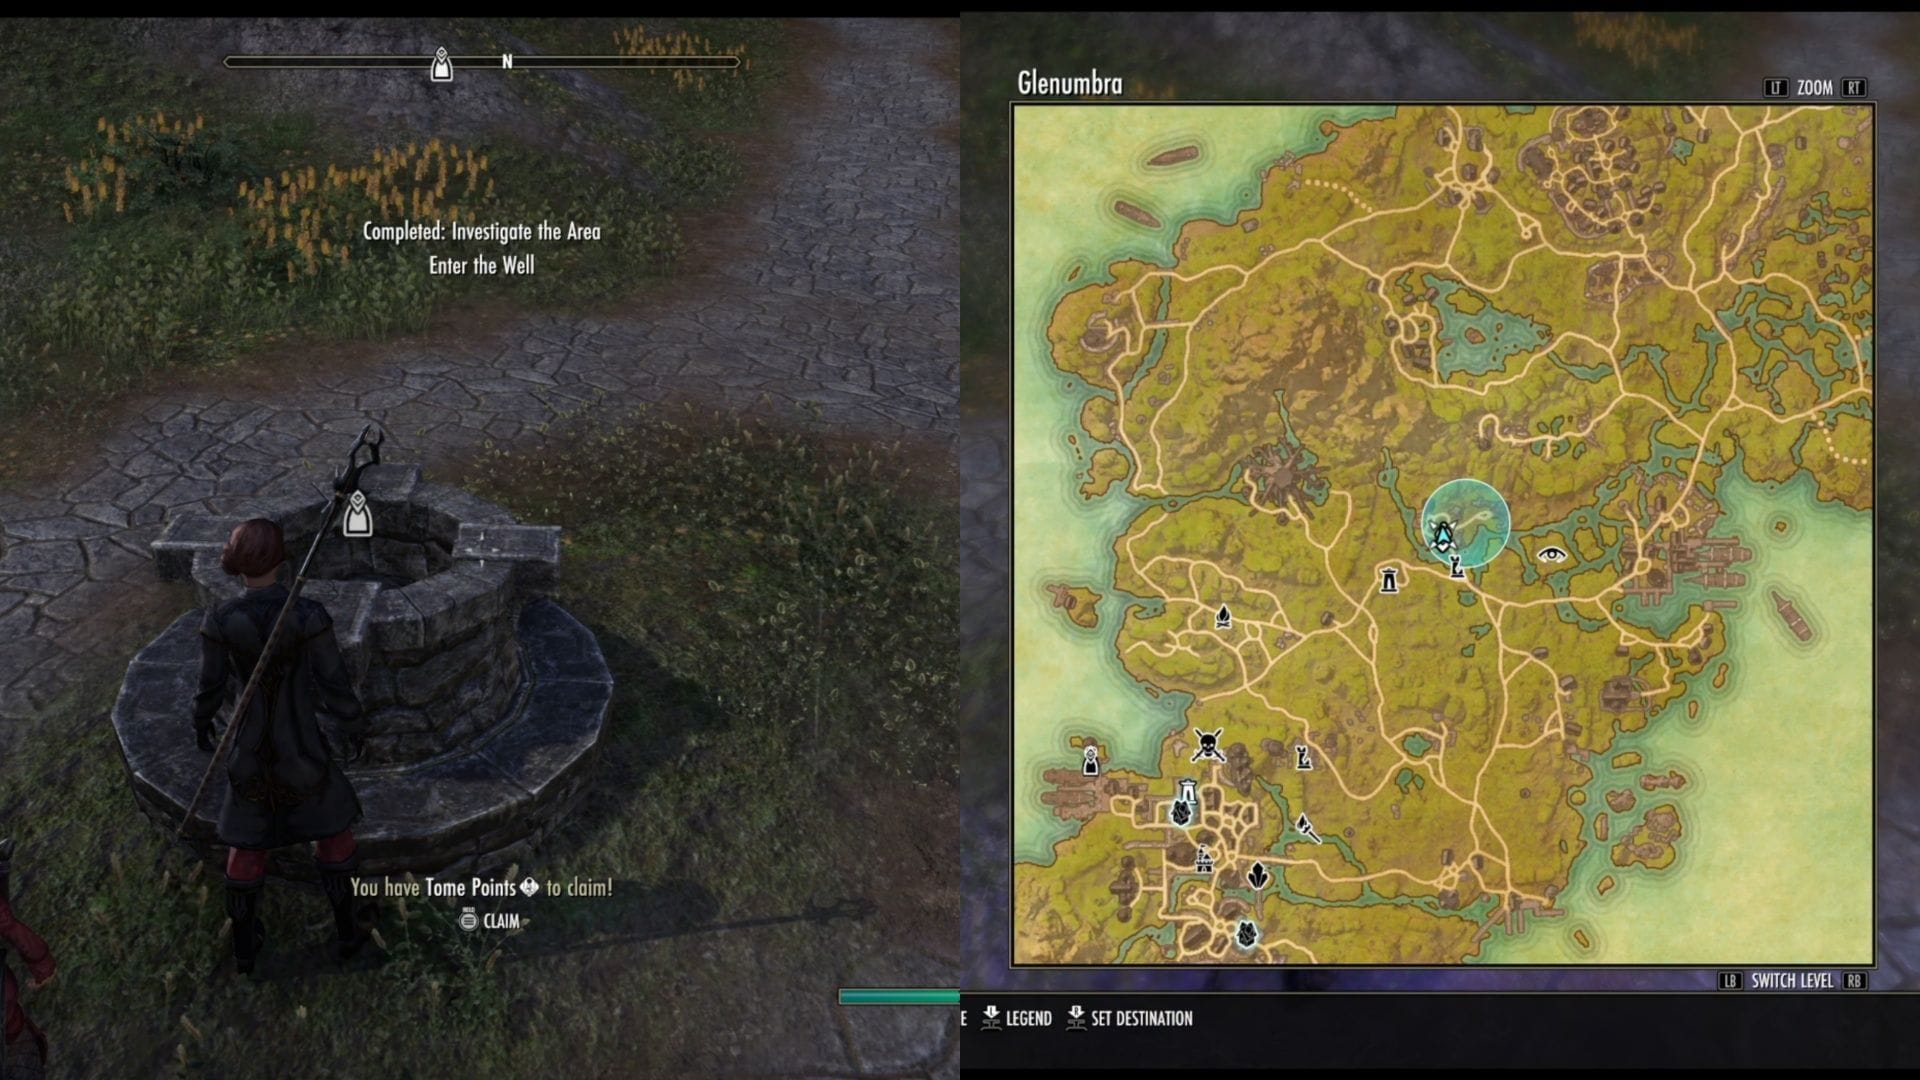
Once you arrive at Dresan Keep in the northeast, speak with Abrasia, and she’ll give you some options on how to find out more about this Hidden Library. I chose “Let’s grab a cultist and get them to show us the way”, but it didn’t really change anything. We still had to go around poking our nose around through all the stuff that popped up.
The Hidden Library is in the well in the western part of this area, but I’ll go over all the things I did first, to trigger the well as something interactable.
- Enter Dresan Keep Tower near Abrasia, and interact with the rubble with a quest mark.
- Leave the Tower, and head northwest, following the quest icon to the Dresan Keep Crypt. Interact with it.
- Follow the quest icon that leads to the Old Well. Interact with the well to find the Hidden Library.
3) Look for Clues About the Hidden Library, Enter the Hidden Library
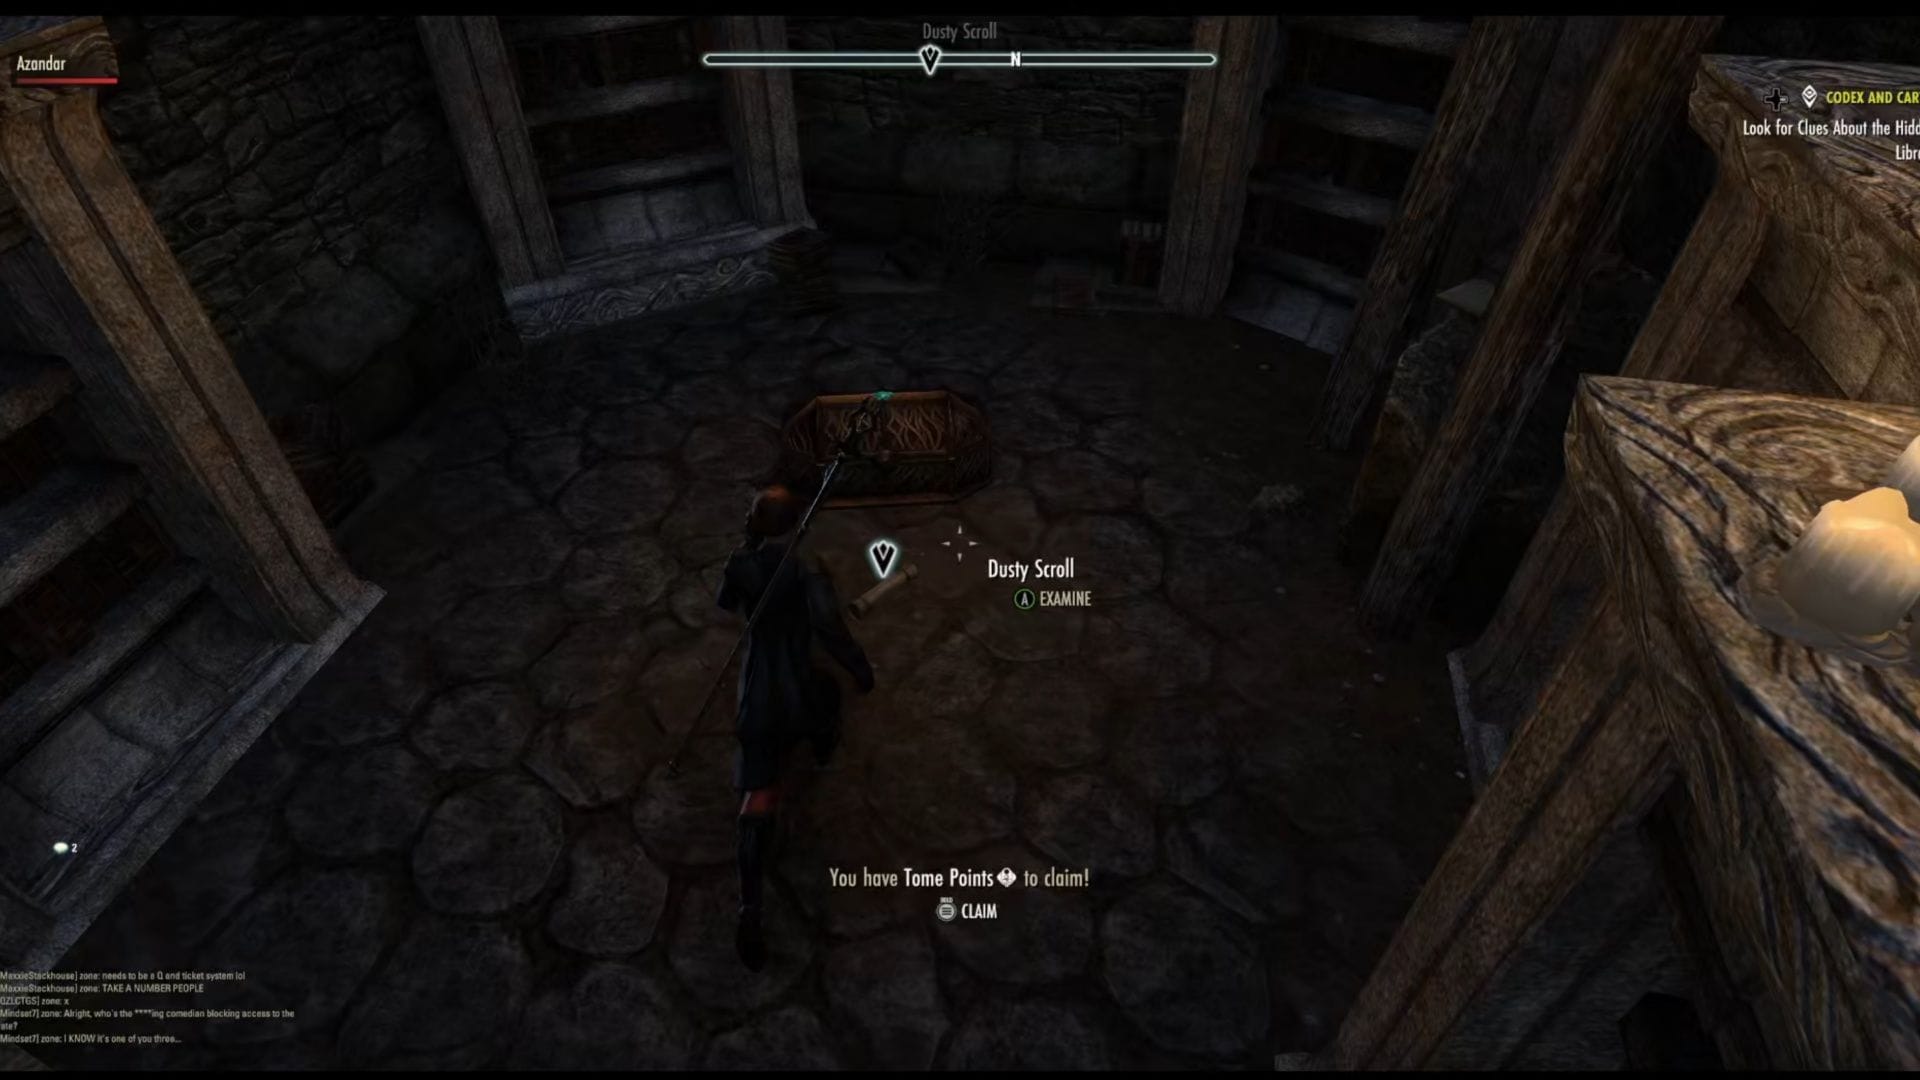
When you enter the Hidden Library area, the first room on your left will trigger an optional quest. Interact with the scroll, and a ghost will appear. You can’t speak to it yet, but this will allow you to fetch an item that will translate for you.
This will also progress the main quest, Codex and Cartel in Elder Scrolls Online. After the ghost appears, you’ll see some quest icons pop up on the bookshelves. Interact with every single bookshelf in here, because there are some free skill rank points you can pick up while here.
The bookshelves with quest icons are for Books Written by Mathiery, which you need to progress. One of the quest icons is for a Reliquary, which gives you a Pendant. This is the item you need to interact with the ghost, so go back and speak to him again before progressing.
You’ll learn that the spirit is trapped here, via three items: the Seal of Anchoring, the Animus Needle, and the Soul Prison. Interact with those in this small area (they will have quest icons), defeat the skeletons that spawn, and come back to this ghost. Doing so will give him a choice on what to do next (we selected “go out and see the world”). Either selection will give you some money, and complete A Mysterious Curio.
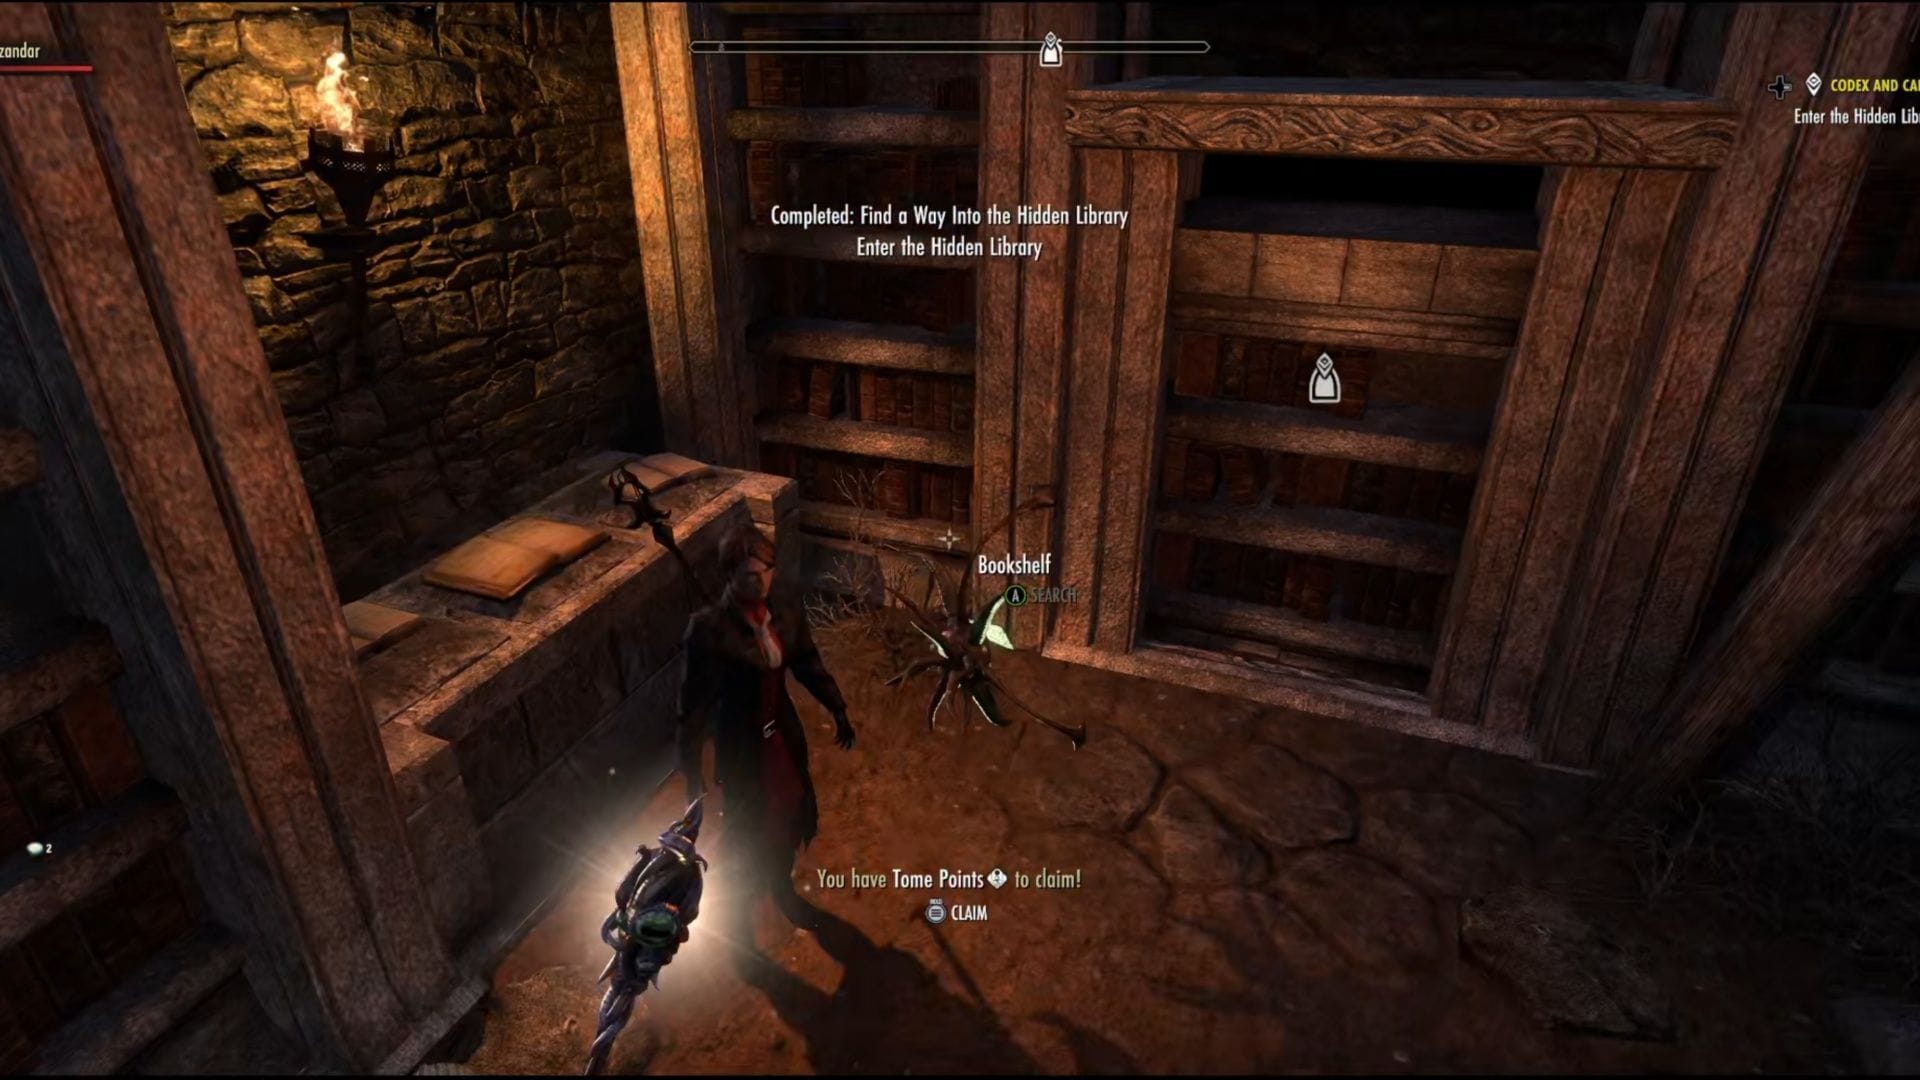
Now that that’s sorted, get back to Codex and Curio in Elder Scrolls Online, and get all three books from this area. When you have them, a room with three quest icons will pop up, and each one is a slot for a book. You need to put the books in the correct order, from left to right:
- Tale of a Prentice
- On The Nature of Mastery
- Archway and Flame
Getting them in this order opens a hidden passage in this room, letting you progress to the next set of puzzles in this ESO Thieves Guild quest! Head down whenever you’re ready.
4) Explore the Hidden Library, Deal with the Skaarfin, Search Zyax, Examine Librarian Henard’s Collection, Leave the Hidden Library
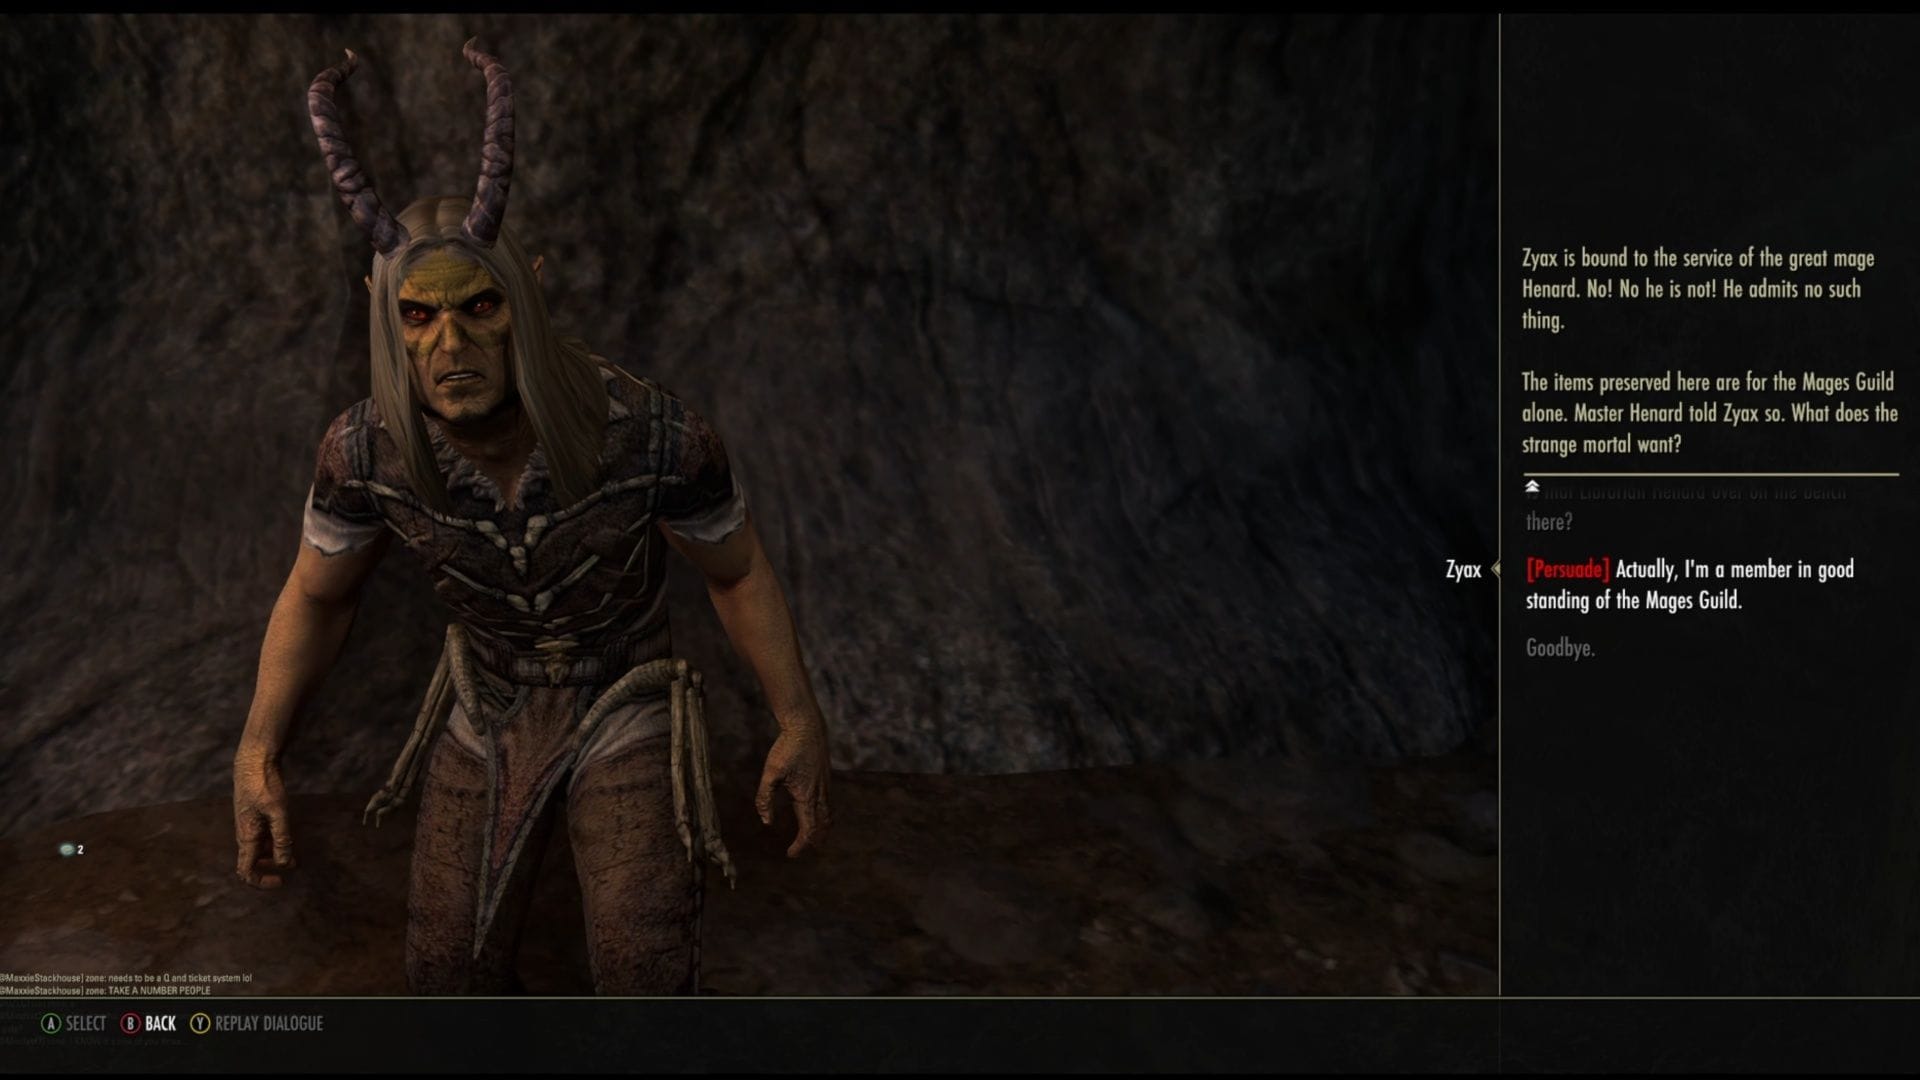
Head down into this new area, and you’ll trigger Explore the Hidden Library. When you move a little deeper, you’ll also get Deal with the Skaarfin, a creature lurking in the open area ahead of you. You can try to Persuade him, or Intimidate him, if you have the skill trees. Otherwise, you’re just going to have to kill him.
Now that you have Librarian Henard’s Journal, you can solve the three puzzles that unlock in this room. These are connected to three tests. You can again, do them in any order. We did them in the following.
For Zenithar’s Test (Treasure Chest), all you have to do is open the treasure chest. Since I’m bad at lockpicking, I just brute forced it a few times, and it gave me the reward. It gave me “A Word About the Lens” and “Henard’s Lens”, both of which are important for later on in the quest chain.
Phynaster’s Test requires you to mix the right potions into the Goblet, to reveal an invisible book on the counter. Look over at the table with the quest icons on it, and interact with the potions in this order:
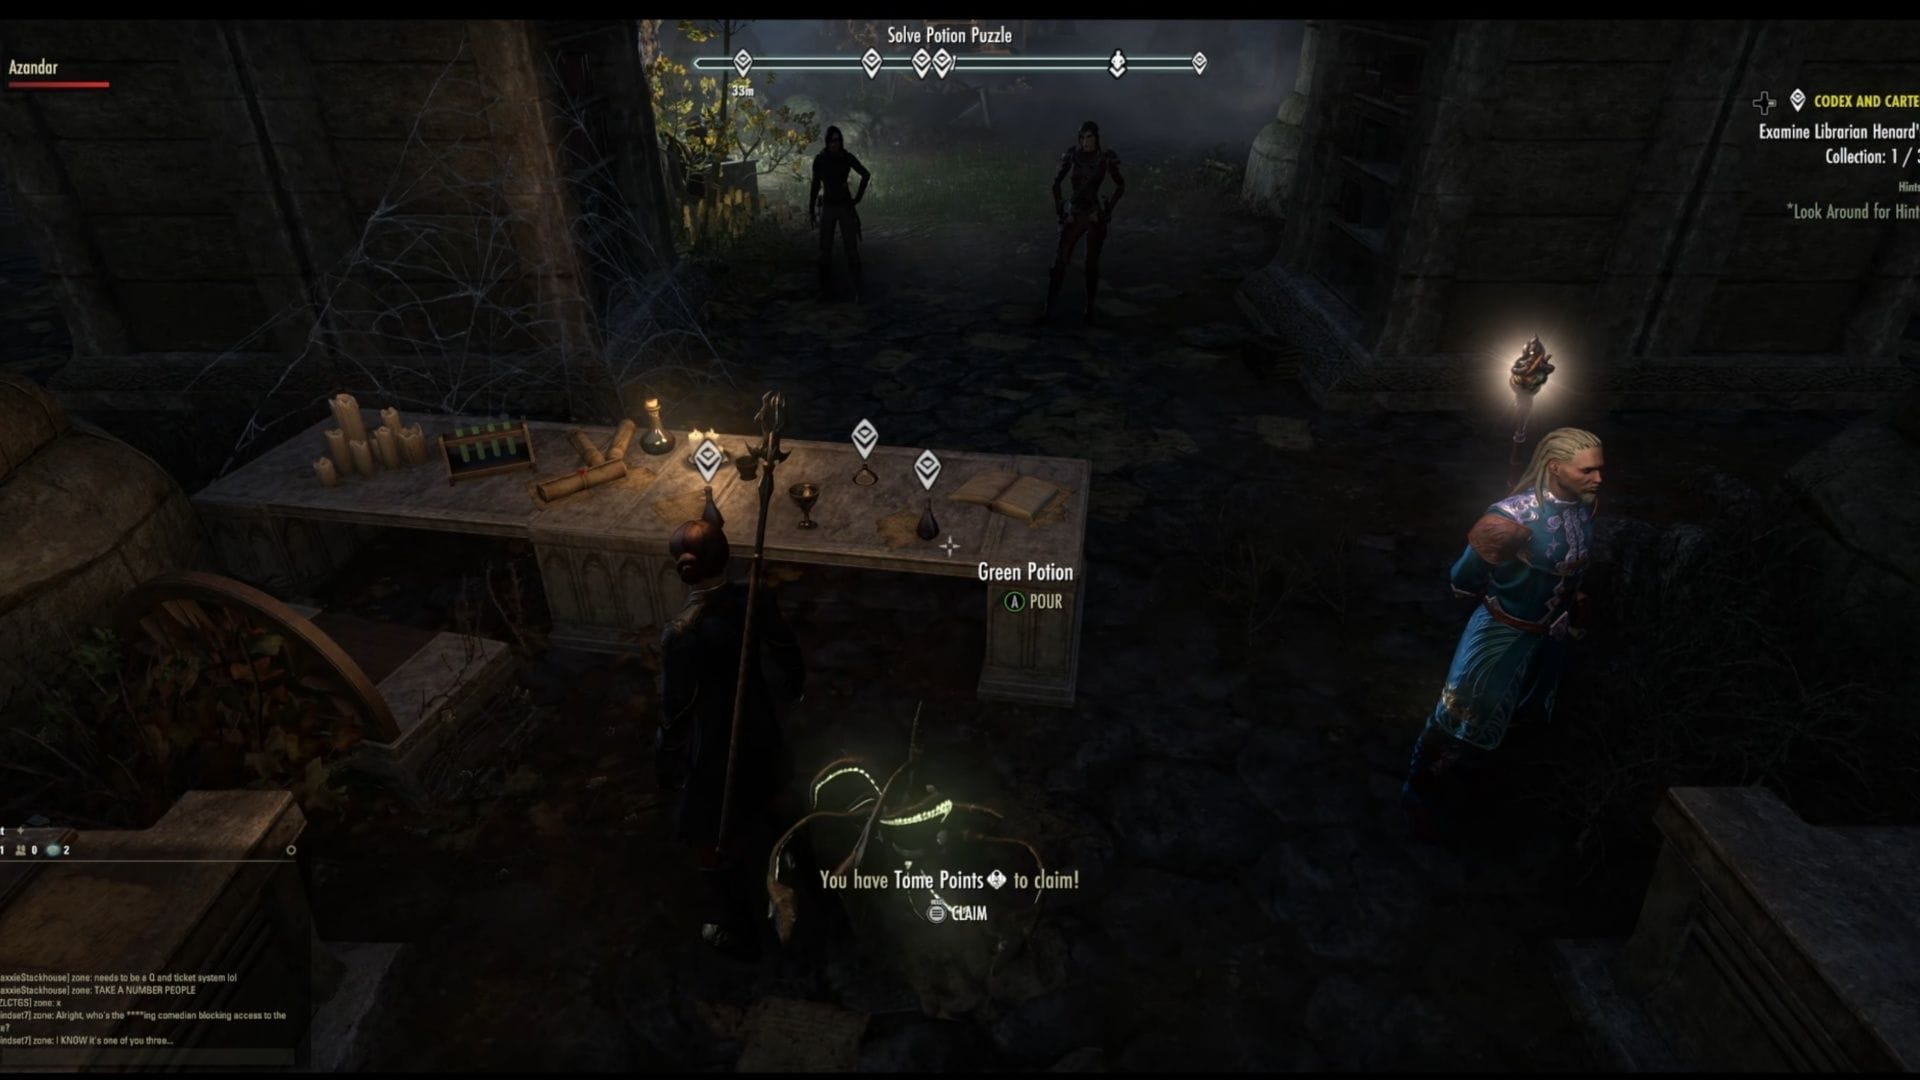
- Red Potion
- Green Potion
- Blue Potion
This creates the Mixed Potions item on the table. After you drink it, the table with the huge urn/pot on it will have a book to pick up, Relics of Sage Voernet. Dibella’s Test isn’t a super complex one, but it doesn’t really give you much in the way of clues. To solve it, speak to Abrasia, who will suggest you dance.
Agreeing will trigger the dance emote, so do this for a few seconds, and speak with her again. She’ll give you a few more options, and I chose the “Slow, Romantic Dance” dialogue choice. This gave several other options, with the correct choice being “I’ll try clapping”. With all the puzzles solved, leave the Hidden Library, but just before you can leave, you’ll have to fight a few Cartel Members.
5) Protect the Lens and Books, Talk to Abrasia, Meet Seline and Edwane at Lion Guard Redoubt, Talk to Edwane the Hawk, Talk to Seline Menant
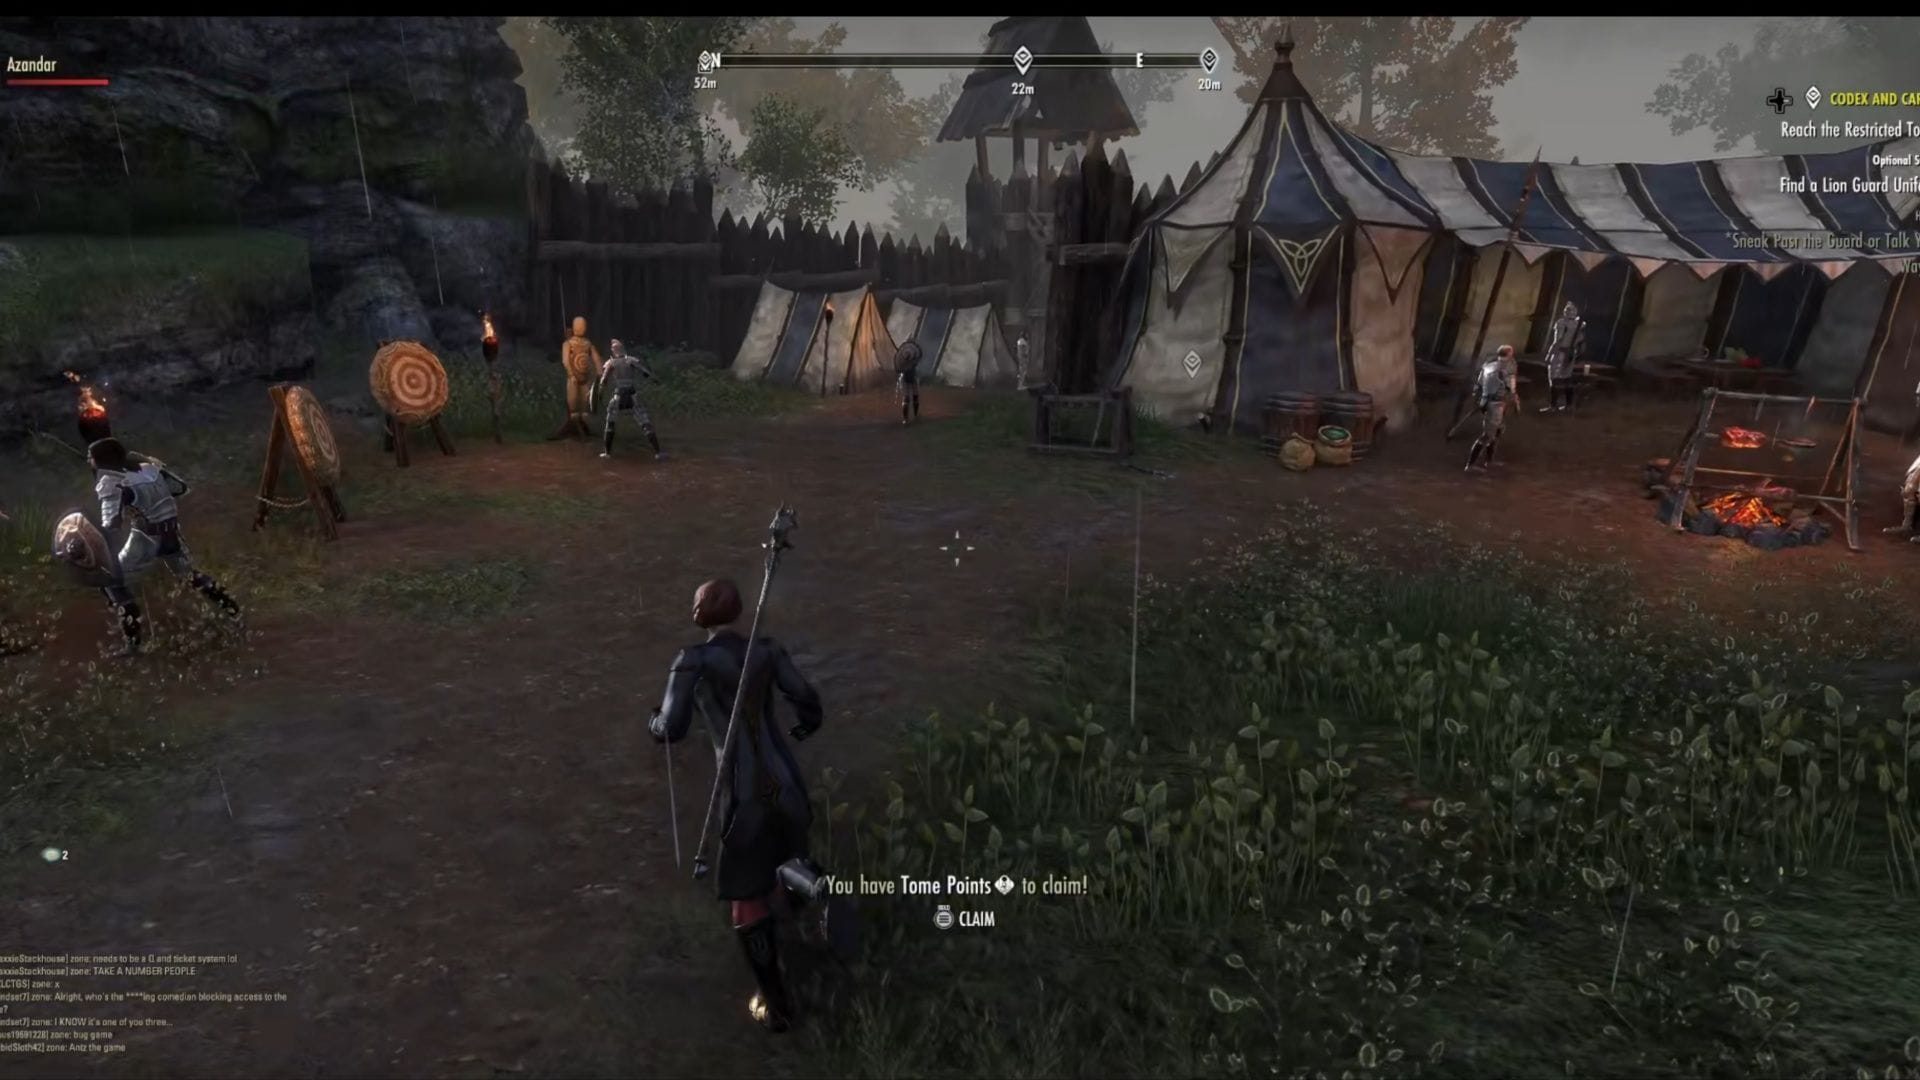
As you fight the Cartel Members, the objective Protect the Lens and Books pops up, denoting that they’re after the same items you are. Have a chat with Abrasia afterwards, and then we’ll begin the next objective: Meet Seline and Edwane at Lion Guard Redoubt.
There are likely a few ways to approach this one, but the route I took was incredibly simple. First, just get to the Lion Guard Redoubt, which will show up on your map. When you get there, speak to Edwane the Hawk to trigger the next part of Codex and Cartel in Elder Scrolls Online. Give it a few seconds, and then speak to Seline Menant.
She has a fancy new outfit, and we’re going to need one too. We’re going to have to go into the Lion Guard Redoubt camp, and steal a uniform. This isn’t as hard as they make it out to be, thankfully.
6) Enter Lion Guard Redoubt, Reach the Restricted Tower (Optional: Find a Lion Guard Uniform), Talk to Marten Cogwine (Optional: Look around the area)
This part is so much easier if you just go into the camp and steal a uniform. You’ll see an icon for it on one of the tents. You won’t even need to use the Somnal Powder, though you do have it. You could probably use it to sneak into the Tower without a uniform, but that could make future steps harder.
Just make sure nobody’s looking, and you can pilfer a uniform and put it on without anyone being the wiser. Grab the nearby fast travel point if you don’t already have it, and then go to the Restricted Tower. Now you can just bluff your way in, super simple. Just tell the guard you were sent to go inside, and he’ll let you through without a second though.
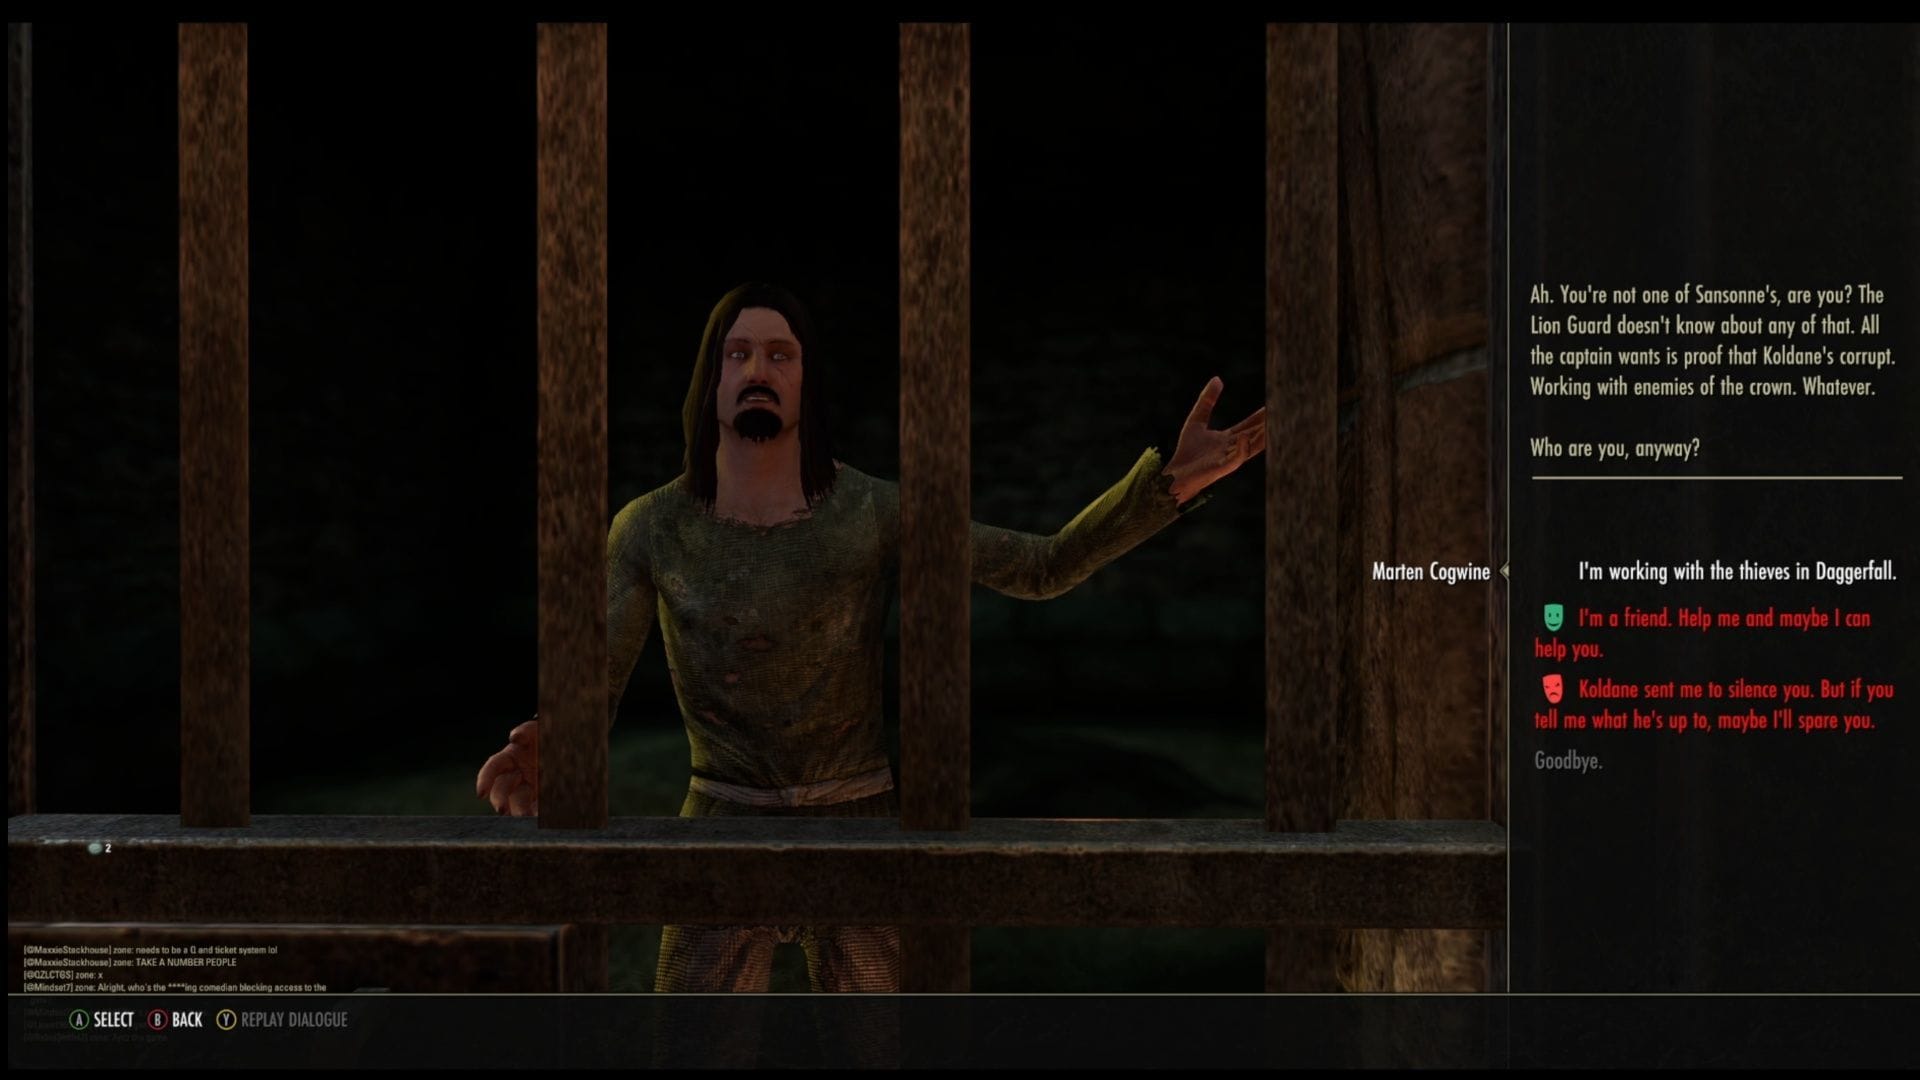
Before you talk to Marten Cogwine, interact with the two quest objects in the room. It’s an Arrest Report, and Captain Sansonne’s Journal. Then feel free to have your chat with Marten Cogwine. You’ll find them down in the jail cells nearby. It won’t be hard to find, because this is a small area. When given dialogue options, choose Koldone sent me to silence you. But if you tell me what he’s up to, maybe I’ll spare you., and he’ll gladly spill the beans on the whole plan.
7) Talk to Seline Menant, Leave the Tower, Speak to Lieutenant Renoit, go to the Menant Hideout, Find Basil Menant, Help Basil Menant, Return to the Thieves Den (Optional: Speak with Seline Menant)
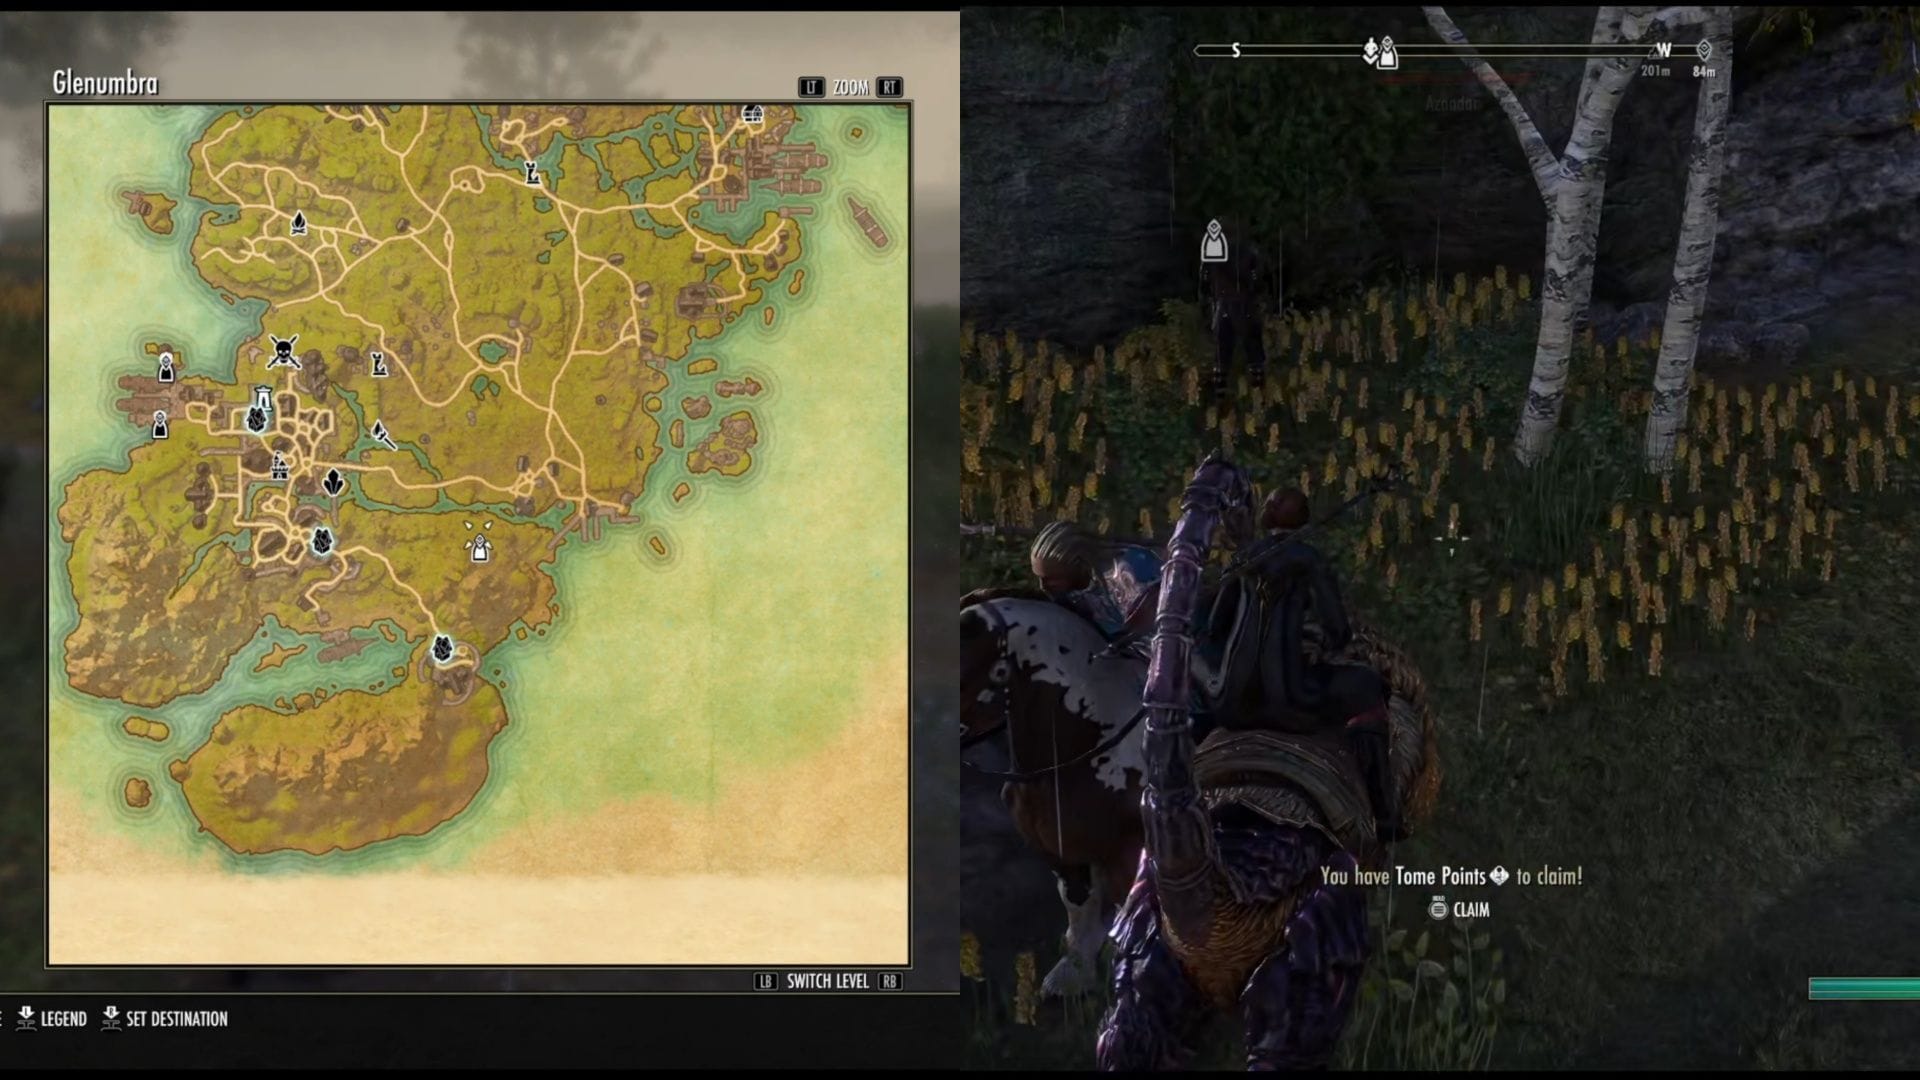
Towards the exit of this area, speak to Seline Menant and tell him that Basil Menant could be in danger. The next part of Codex and Cartel in Elder Scrolls Online can be a really frustrating fight, if you get caught in a tight space. Before that though, choose Go to the Menant hideout. I’ll alert the Lion Guard, then head that way.
When you leave the building, avoid the patrol that has the huge blue circle around them, and warn her that Lord Basil Menant’s in danger. Just pick the first option for all the choices instead of saying “Goodbye”, and you’ll be good to go. Now, just go to the Menant Hideout (it’s easier to ride there from Daggerfall).
There’s a swarm of Cartel goons when you get here, and most of them are doing really frustrating AOE attacks. There’s also Werewolves to deal with, so just be prepared for a serious fight. After you take them all down, go speak to Basil Menant and help him.
Then talk to Basil Menant as well as Captain Sansonne. He’ll ultimately agree that your gang of thieves aren’t a threat, but the Koldane Cartel are. Before you go, speak with Seline Menant, which is option, but I still recommend it. Then, return to the Thieves Den.
8) Turn in the Documents, Talk to Quen
The Documents are going to come in handy for the Thieves Guild, that’s for sure. Lay them on the table and speak to Quen to wrap this quest, as well as receive another Curated Bahraha’s Curse Coffer, and some coins. This completes the Elder Scrolls Online quest Codex and Cartel, and if you speak to Quen again, you’ll begin A Guild Grows in Glenumbra.
Check out our other Elder Scrolls Online guides and features
Edited by Jason Parker