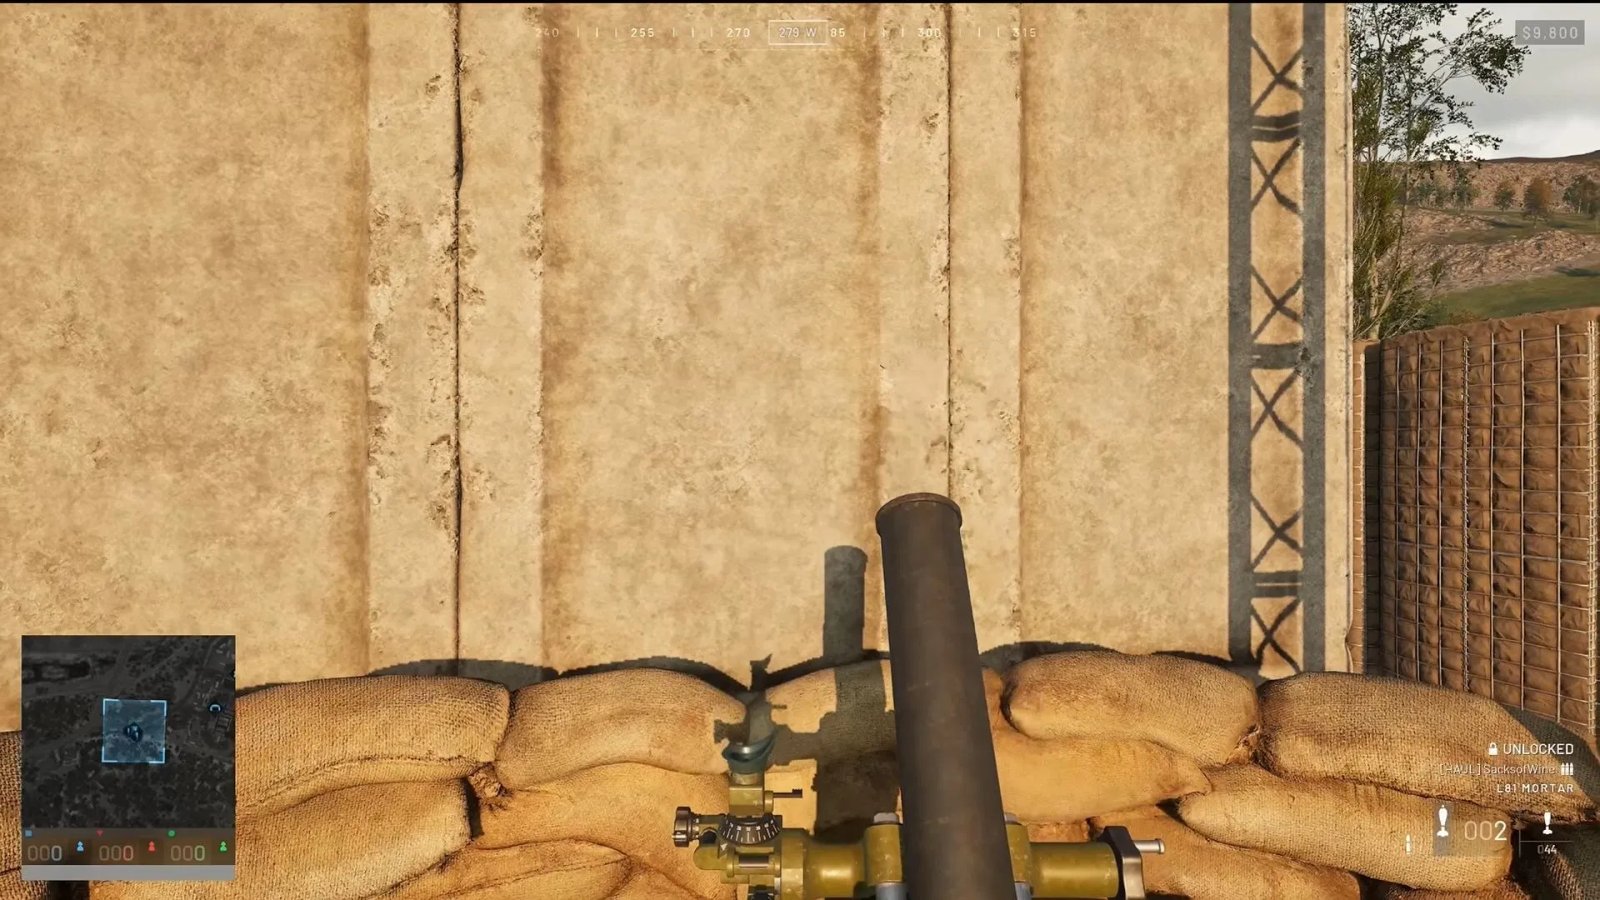

Mortars in Wardogs are quite powerful and fun to use, but only if you master them. The UI is a bit complicated, so many players often misjudge their shots and miss their targets. However, there is more to it than just pointing and clicking, as you also have to consider the range, elevation, and direction of your target. Once you become familiar with these controls, you can adjust your shots and help the team.
Read on to learn how to use Mortars in Wardogs.
How Mortars Work in Wardogs
Before you can use a mortar, you need to build one. For this, you need a Large Hammer and a Mortar, which you can purchase from the merchant. Once you have both items, place the Mortar where you want it and use the hammer to construct it. It will take a few seconds for the Mortar to be fully built and ready to use during gameplay.
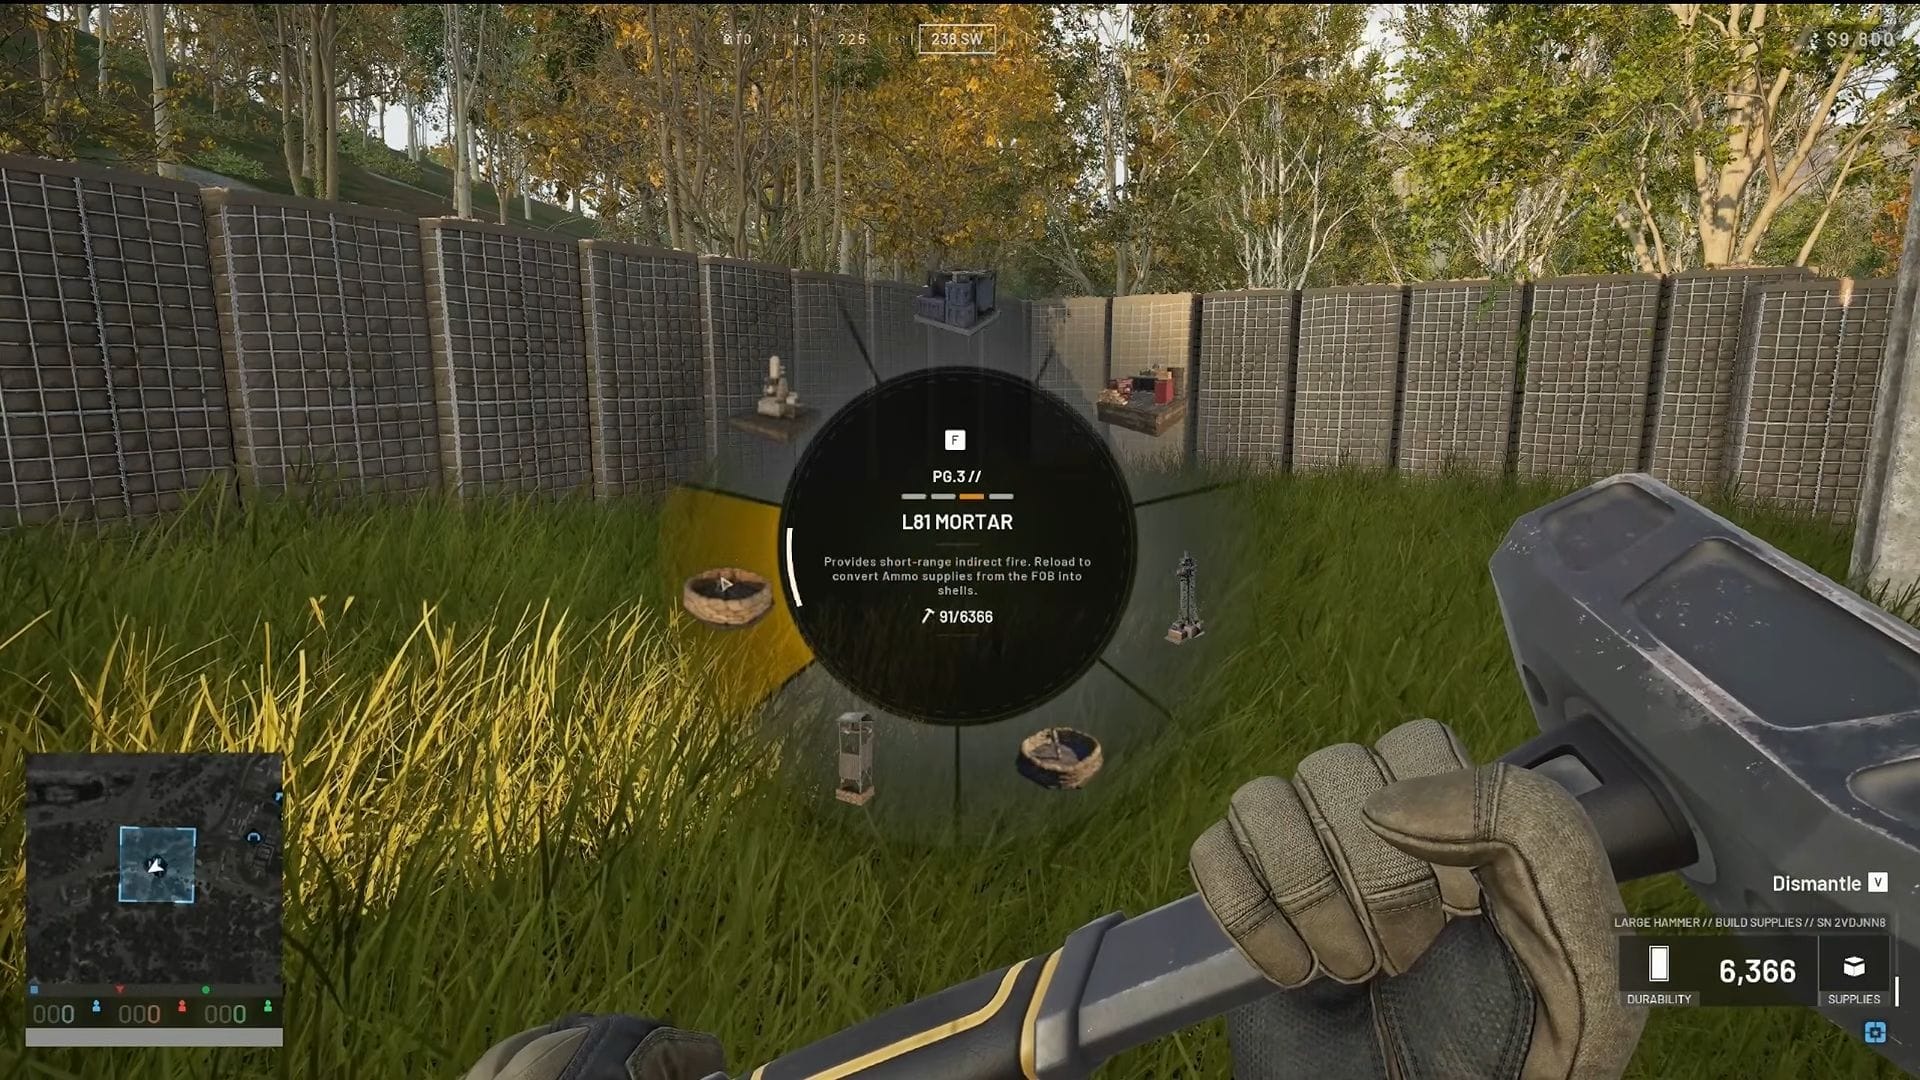
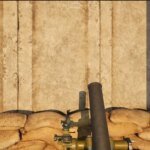
Once it’s ready, simply press Enter to operate it. Well, the primary control for moving the mortar barrel is WASD. You can also use your mouse to adjust the barrel, but it is slower compared to using the keyboard controls. Your mouse can also be used to zoom in and aim toward your target.
Read more: How to win $100K in real cash in WARDOGS $100K Clip Contest
When you aim, you will notice a compass at the top of the Mortar interface. This corresponds with the compass displayed at the top of your screen, allowing you to identify the direction you need to aim.
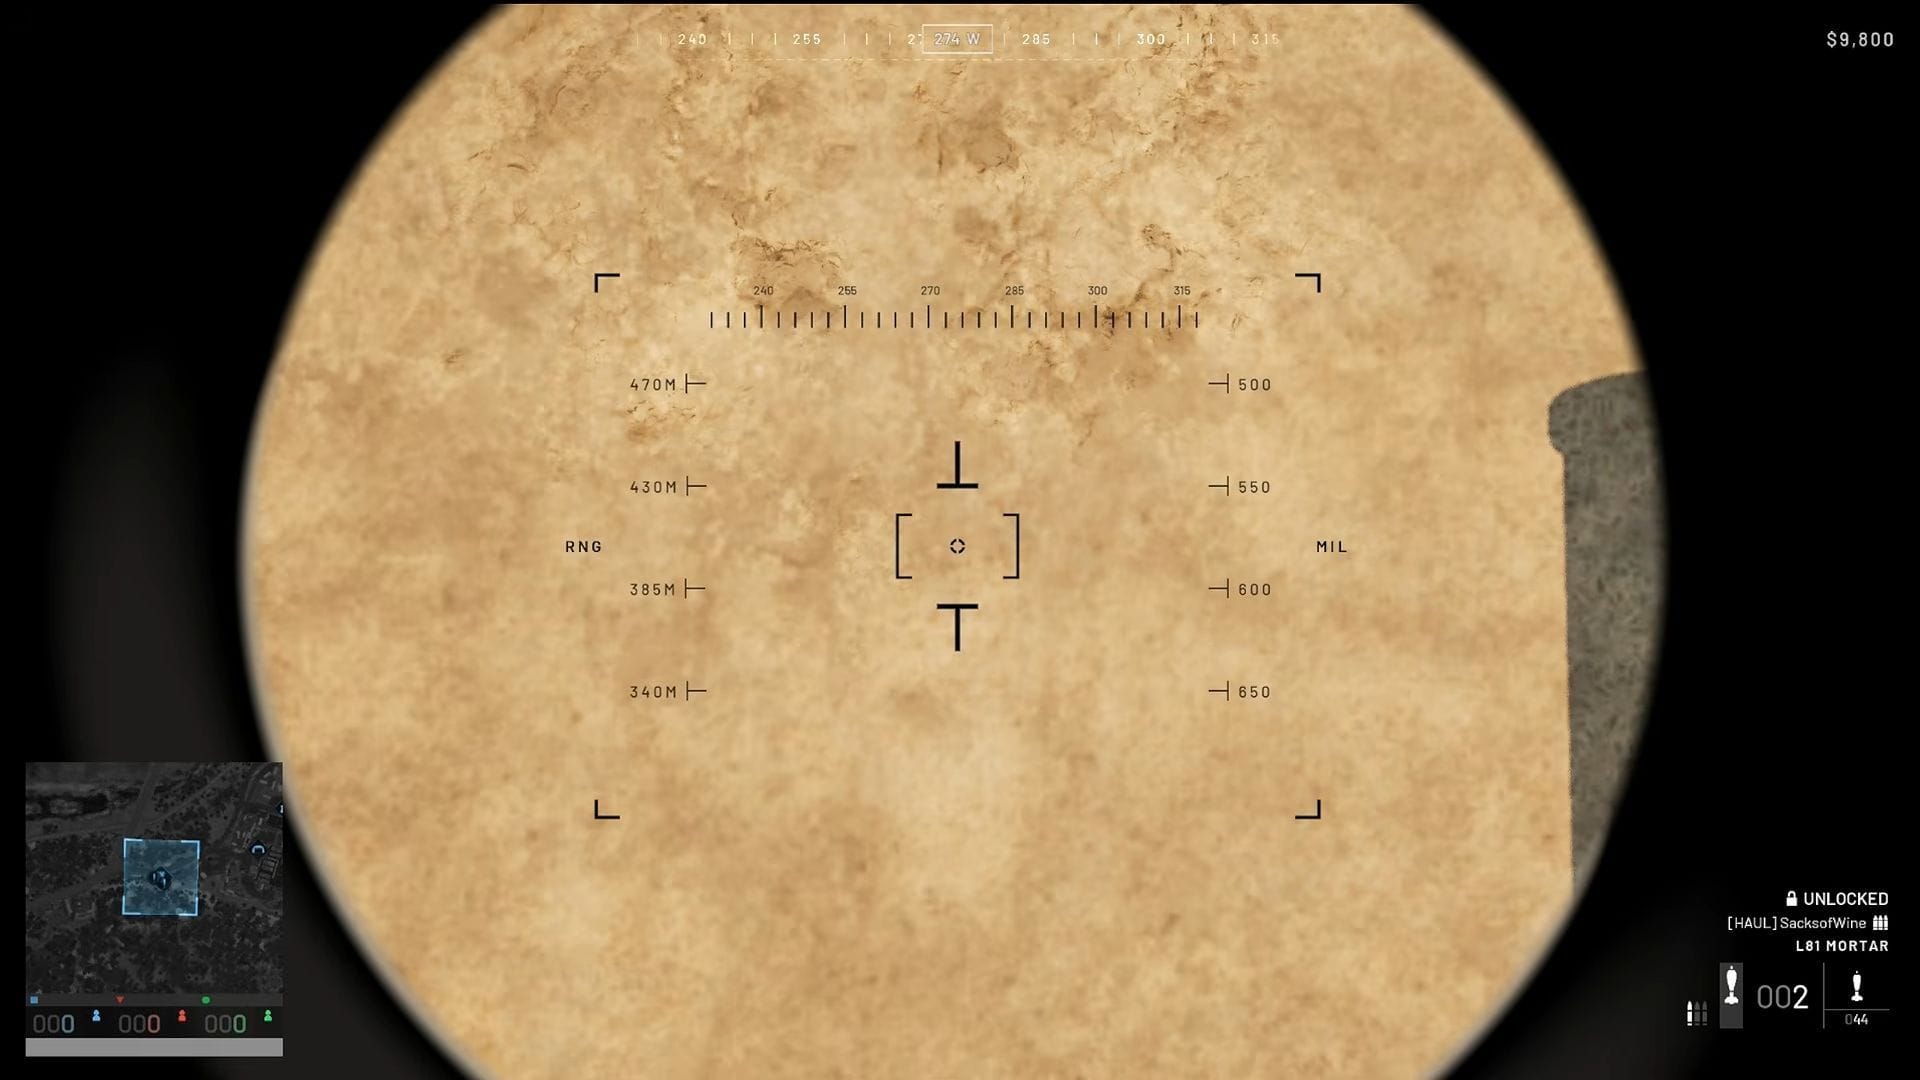
On your left, you will see the RNG (Range in meters). On your right, there is the MILS, which tells you how much you have to raise the barrel. Basically, the higher the elevation, the shorter the distance the Mortar will fire; lowering the elevation allows the shell to travel farther.
Now, to fire at a target, first locate it on the map and determine its direction and approximate distance. When you mark the target on the map, a white diamond will appear on your screen, showing the direction in which you need to move the mortar barrel.
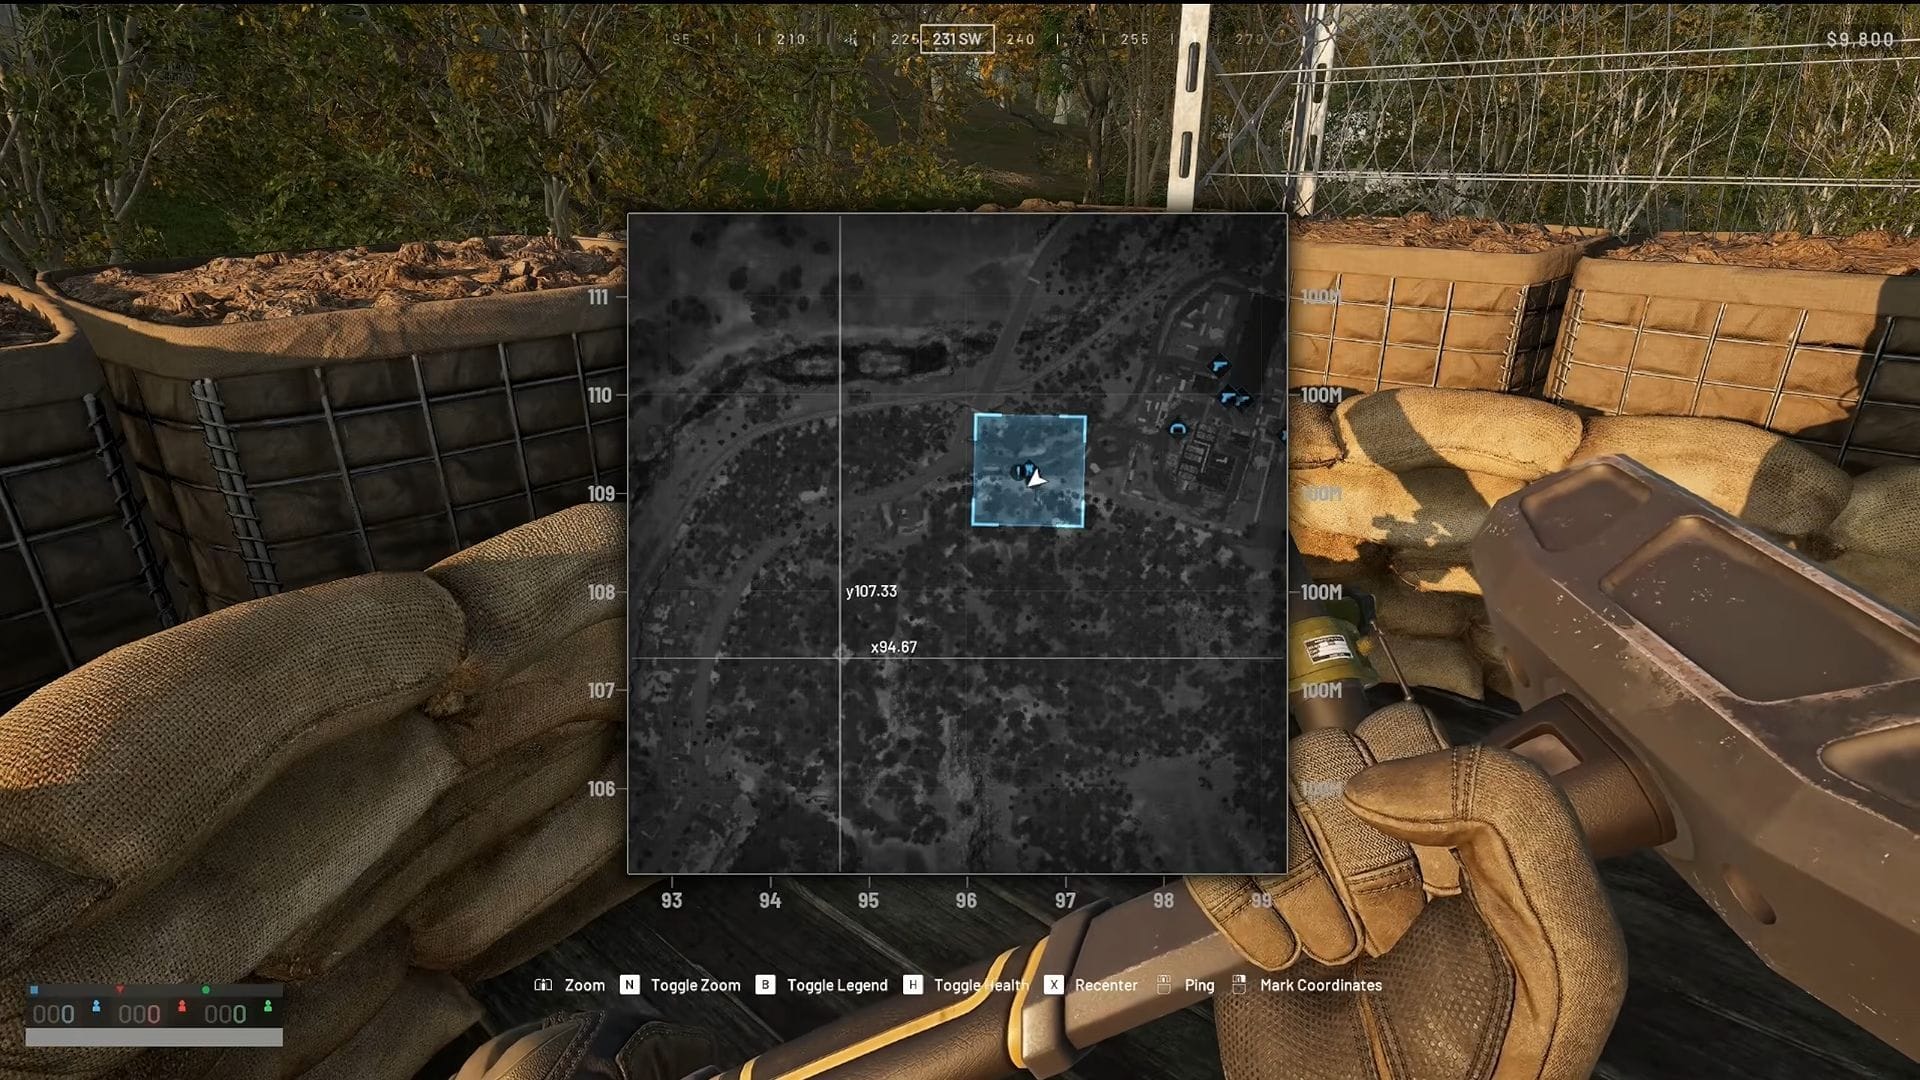
Once you have set the direction, you need to work out how far away the target is. Unfortunately, the Mortar does not provide a specific distance marker, so you will need to estimate the range by yourself. The maximum range of the Mortar is 700 meters, meaning you will have to adjust the RNG and Mils based on the target’s estimated distance.
Also read: All ammo types in Wardogs explained and which one should you choose
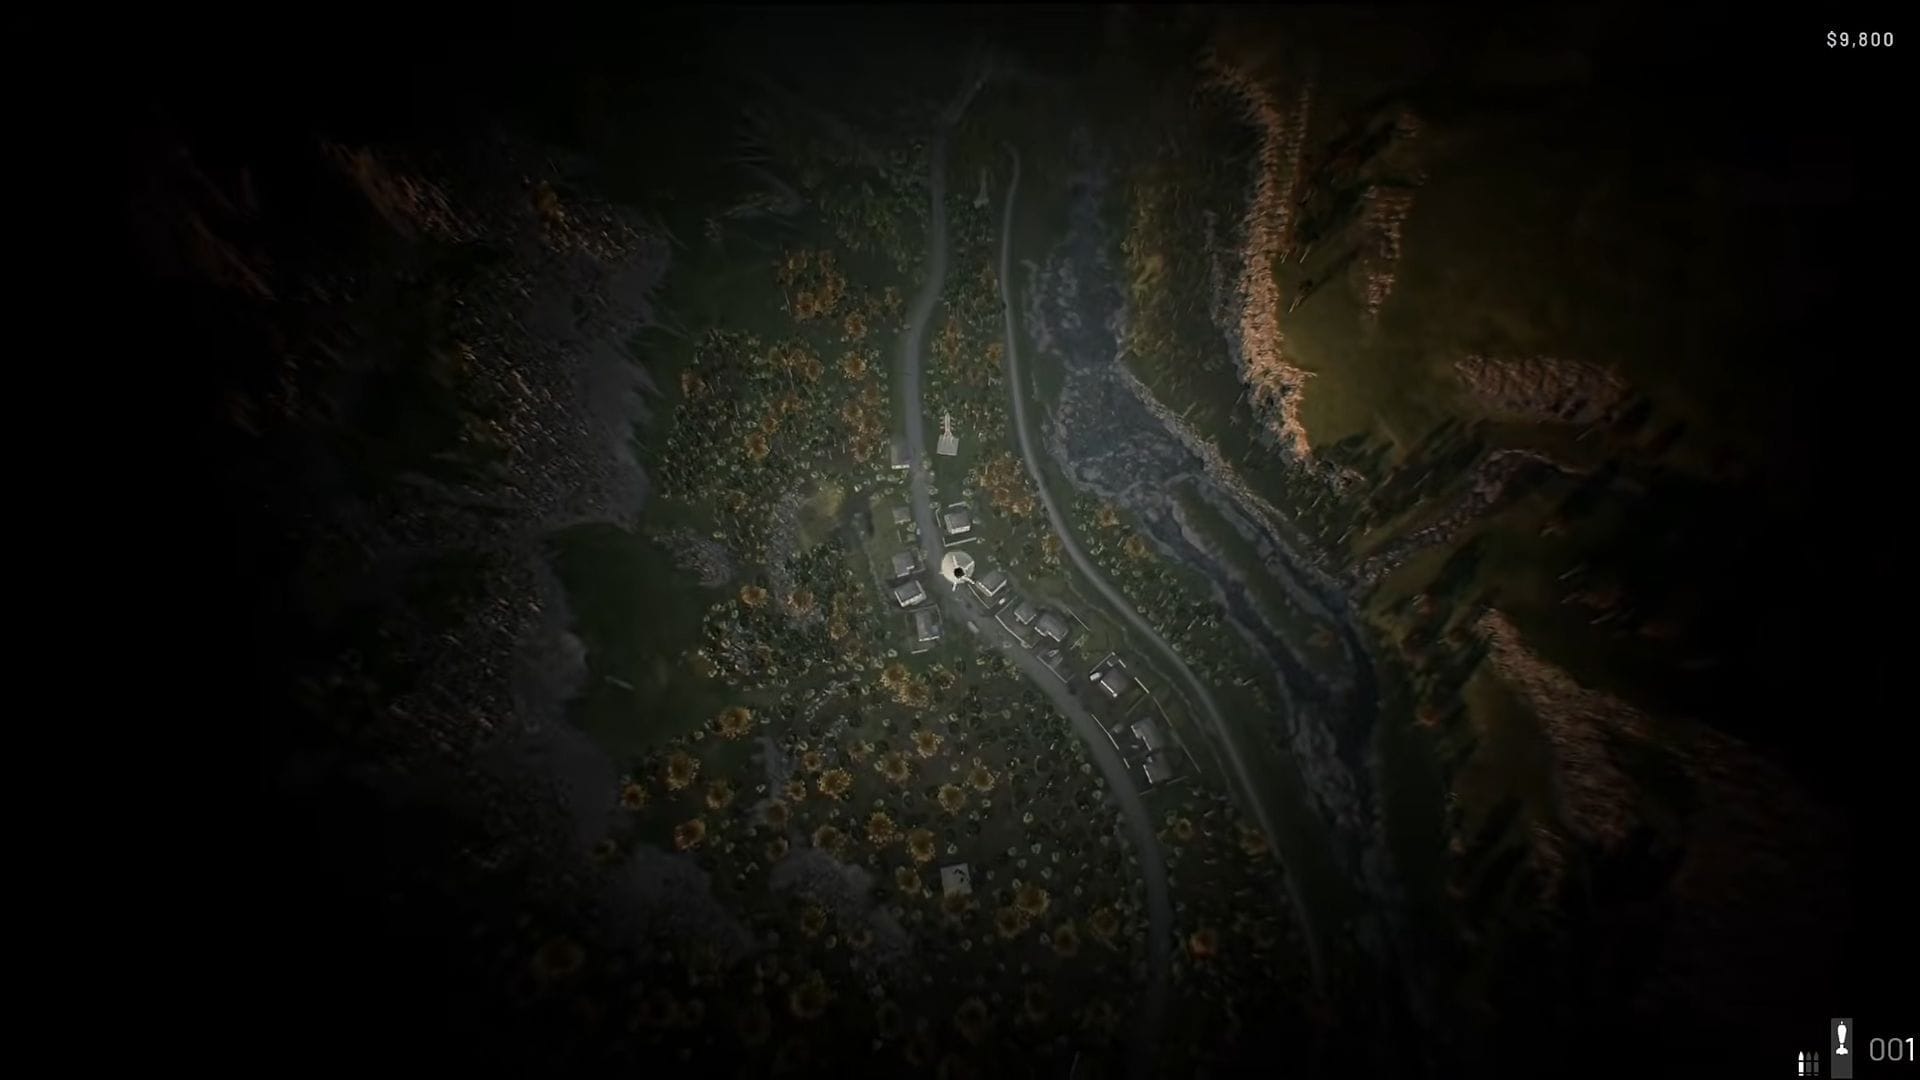
Once you have set the direction and range, just hit Fire to send your shell towards your target. After you have fired, you can see an animation of where your shell landed, and based on that, you can determine if you need to fix your range or not. If you hit beyond your target or before your target, you can use that information to help adjust the range.
It may take a few attempts to land the shot where you want it. However, with practice and learning how the range and elevation work together, you can become much more accurate and use Mortars effectively to support your team.
Check out the links below for more such guides:
Are you stuck on today’s Wordle? Our Wordle Solver will help you find the answer.
Edited by Pranoy Dey