
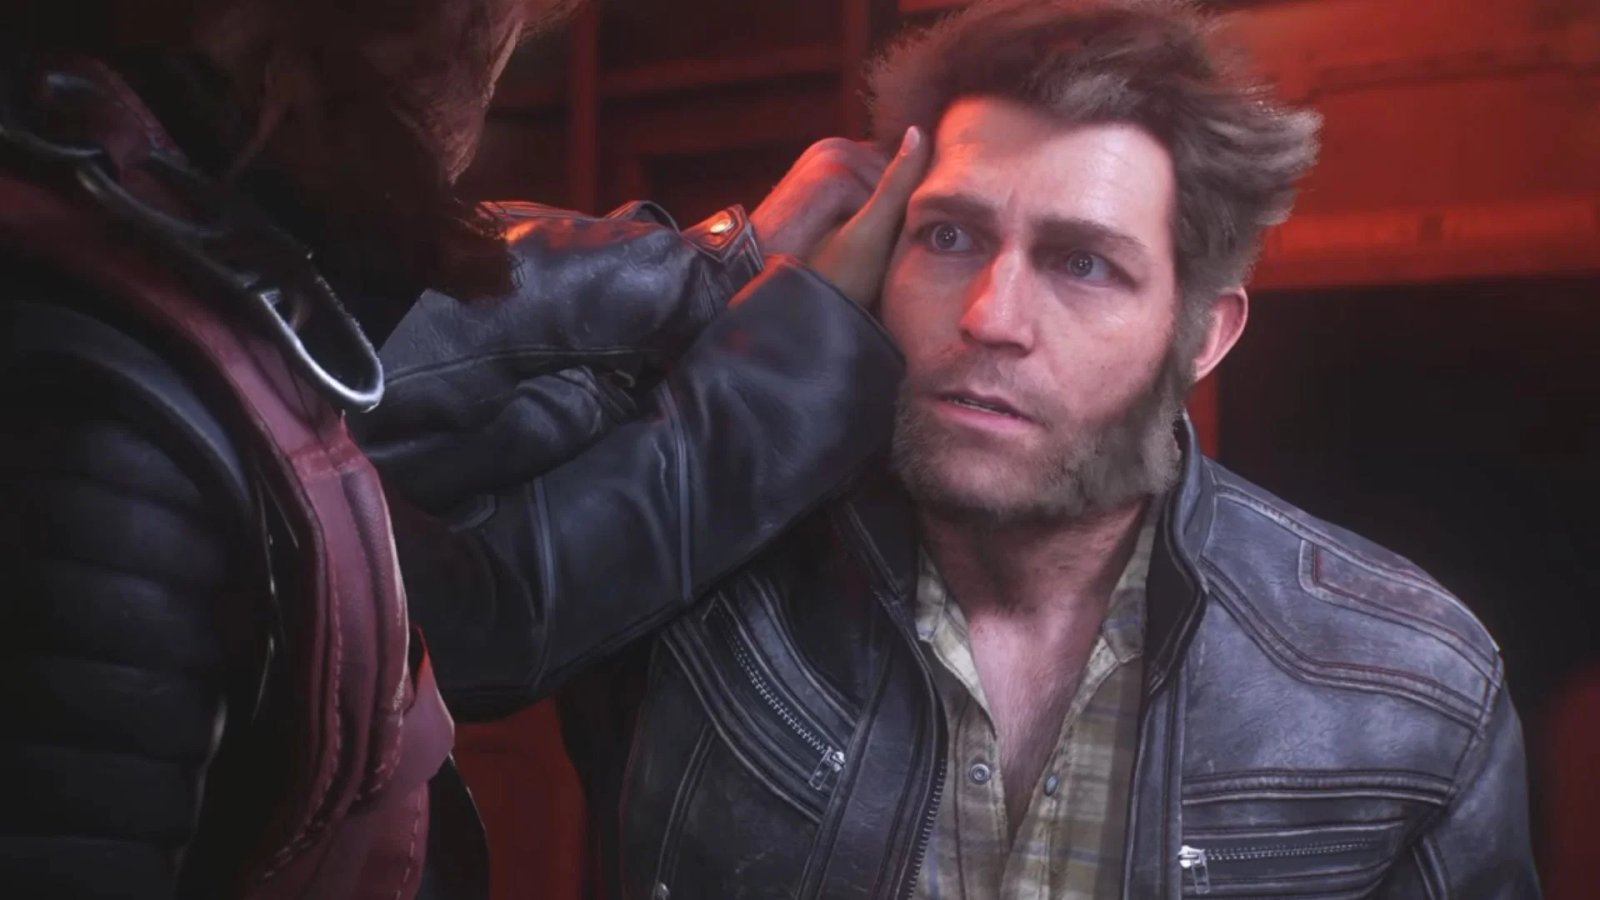

Wolverine’s Japan chapter sees you seeking out the Helix Engine. While the goal is simple, tons of trouble is brewing under the streets of Kabukicho, and it all ties directly to Wolverine’s past.
The Japan section of the game is filled with twists and turns, while also giving room to the Logan-Jean relationship to flourish. If you’re just jumping into the Japan chapter in Wolverine, we’re here to help. In this guide, we shall walk you through all the missions of this section of the story.
Read more: Wolverine Canada walkthrough
How to complete the Japan mission in Wolverine
Jetlag
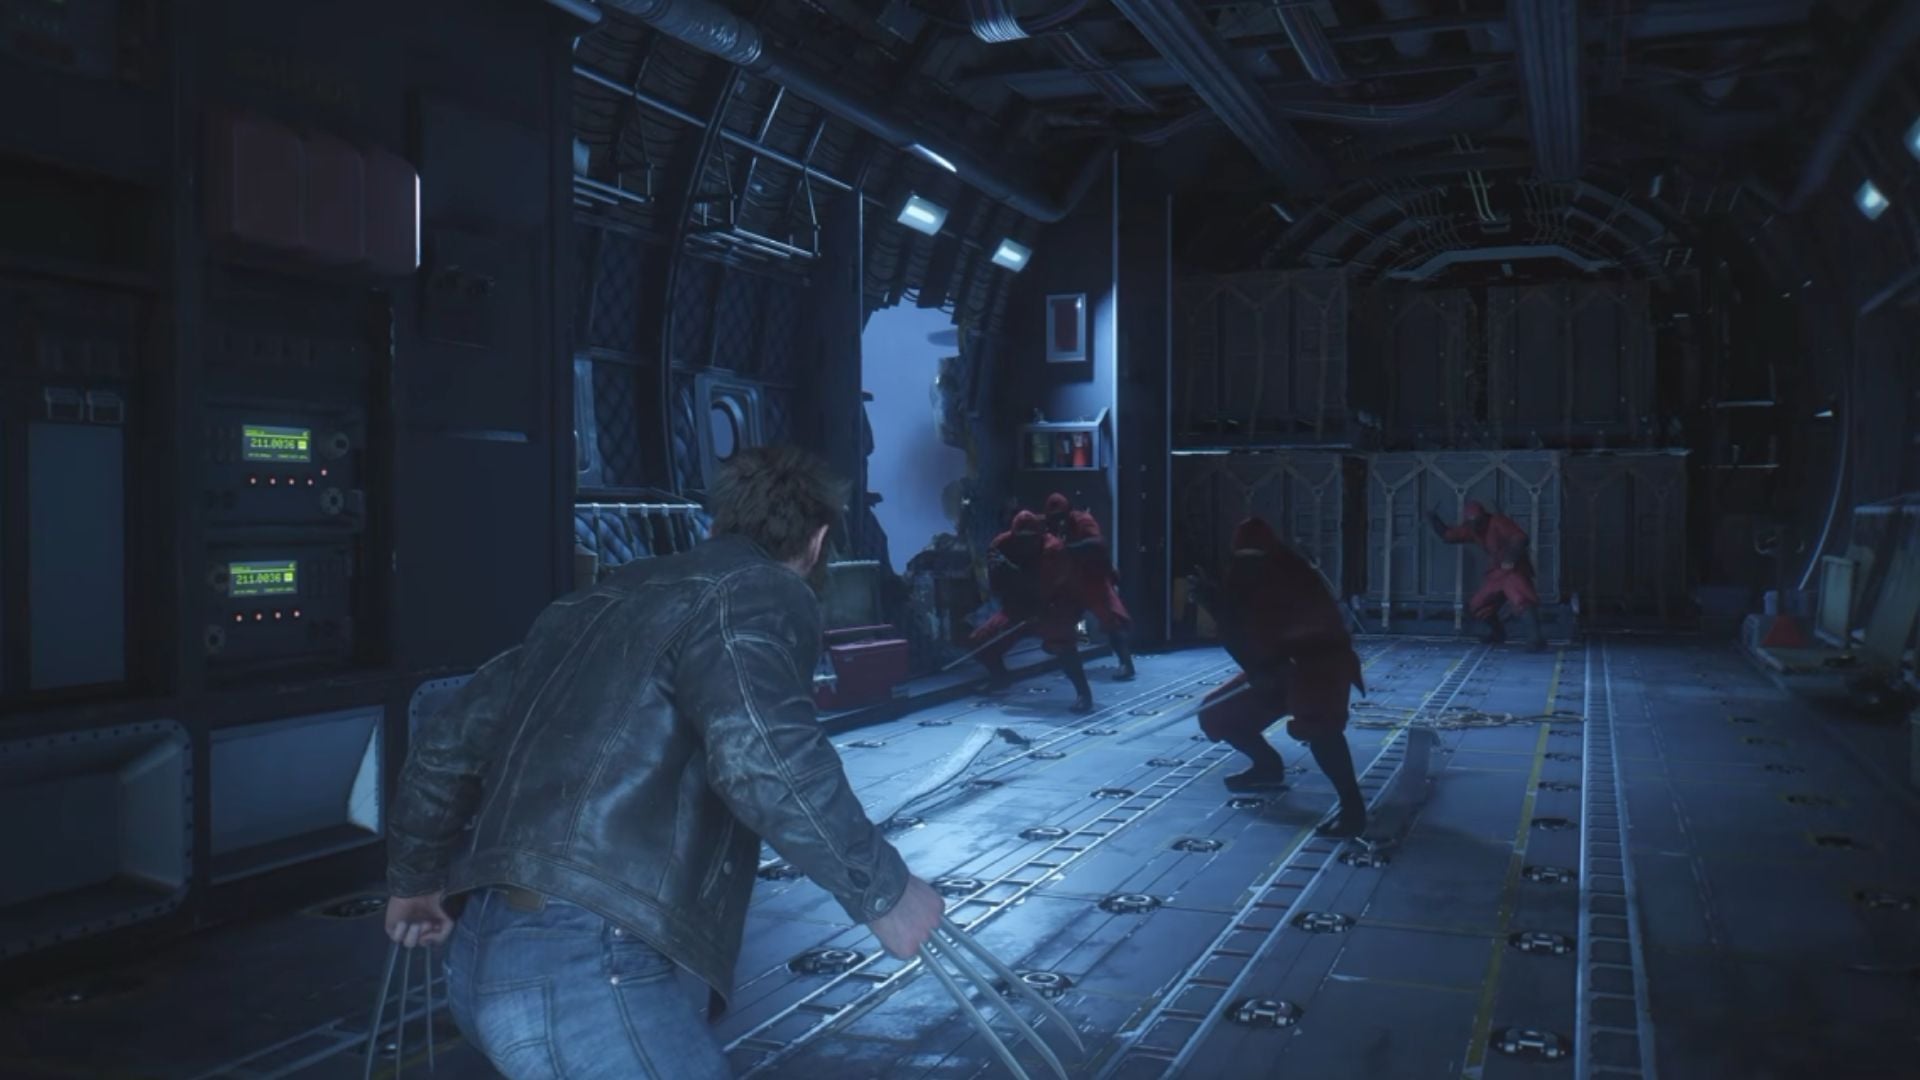
The Japan section in Wolverine begins inside a plane. As Wolverine and Jean Grey share a sweet moment, it is interrupted by The Hand targeting them. You’ll now need to fight the Hand inside the plane.
Fight the Hand across the plane, using the open doors and holes to push them out. You’ll eventually be pushed out as well, and will need to claw your way across the plane’s body to reach the next area.
The plane will crash, and more members of the Hand will arrive at the scene to finish the job. This will kick off a bike-chase sequence where Wolverine rides for Kabukicho.
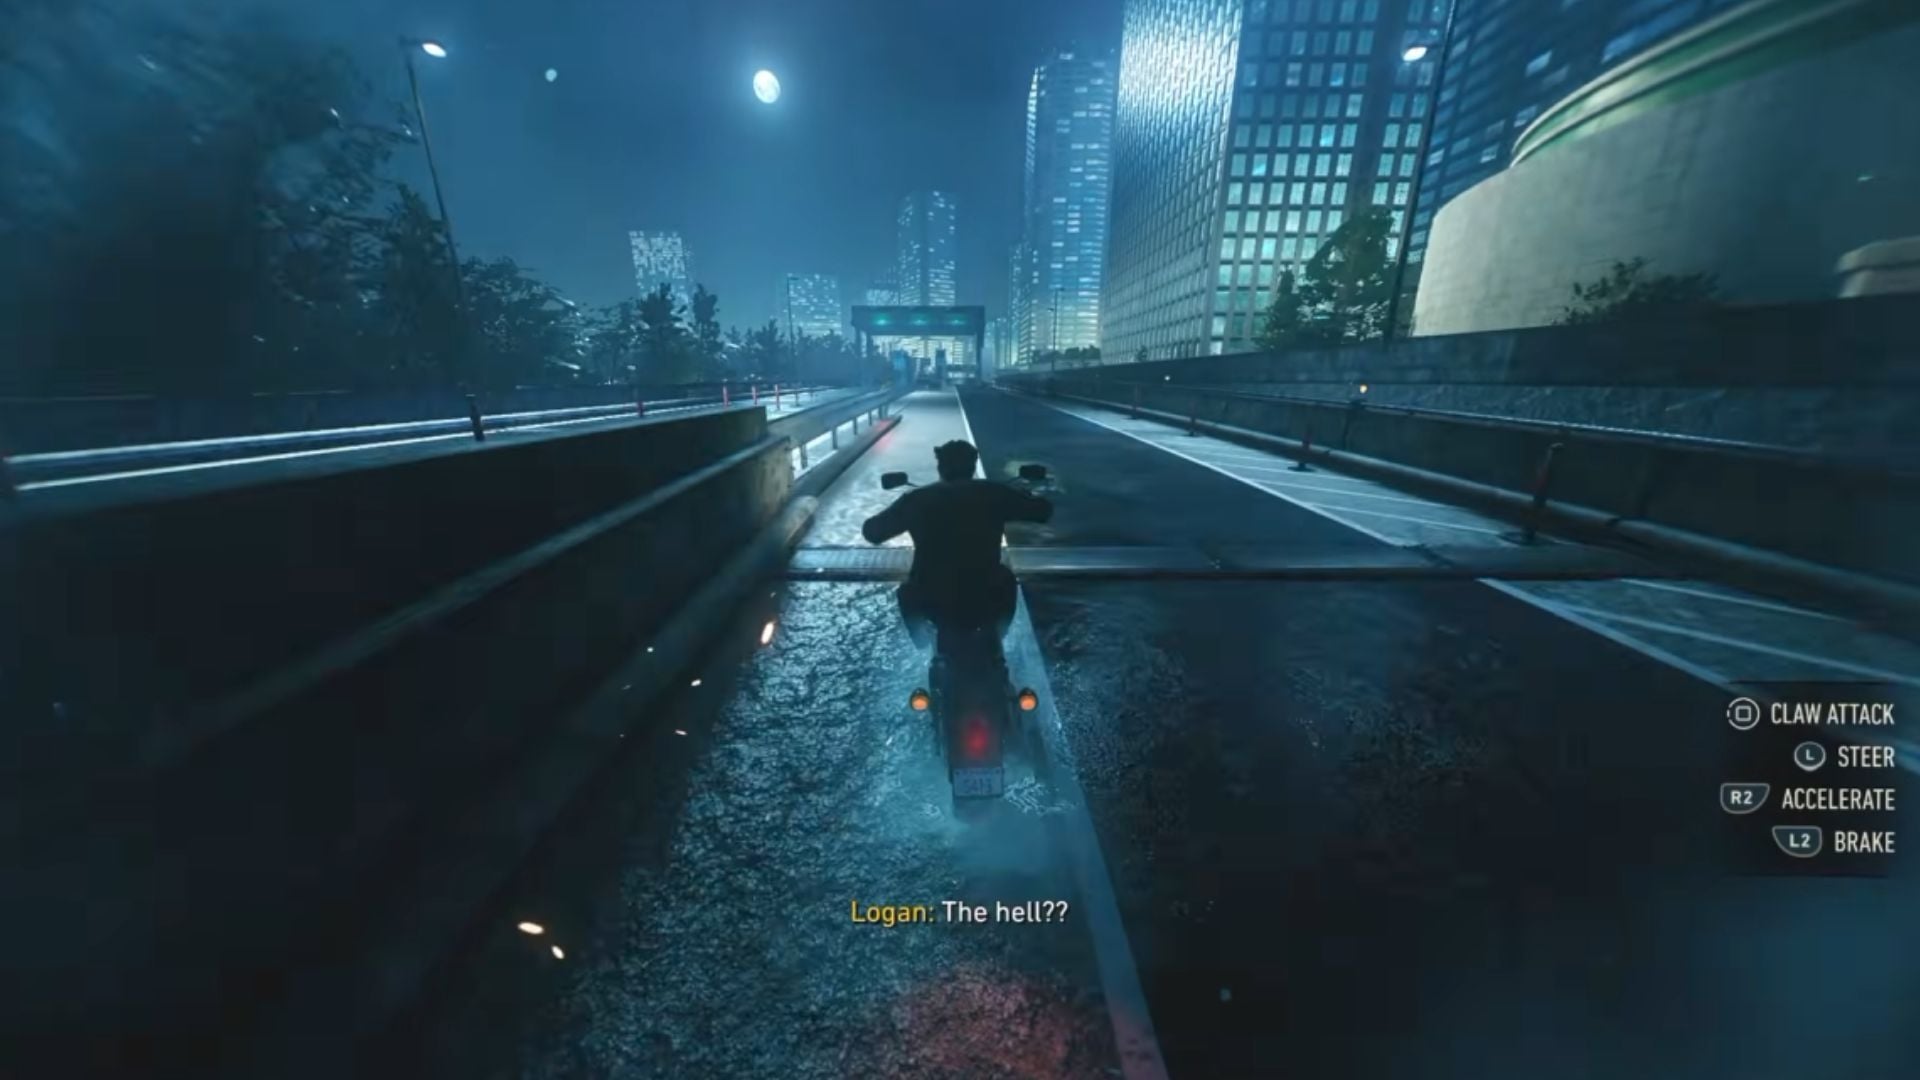
Ride your bike through a linear path while fending off the Hand. You can press Square to use claw attacks and kill the enemies that drive close to you. Complete this sequence to trigger a cutscene, and Wolverine will arrive at Kabukicho.
Get Angry
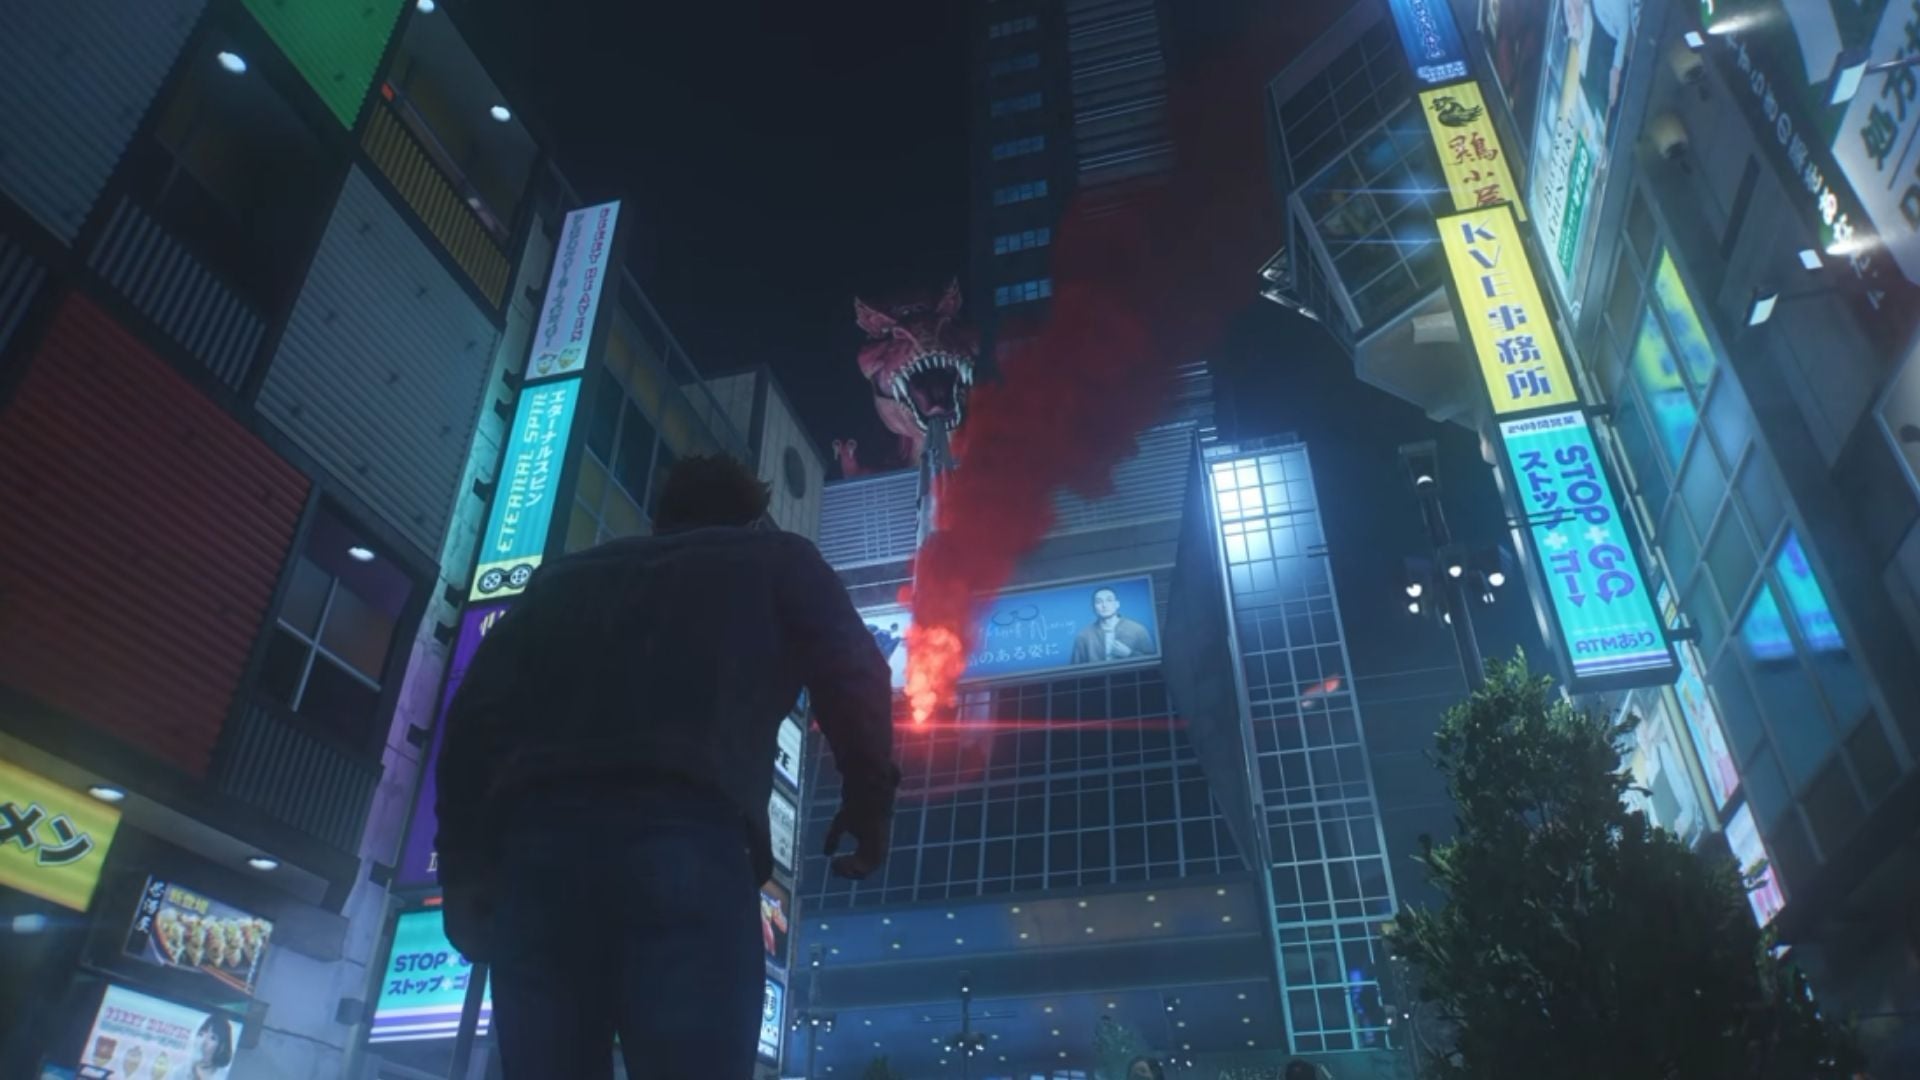
Once you arrive in the city, follow the crowd’s noise till you find Jean’s red parachute trail. Jean will communicate with you telepathically, and you’ll need to use your senses to follow the sound. The sound will lead you to an arcade with a corpse in an alley nearby.
Cut through the alley and defeat enemies who jump you. Then, follow Jean’s trail to reach the building she’s hiding in. You’ll reunite with her, and Hand snipers will attack you. Rush to the park ahead and kill all the snipers to trigger a cutscene.
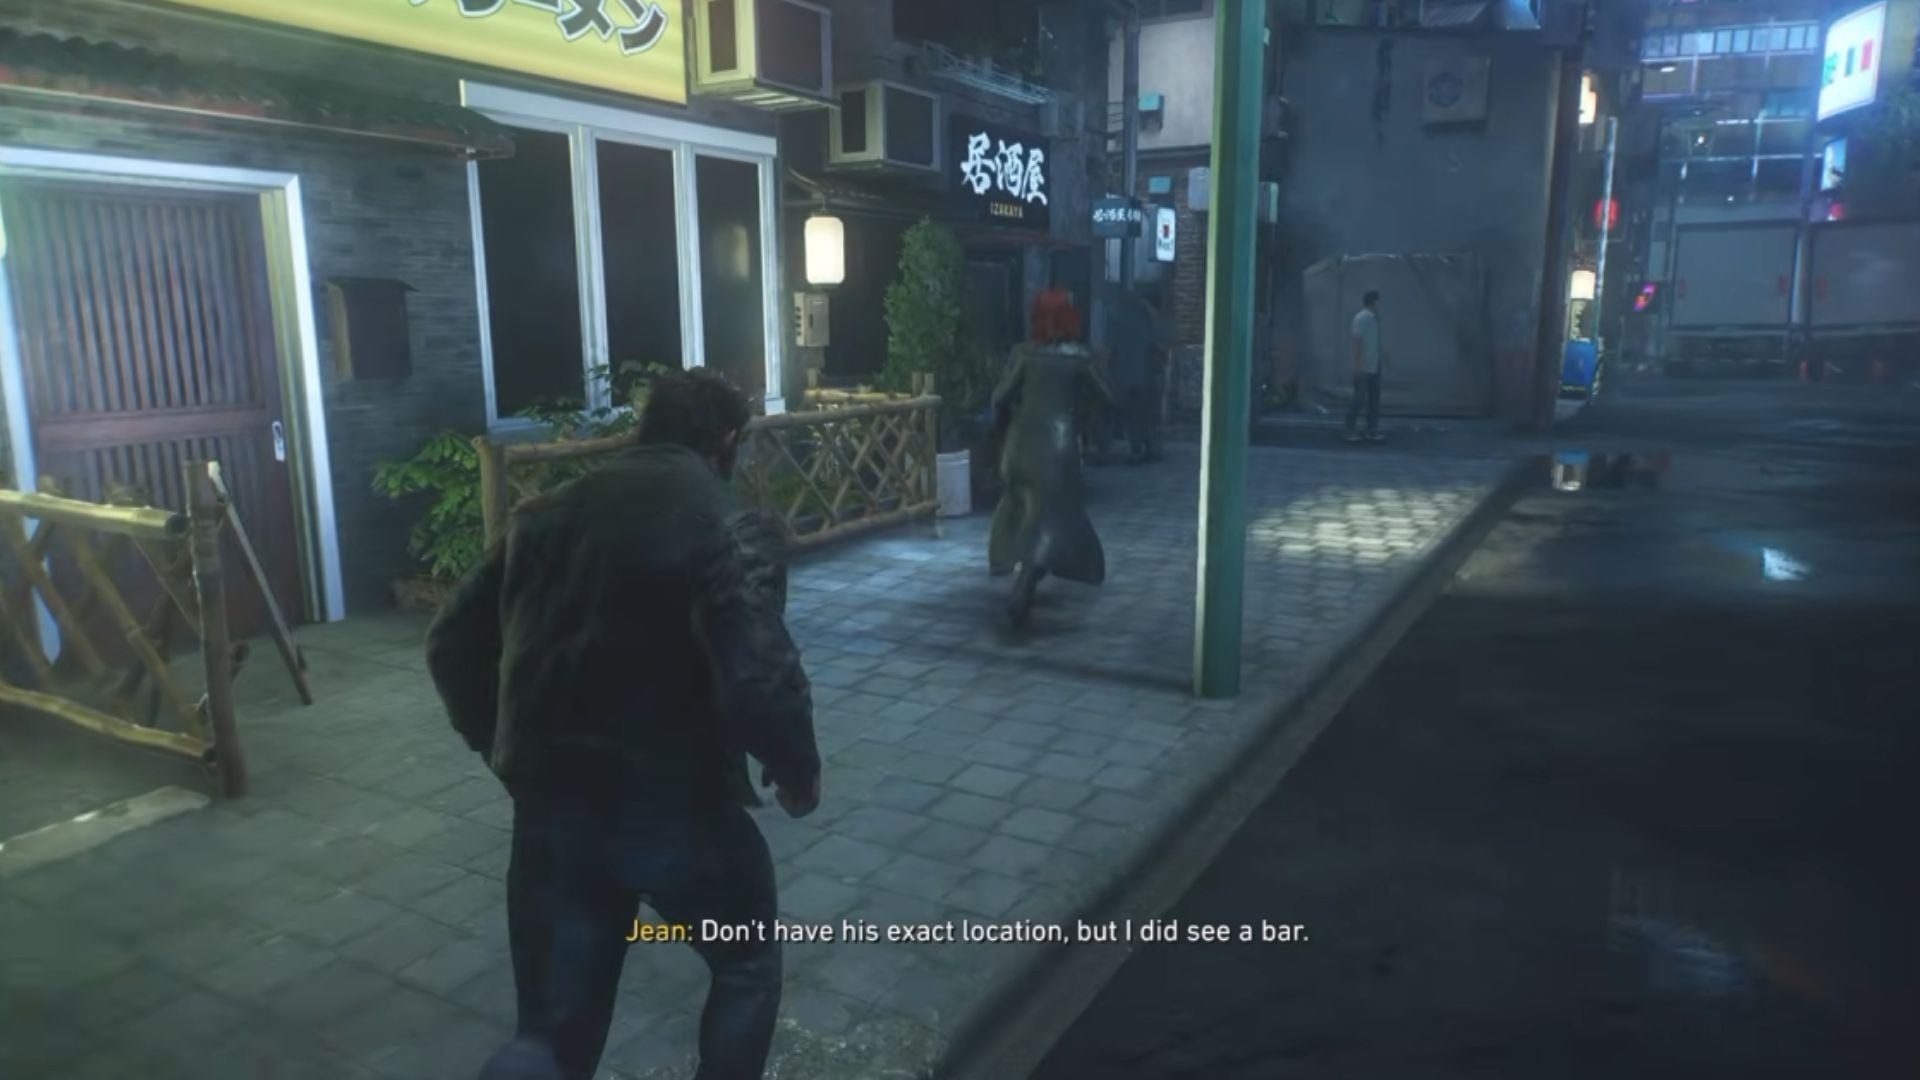
Jean will now know where the Hand telepath is. Follow her through the streets, and she will lead you to a secret underground hideout. Infiltrate the hideout and defeat the Hand members here. Then, interact with the glowing incense burner to unlock the path ahead.
Destroy all the incense burners on this new path, and head deeper into the facility using the elevator at the end. Cut through the caves ahead till you run into a corpse, which will trigger a cutscene.
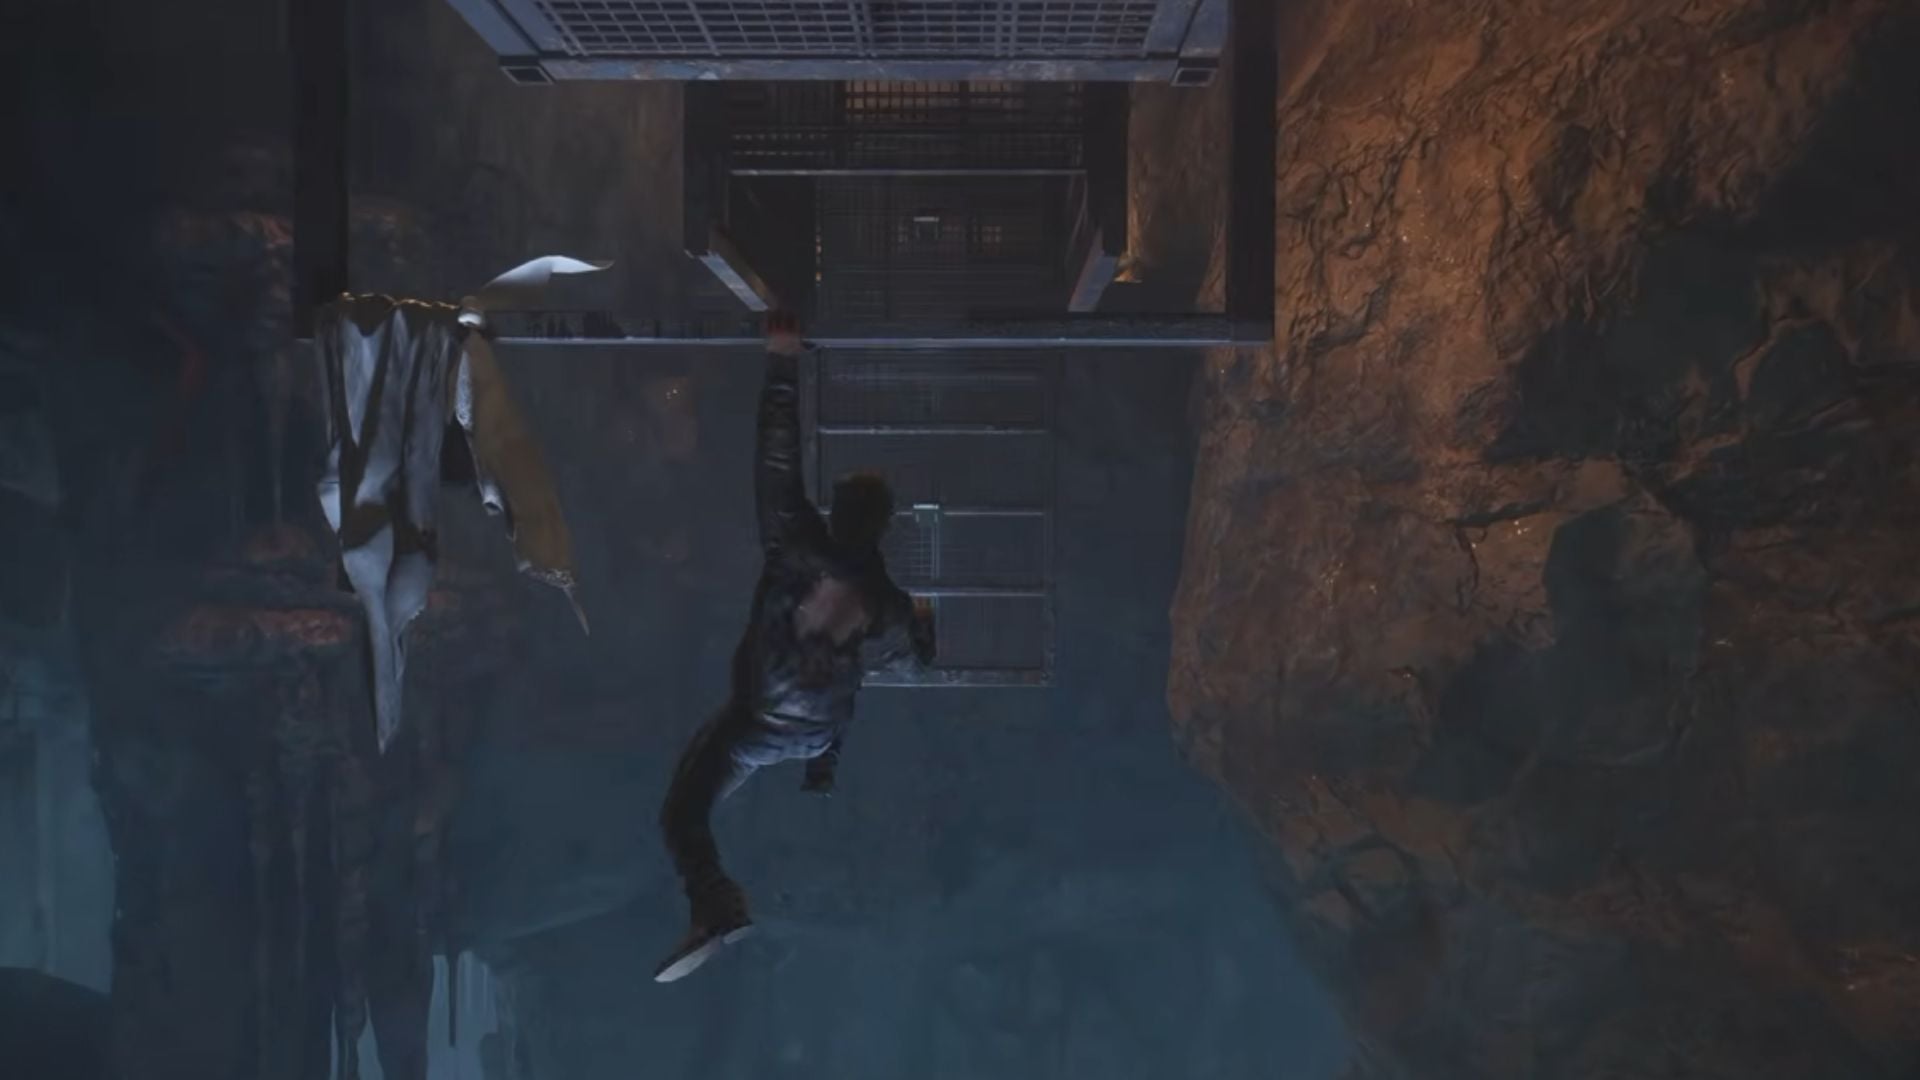
Once it ends, continue deeper into the cave and you’ll reach a giant cavern with several enemies scattered across platforms. Prioritize the leaders and kill the Hand here. Keep following Jean till you split up when the rope bridge breaks.
Climb the wall ahead, and the Hand telepath will now subject you to several visions. Run through the linear hallways and defeat the enemies along the way.
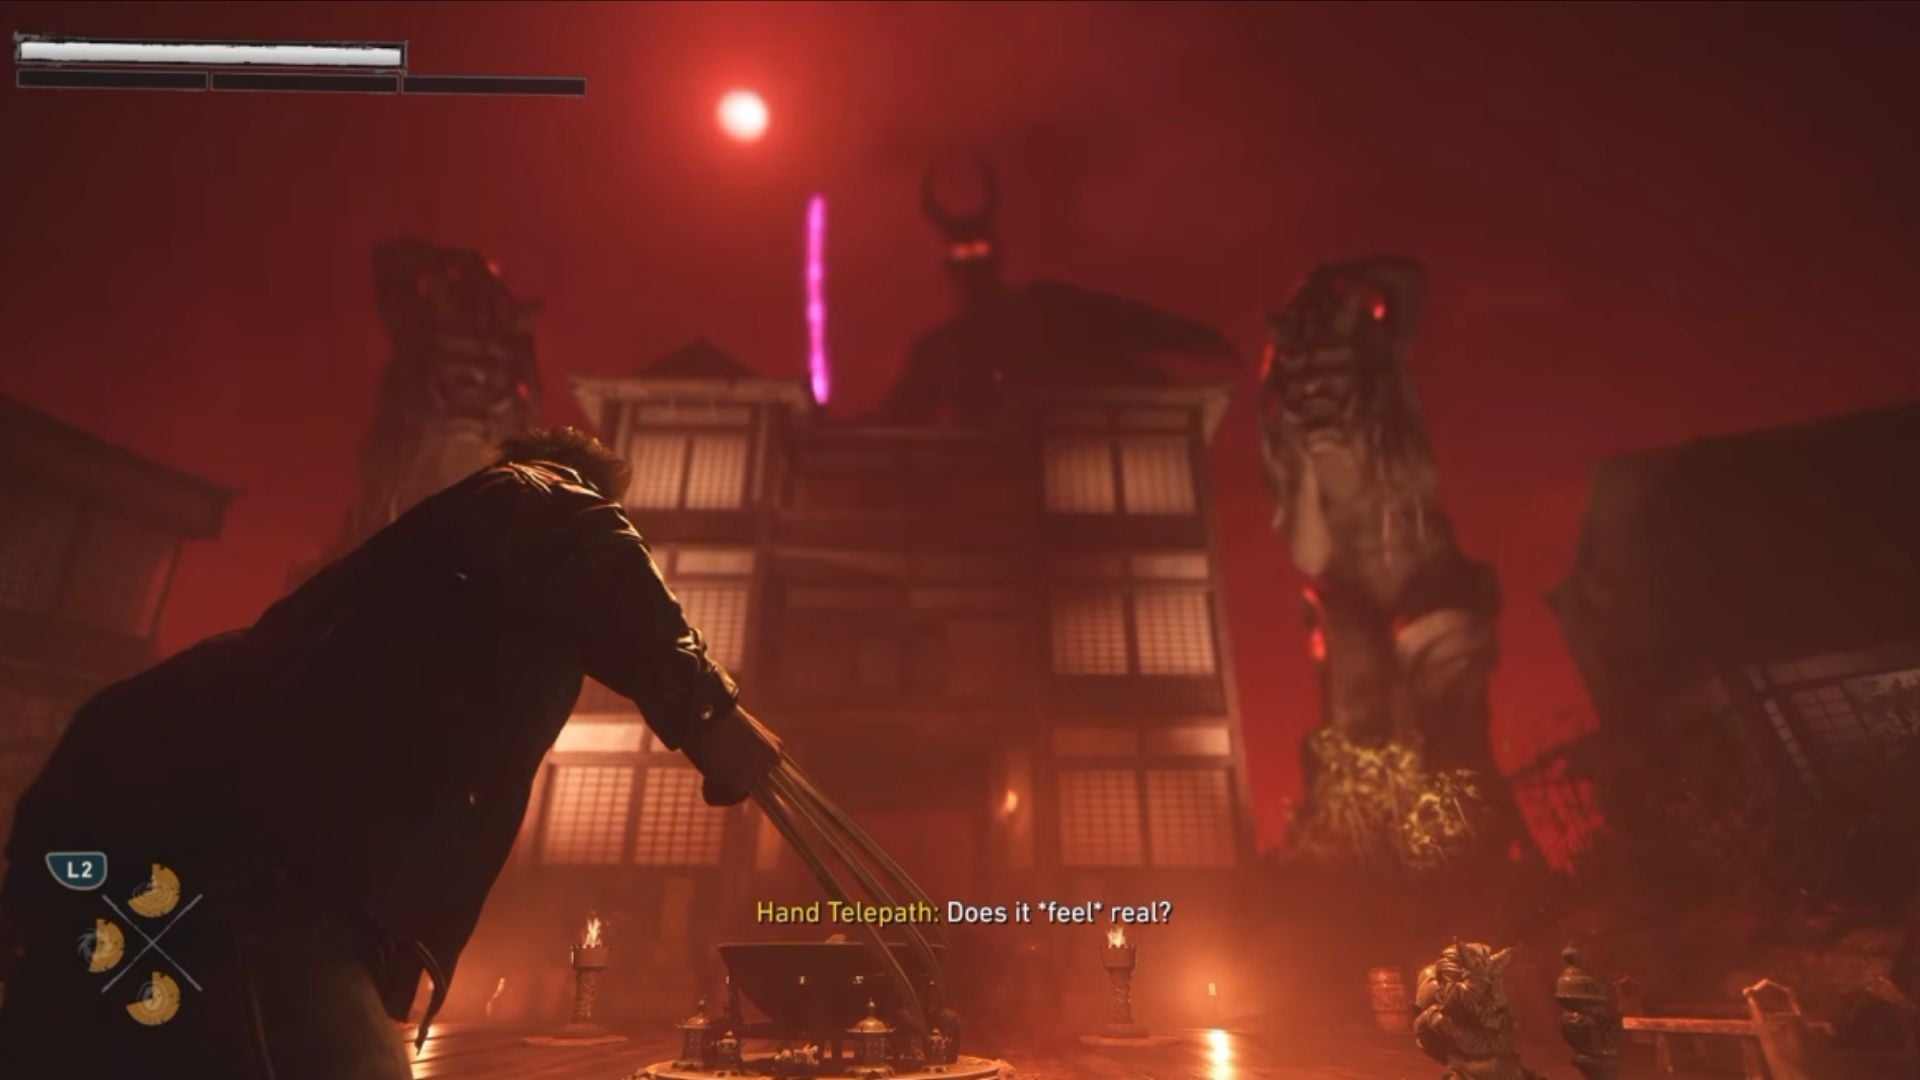
Defeating all enemies in the hallucination will break the spell, returning you to the real world. Walk through the bridge ahead and reach the elevator. The Hand will block your way once again. Kill them all to get the elevator moving and reach the next area.
Look for signs of Walter here, and you’ll trigger a cutscene where the Hand ambushes you and launches you onto the streets. Complete this encounter to move to the next section.
Bad Blood
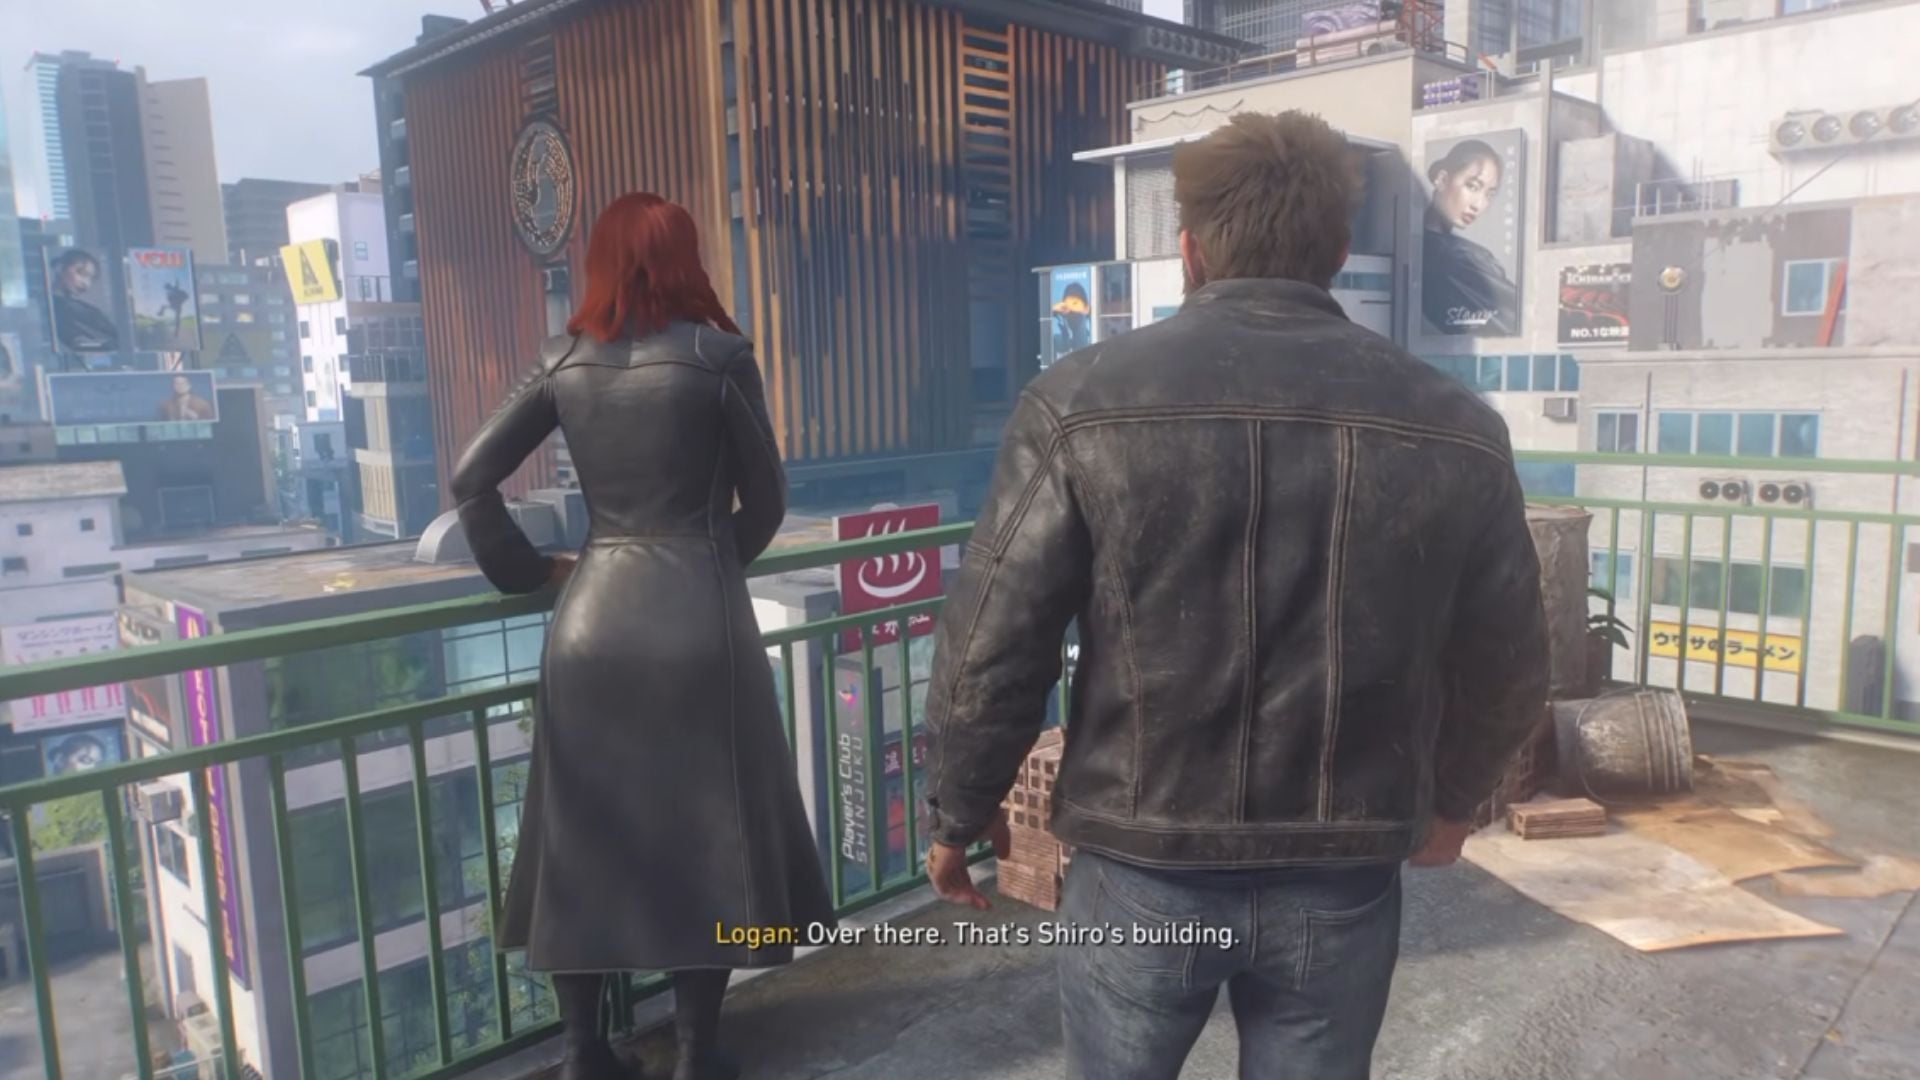
As soon as you have control again, follow Jean into the alley to your left. Scale the scaffolding along the alley, and head to the roof. You’ll then have a clear sight of Shiro’s building. Take the zipline on the roof and follow Jean along the rooftops.
You’ll then be ambushed by the Hand, and need to chase the Hand assassin through the streets. The assassin will lead you to an ambush, and you need to kill everyone to proceed.
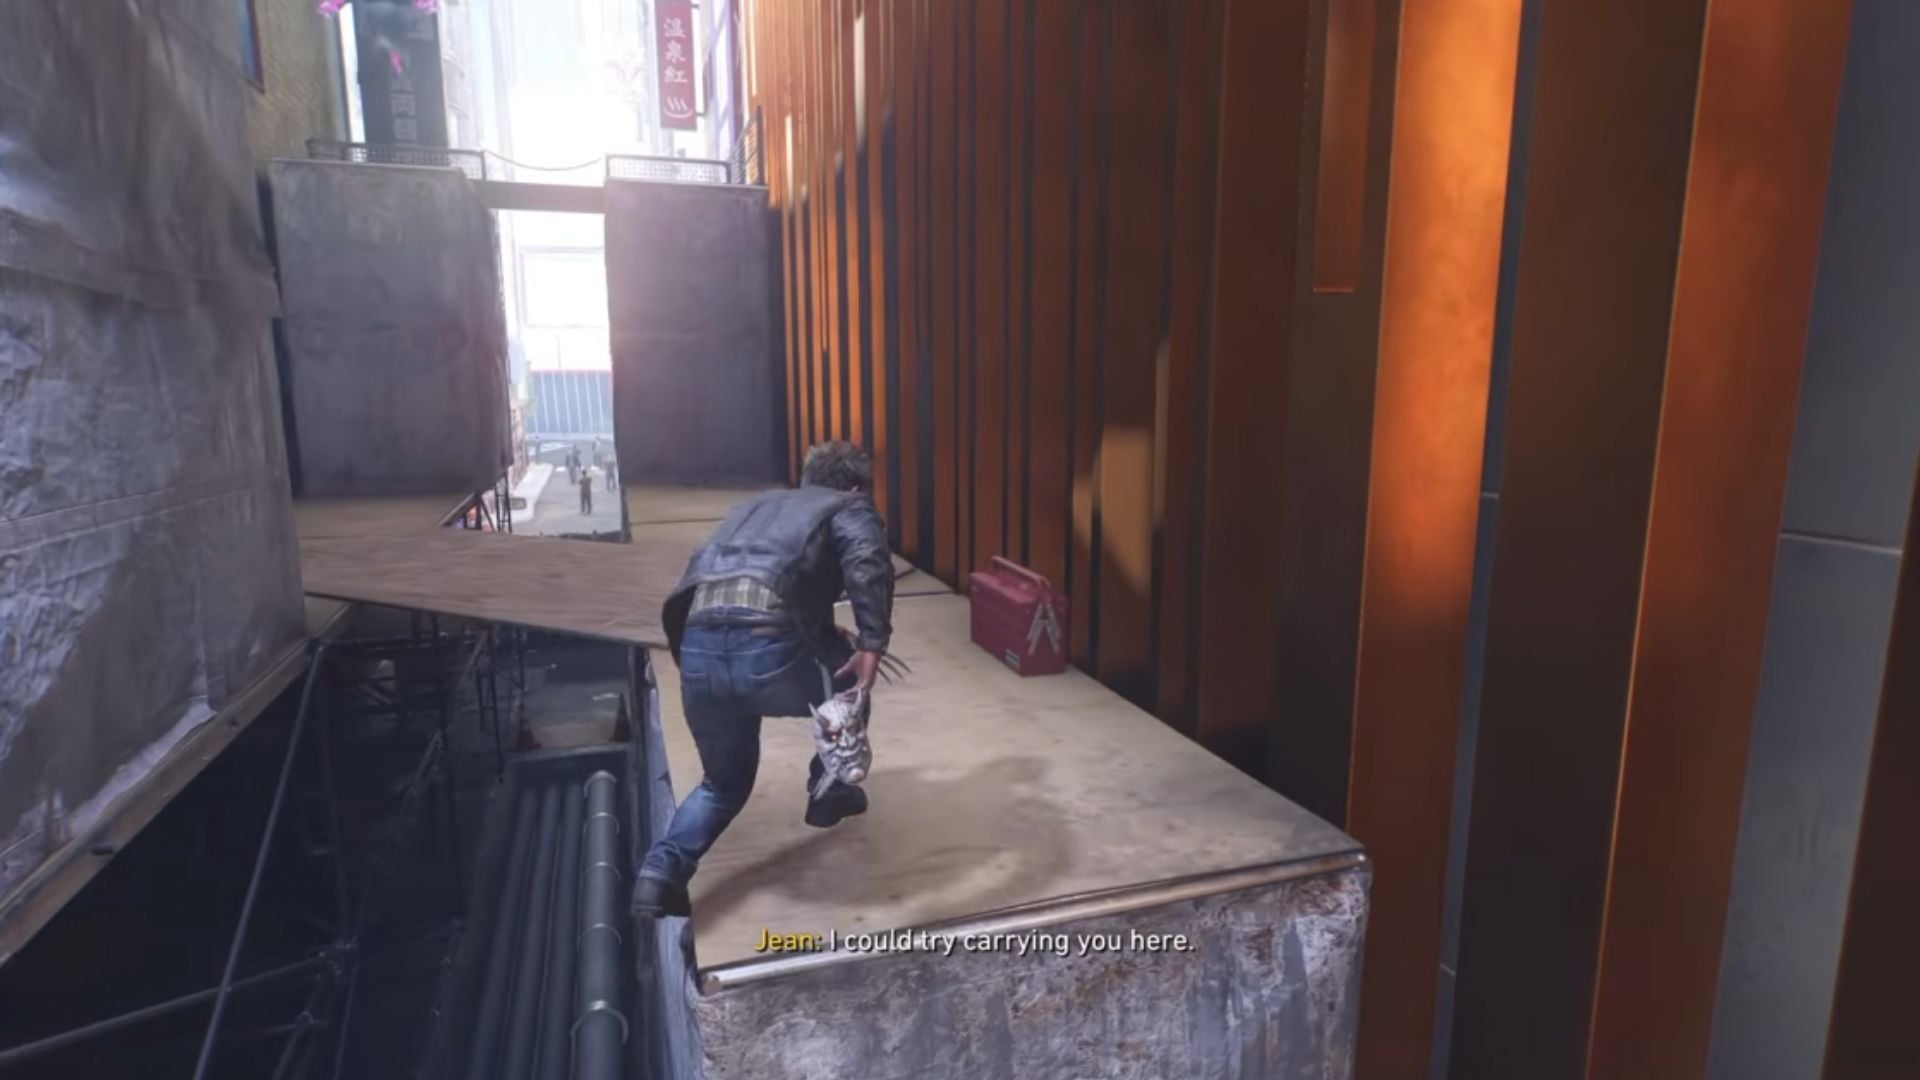
Once everyone’s dead, follow the road ahead to reach Shiro’s building. Jean will meet you by the entrance, but the doorman will not let you in. Follow Jean around the building and climb the scaffolding. Use your enhanced senses to collect a Bottle of Whiskey along the way.
Jean will help you reach the roof, and once you’re up, you’ll trigger a cutscene. Once you’re in Shiro’s house, investigate the coin on the kitchen table and the papers by the fireplace.
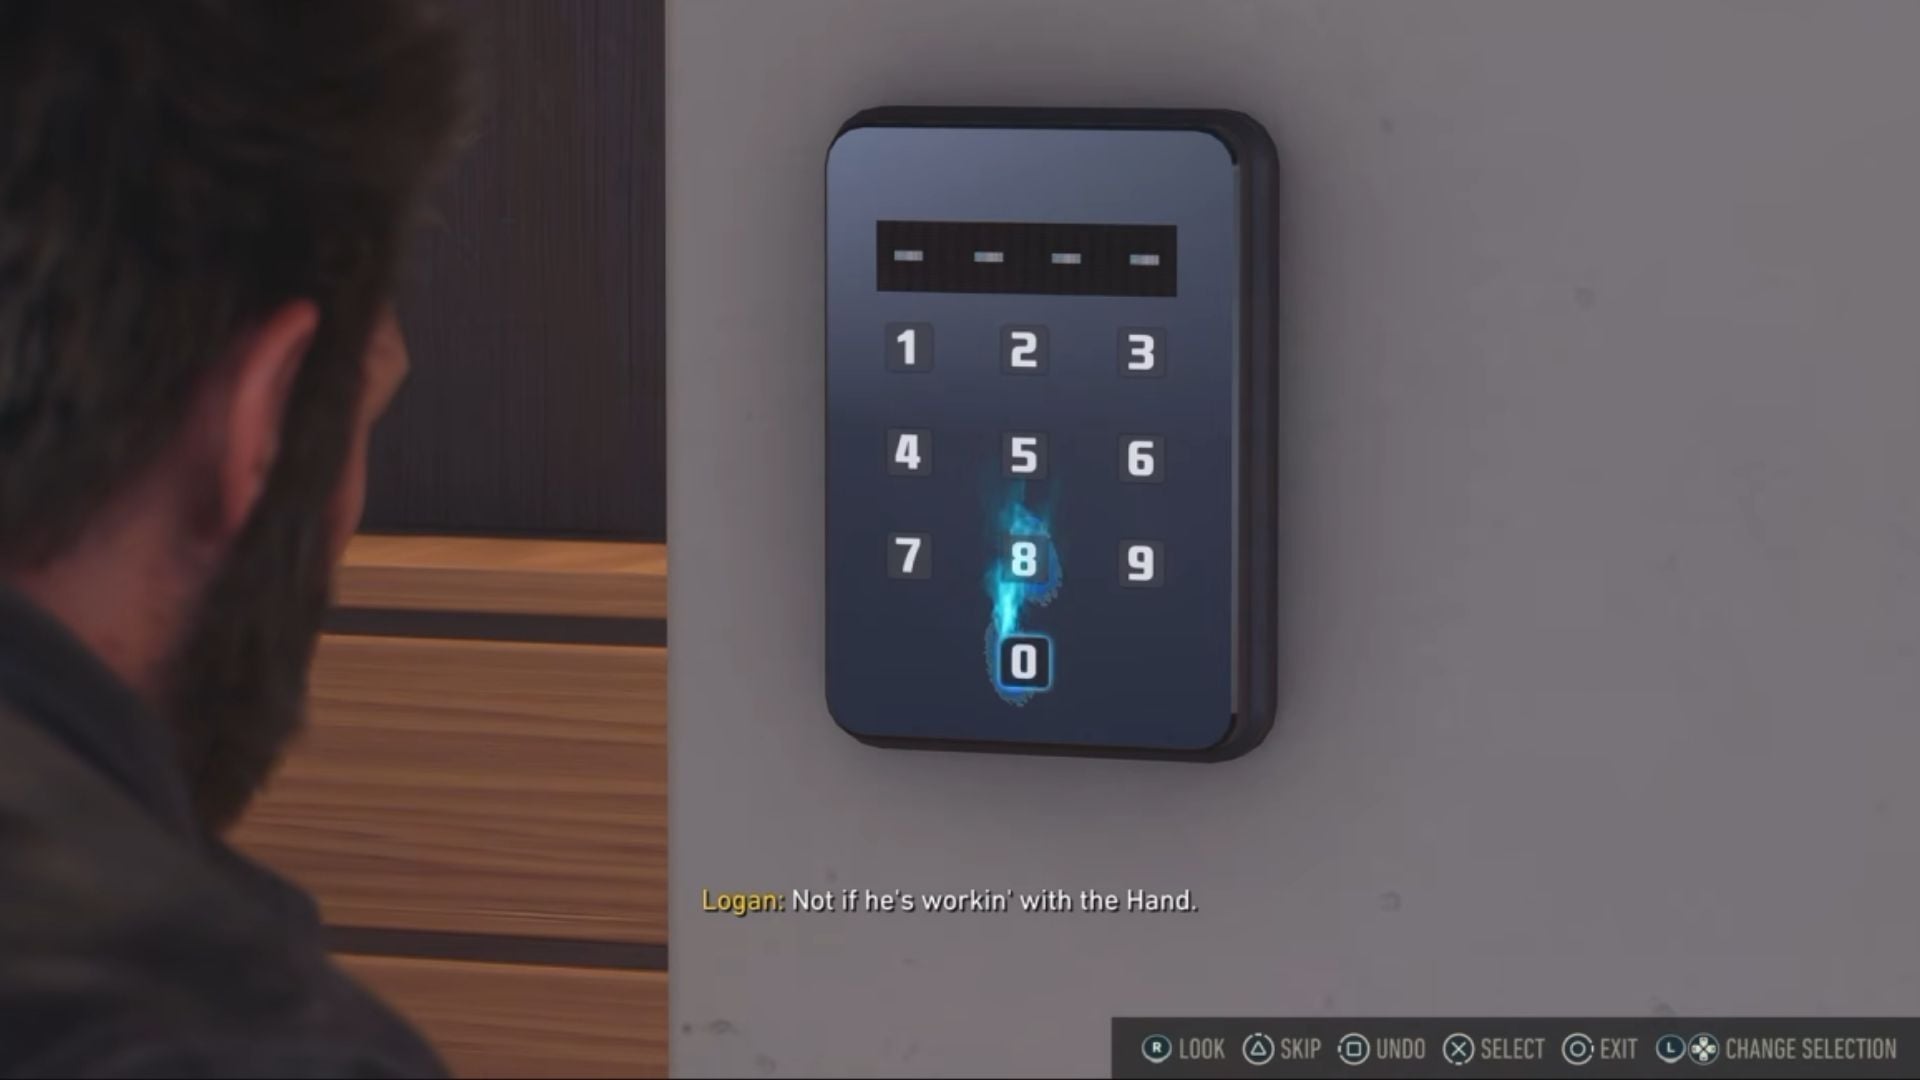
Head upstairs and you’ll find a wardrobe with a keypad. This locker requires a code, which you can decipher by solving a puzzle involving the book shelf on this floor. The code is 1924. Enter the code to unlock a secret lair, and inspect the items inside this lair to trigger a cutscene introducing Shiro and ending this section.
In the Shadows
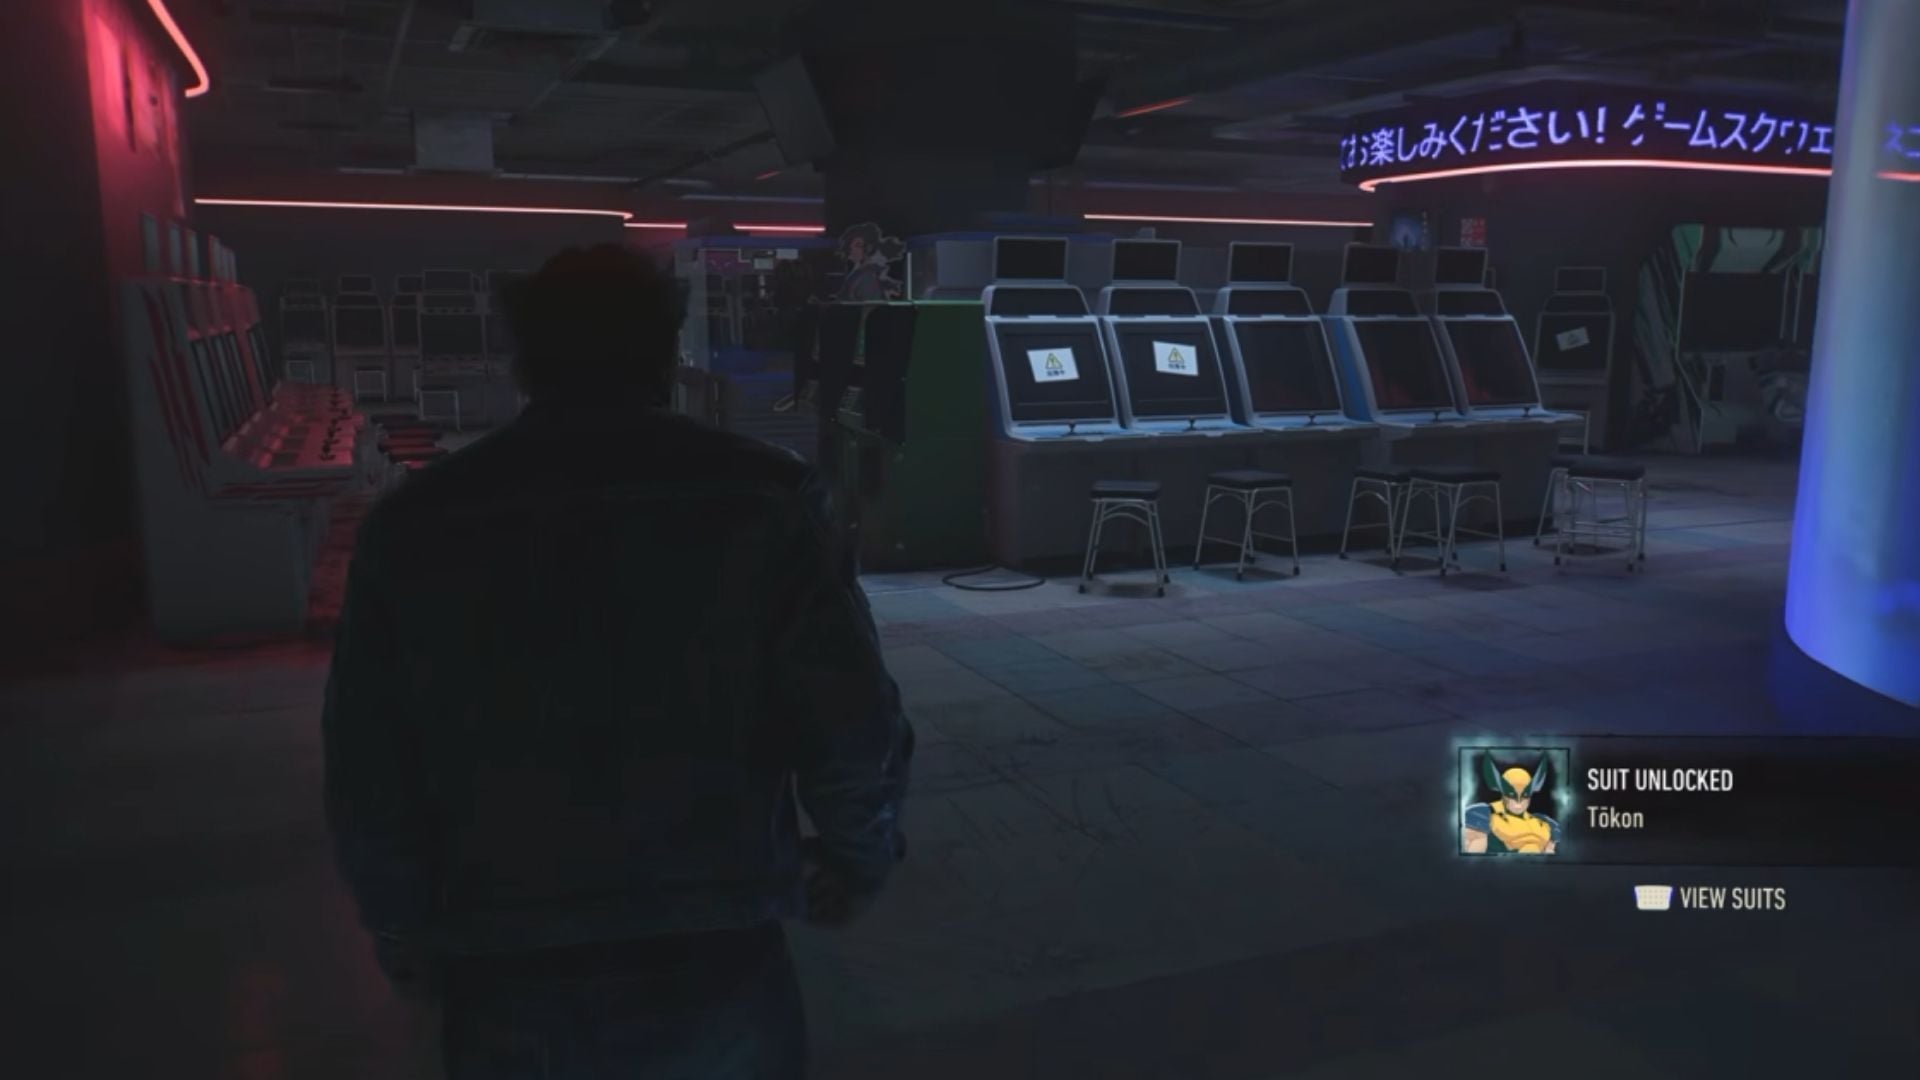
Shiro will tell you to look for Walter in a nearby arcade. Follow Jean to the arcade and break in through the front door. Enter the area filled with arcade machines and walk up to the lone arcade machine that is turned on.
Interact with this machine to push it aside and unveil a secret room. Inspect the blood vial in the room, as well as the Helix machine, to proceed. Exit the room, and you’ll have to survive a Hand ambush. Defeat the enemies and head to the streets.
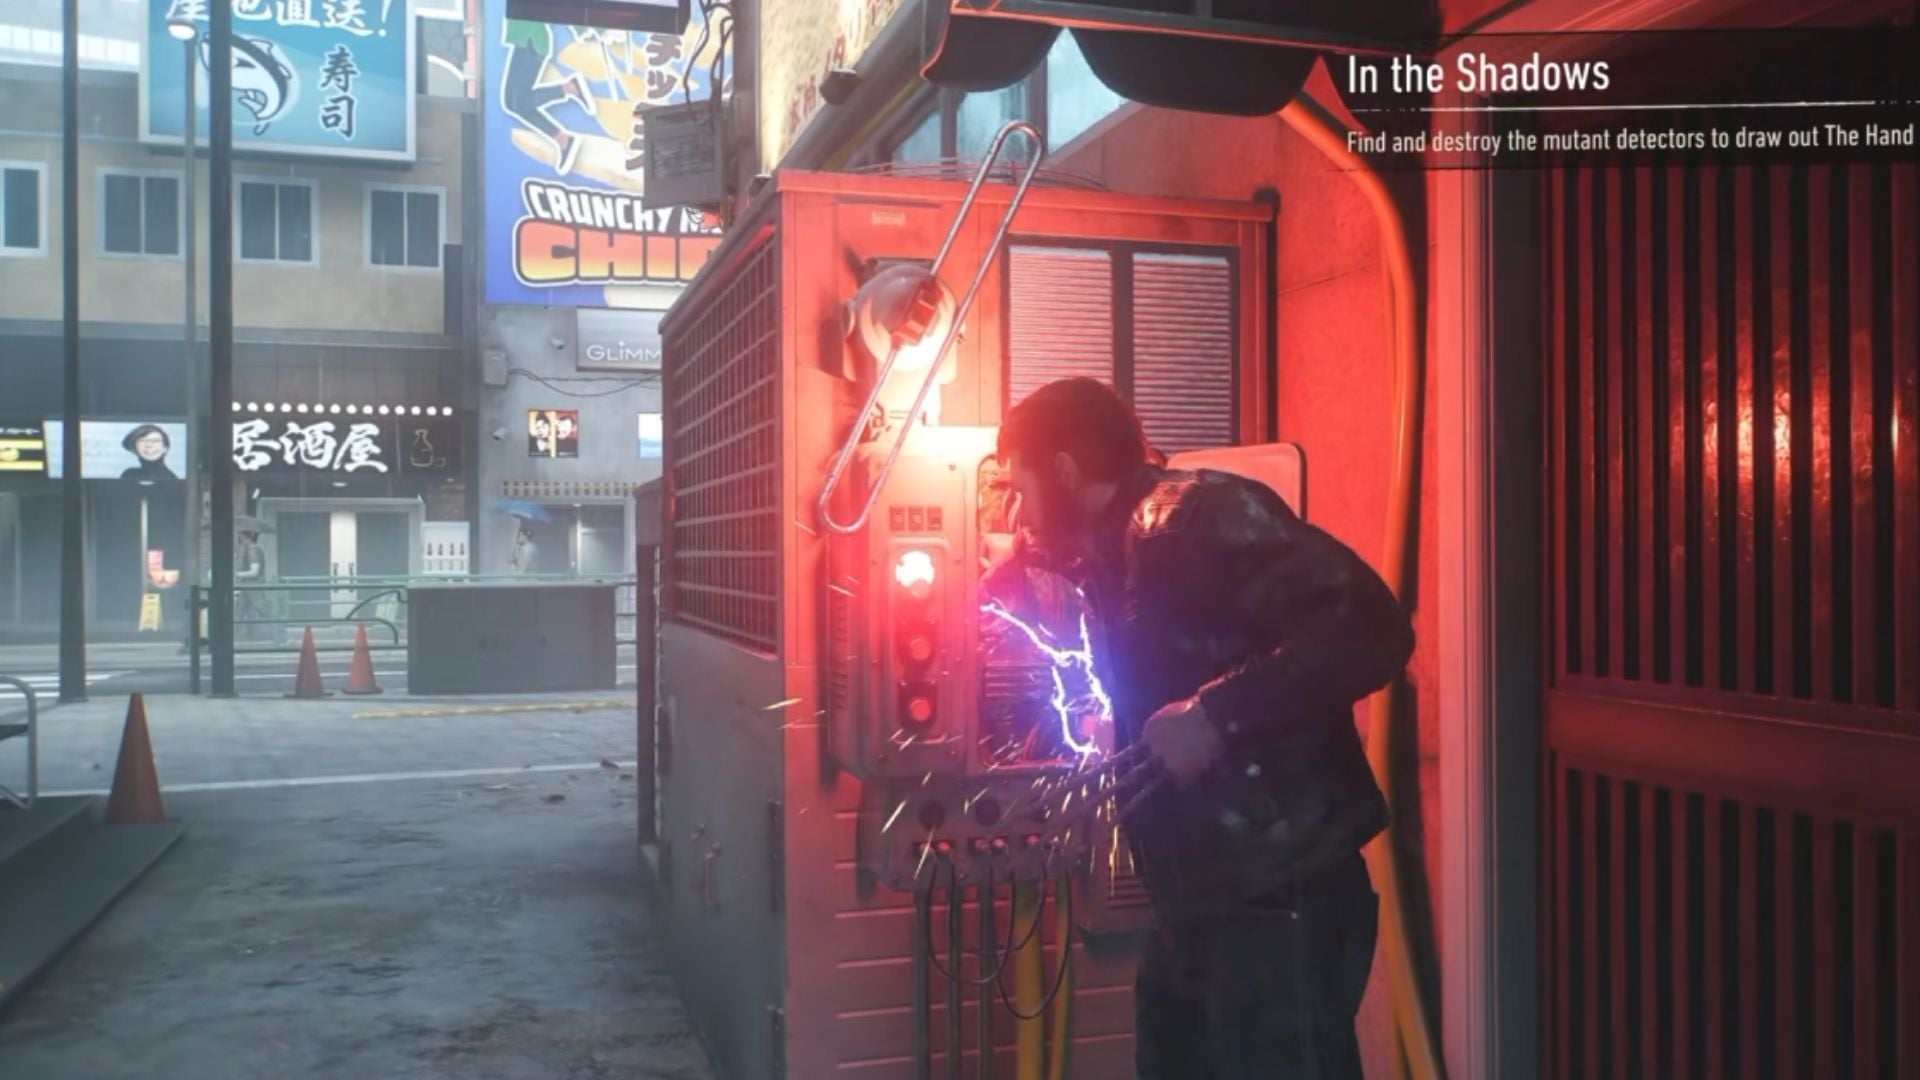
Next, use your Enhanced Senses to trace the mutant detectors in the area. Destroy them by breaking their fuse boxes. You’ll have to fight several Hand members along the way.
Destroying the last detector will kick off a fight where you’ll wound one of the enemies, who will then try to escape. Follow his scent, and you’ll reach a dead end with a wall in front of you. Interact with the wall to unlock a path forward.
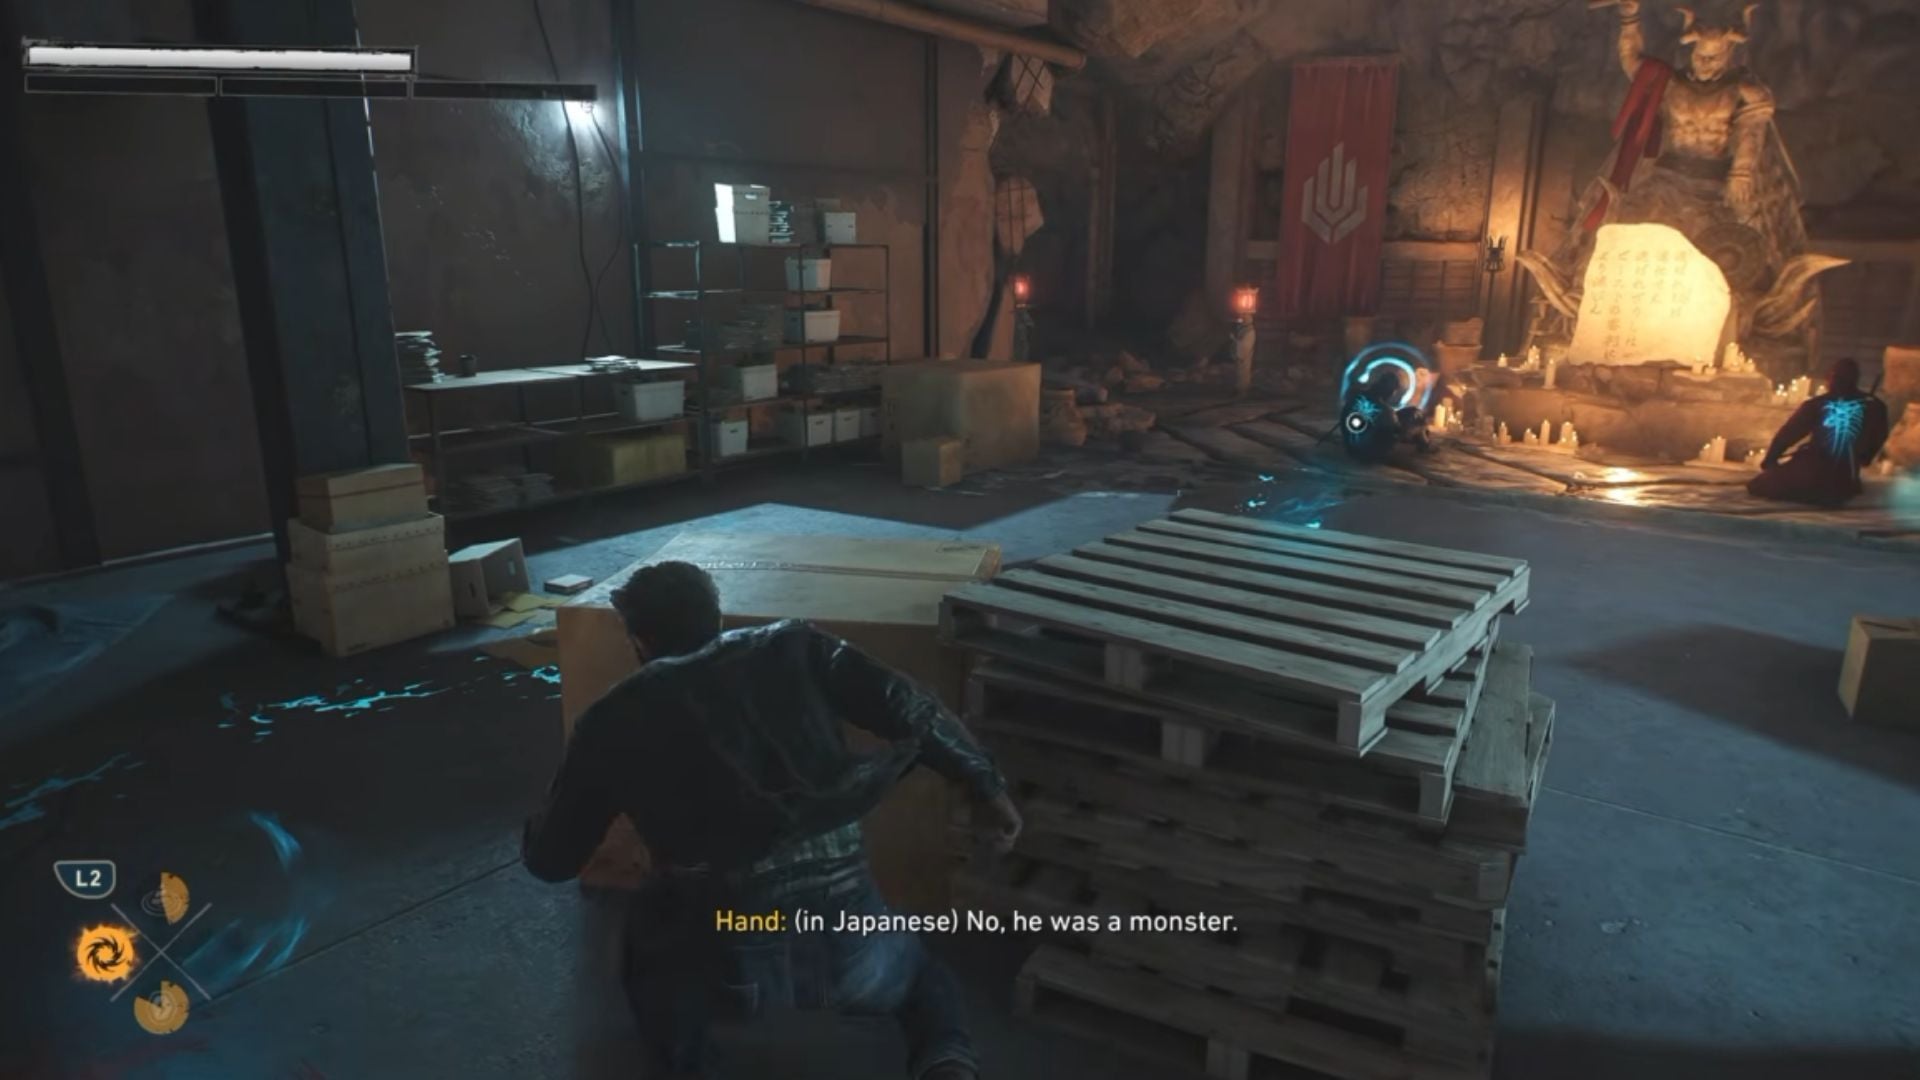
The path ahead will lead you to the Hand hideout. Kill the Hand members in front of you and head upstairs. Here, you’ll find an audio note from Walter, as well as a receipt mentioning a Truck 71. Inspect the two items and take the stairs ahead to return to the streets.
Wolverine will now have the scent he picked up from the receipt. Follow the trail to the truck, and Wolverine will threaten the driver to take him to the other Hand members.
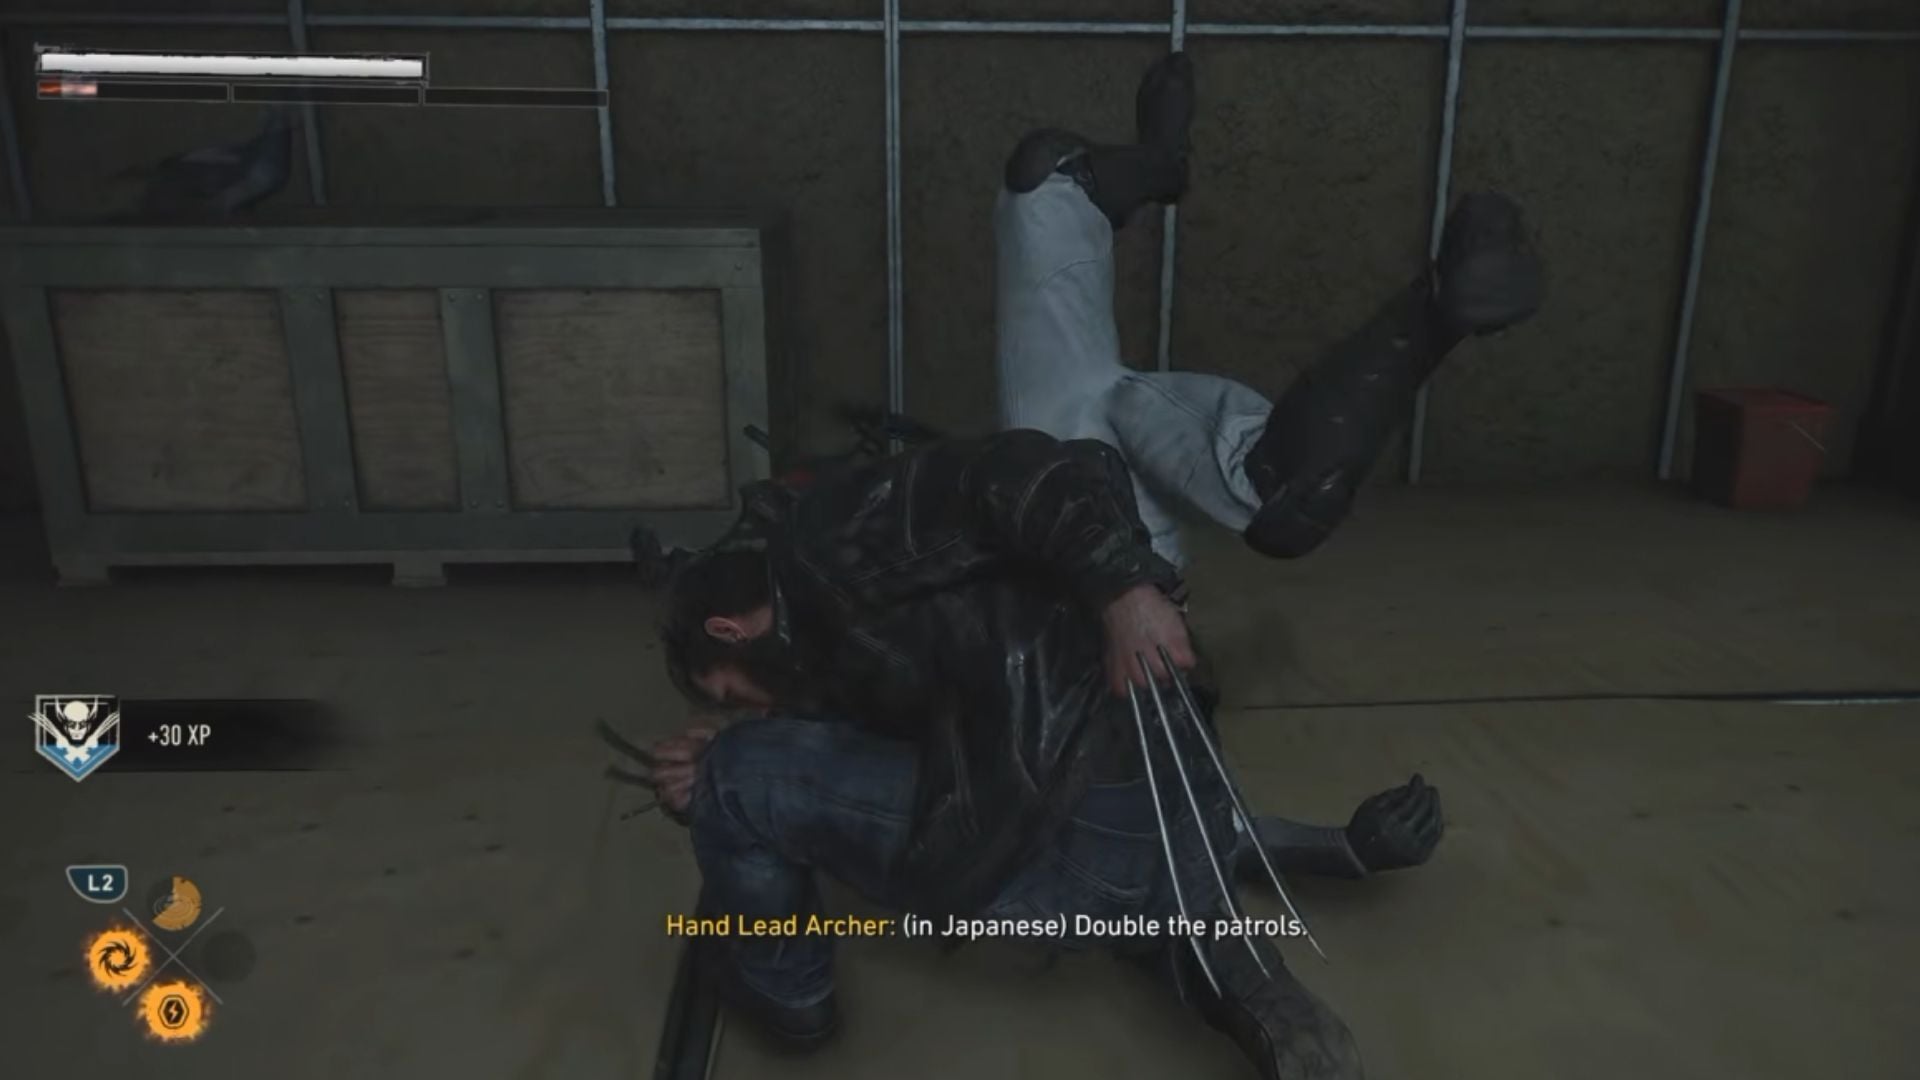
The driver will drop you off at another hideout. Clear this hideout and take the elevator at the end to reach the underground lair. Walter isn’t here and has seemingly been moved recently. Inspect the laptop here to acquire the information you need.
Head back to the streets and track the music using your Enhanced Senses. You’ll end up reuniting with Jean. Follow Jean into the lounge ahead, and listen in on what the guests are saying. You’ll find a Bottle of Whiskey near one of the guests. Jean will then lead you into a room. Inspect the wall here to unlock a secret path forward.
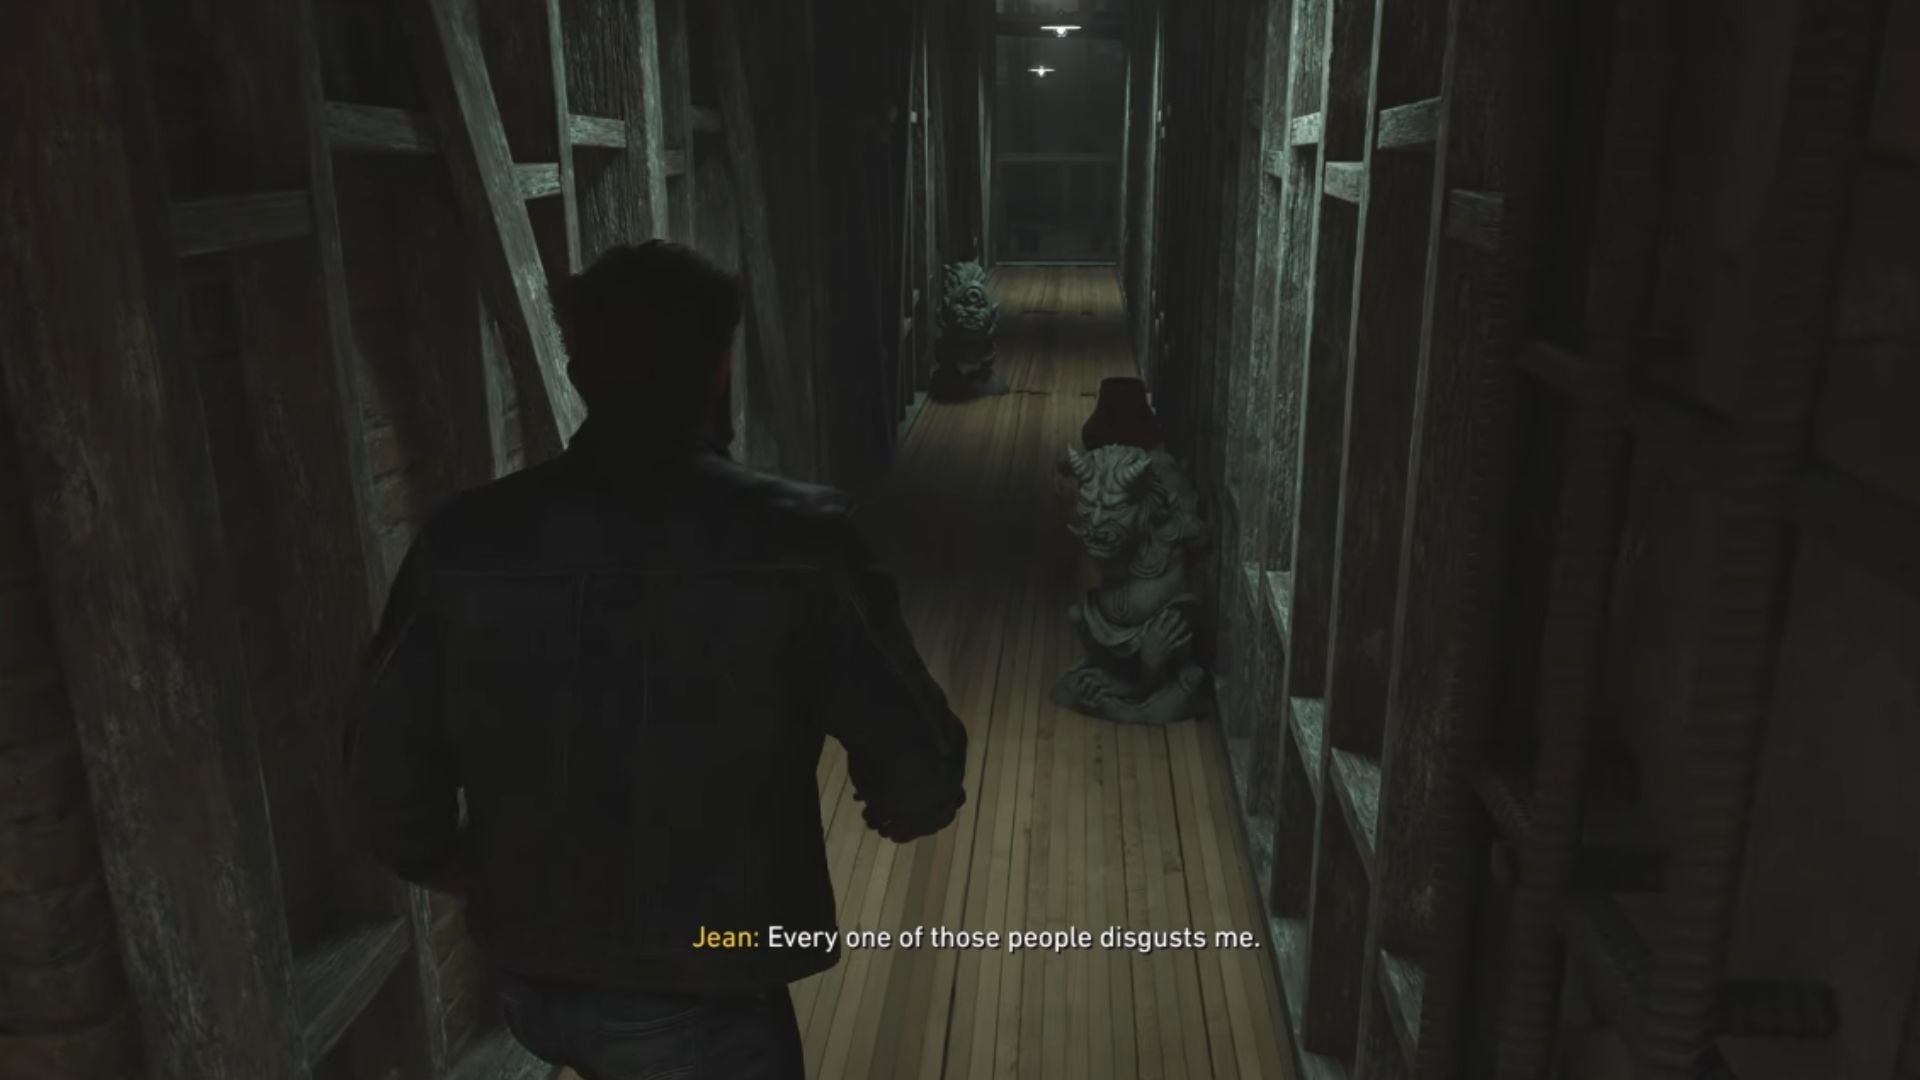
The path ahead will lead you into yet another Hand hideout. Defeat the enemies here and take the elevator in the next room. You’ll find Walter on the next floor, now completely mutated into a monster.
The Hand will ambush you again, and you’ll need to fight them off. Defeat these minions, and Deathstrike will summon the Fist. The Fist is a brute-type enemy. While he has mostly predictable attacks, he gives you no room to breathe by spitting blood at you should you move back.
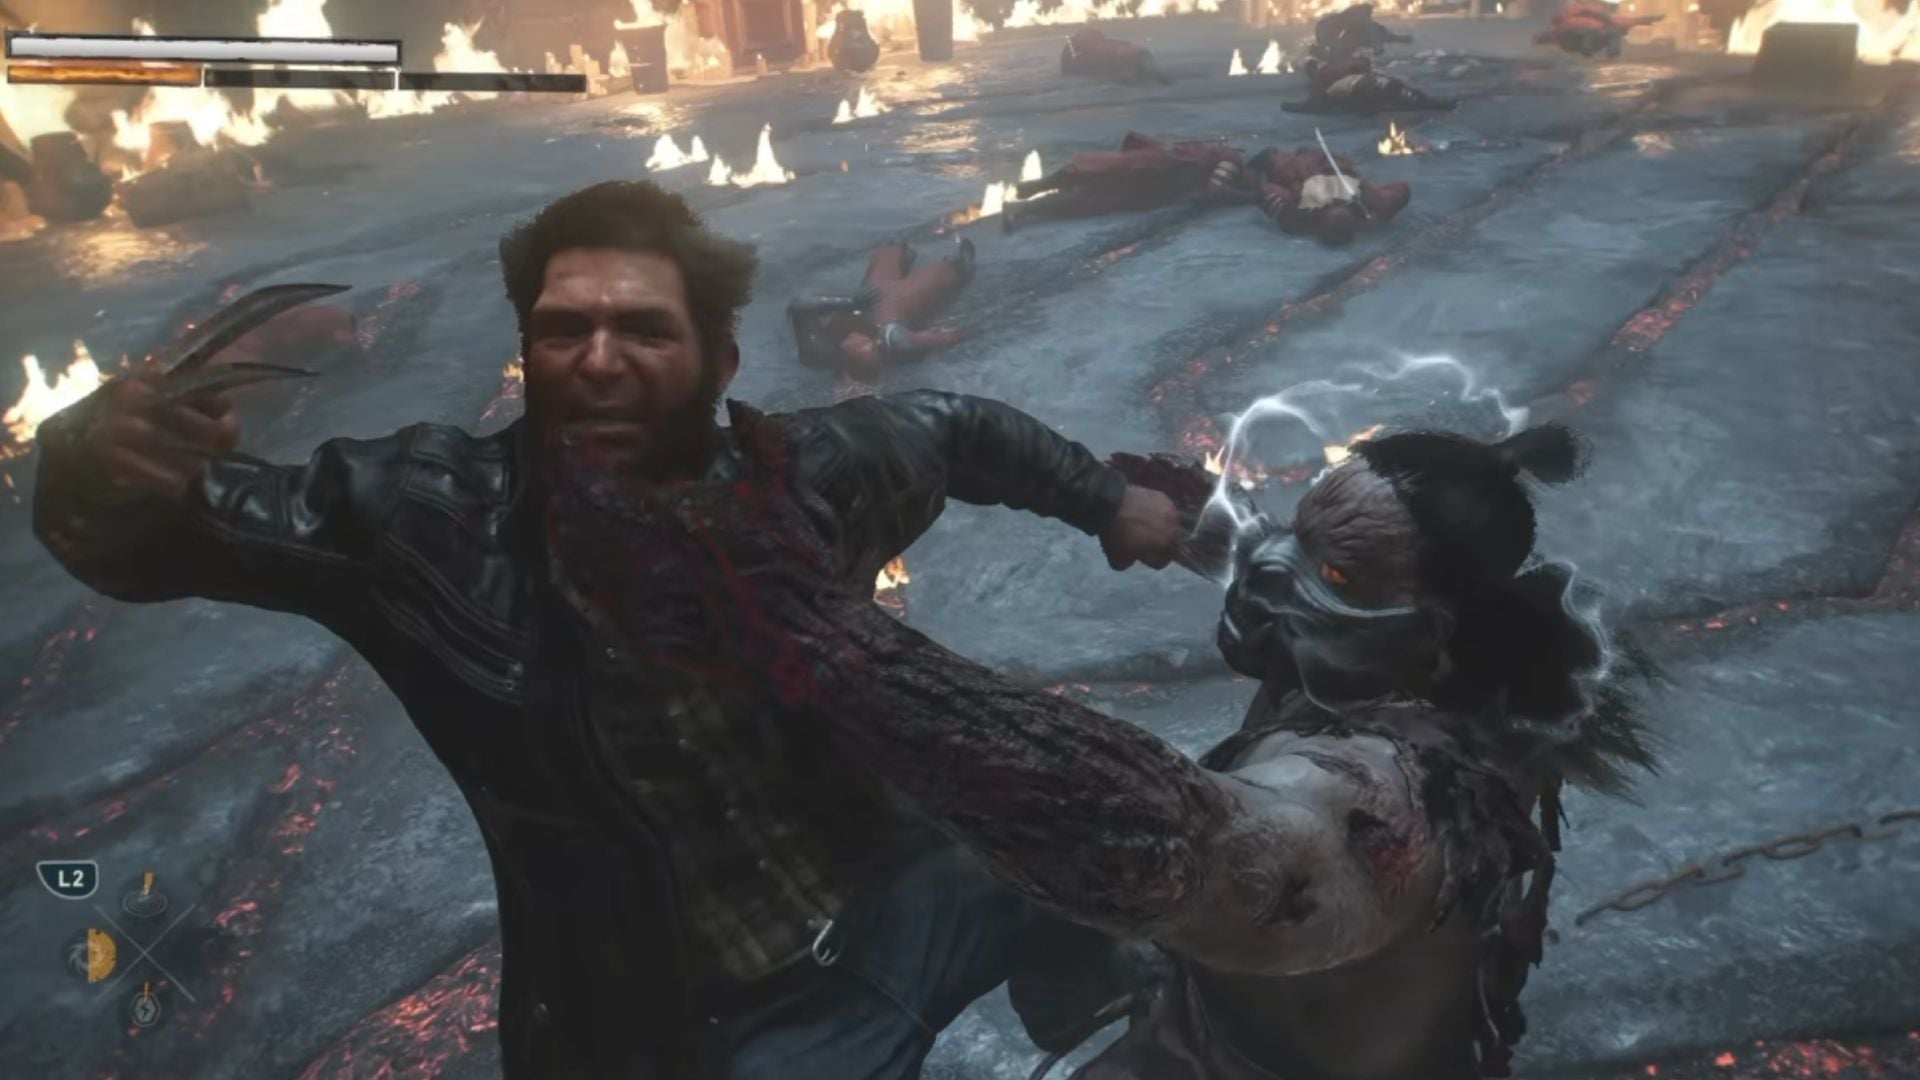
Fight the boss up close and strafe to the sides if you need breathing room. Do not try to create distance, as he’ll simply spit blood at you, dealing damage. Since the attack is fast, you’ll have little time to react, making retreat a bad strategy.
Defeat the Fist, and you’ll trigger a cutscene where Jean bails Wolverine out and sends him back to the streets. Once you’re in control, head back to Shiro’s apartment to trigger another cutscene and end this section of Japan.
Death Comes to Death
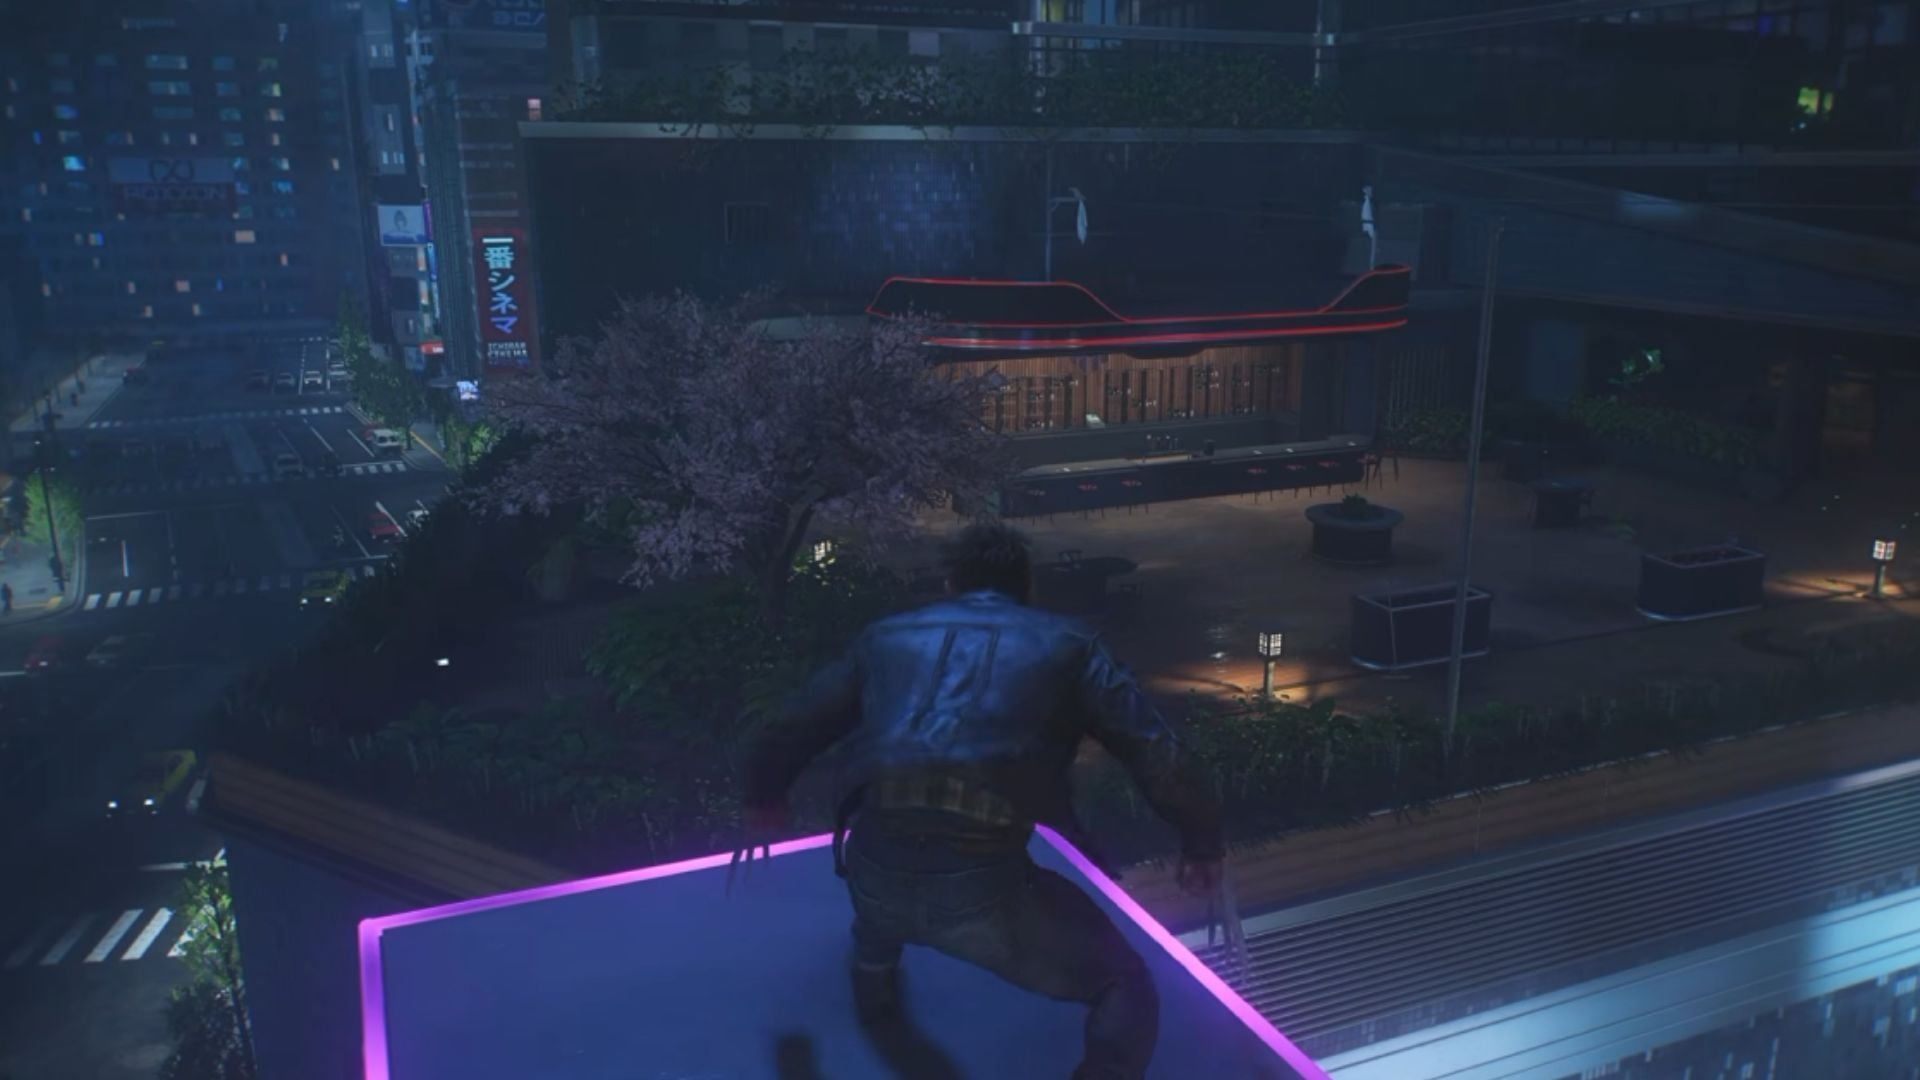
Next, jump off Shiro’s balcony and make your way to Harada Garden Tower across the street. The Hand will be guarding the roofs near the tower. Kill them, and then access the tower through the open balcony.
Inspect the ventilation shaft in the restaurant to trigger another ambush, which will then open the path ahead through the kitchen. Make sure to use your Enhanced Senses as you move, as there’s a Bottle of Whiskey to collect along the way.
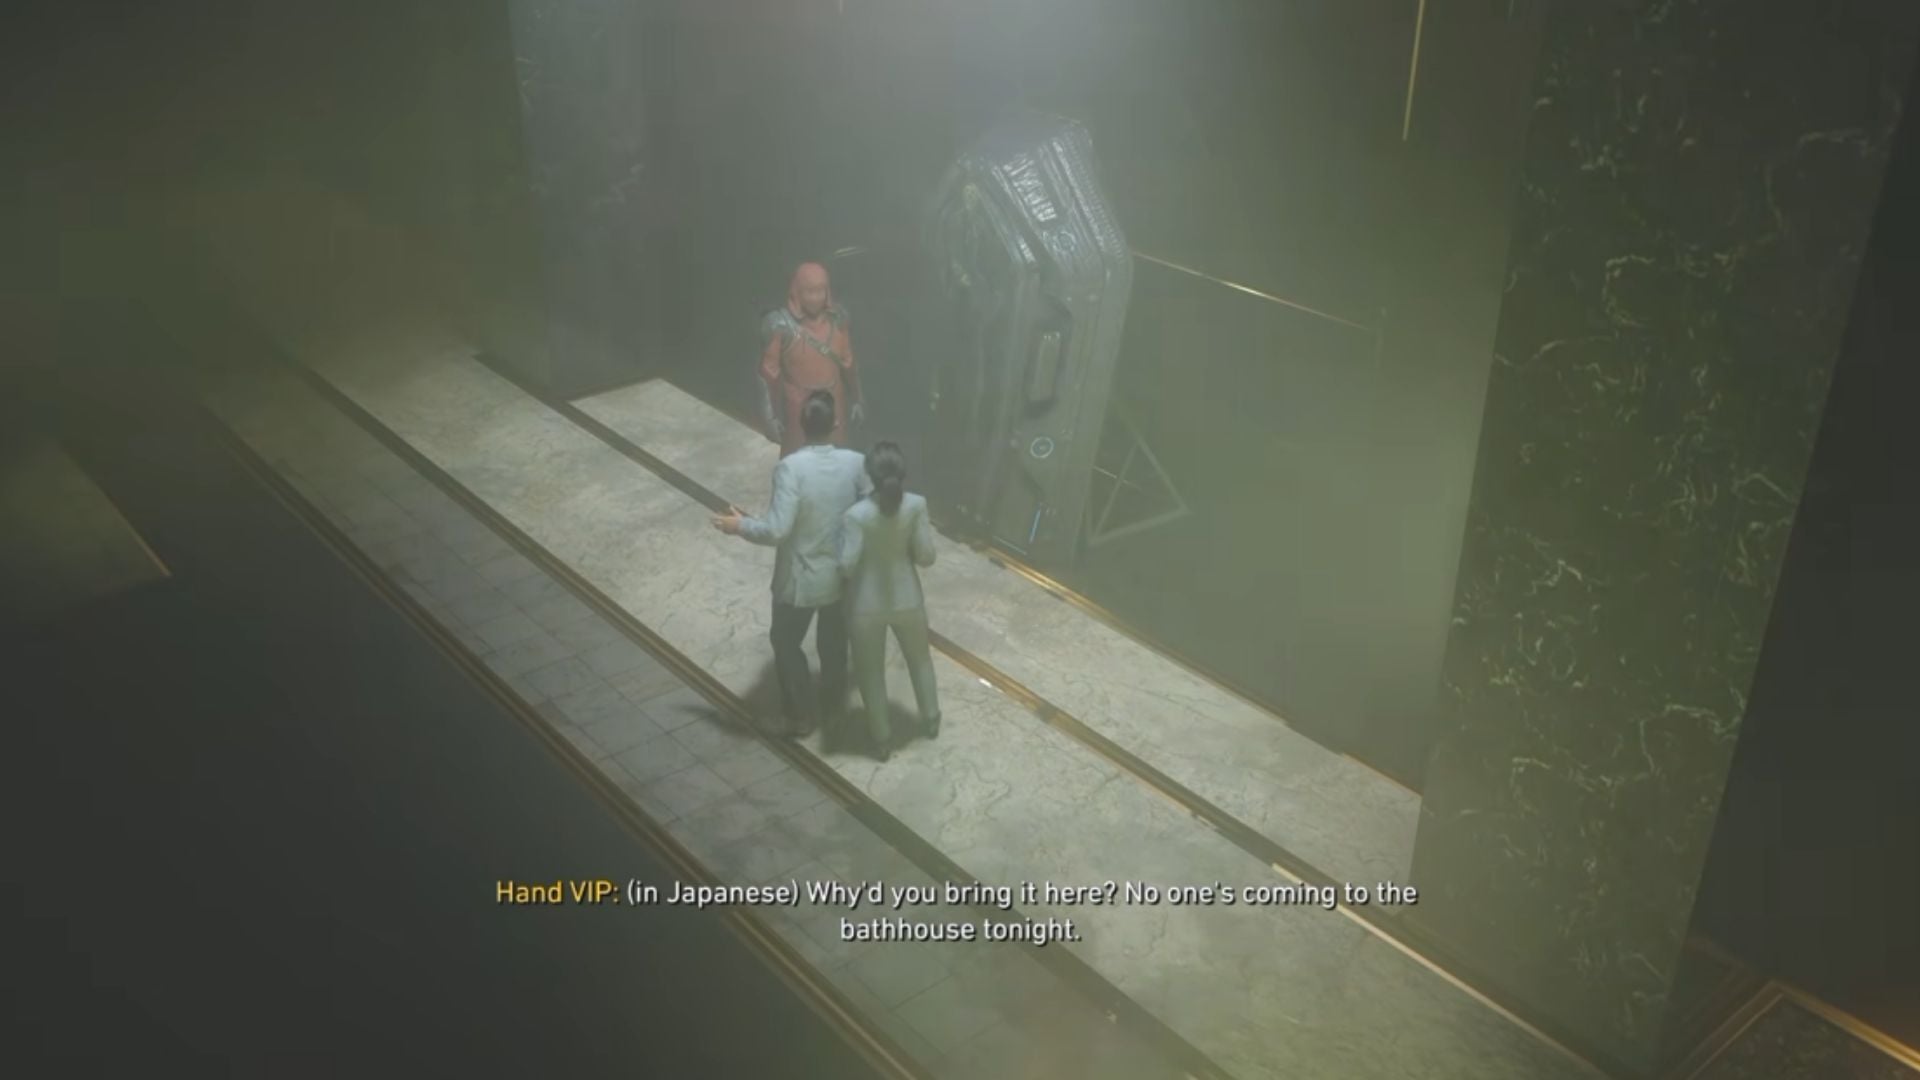
The path will lead you to the tower’s security room. Drop in and kill the Hand member reviewing the footage, and then inspect the footage yourself. Once done, exit the room through the door ahead and head straight down the path along the blue trail.
The room ahead is clouded in smoke. Enter here, and several Hand assassins will enter the room. Kill them all and go through the forest replica ahead. Head straight and climb the elevator shaft to reach the upper floor to trigger a cutscene.
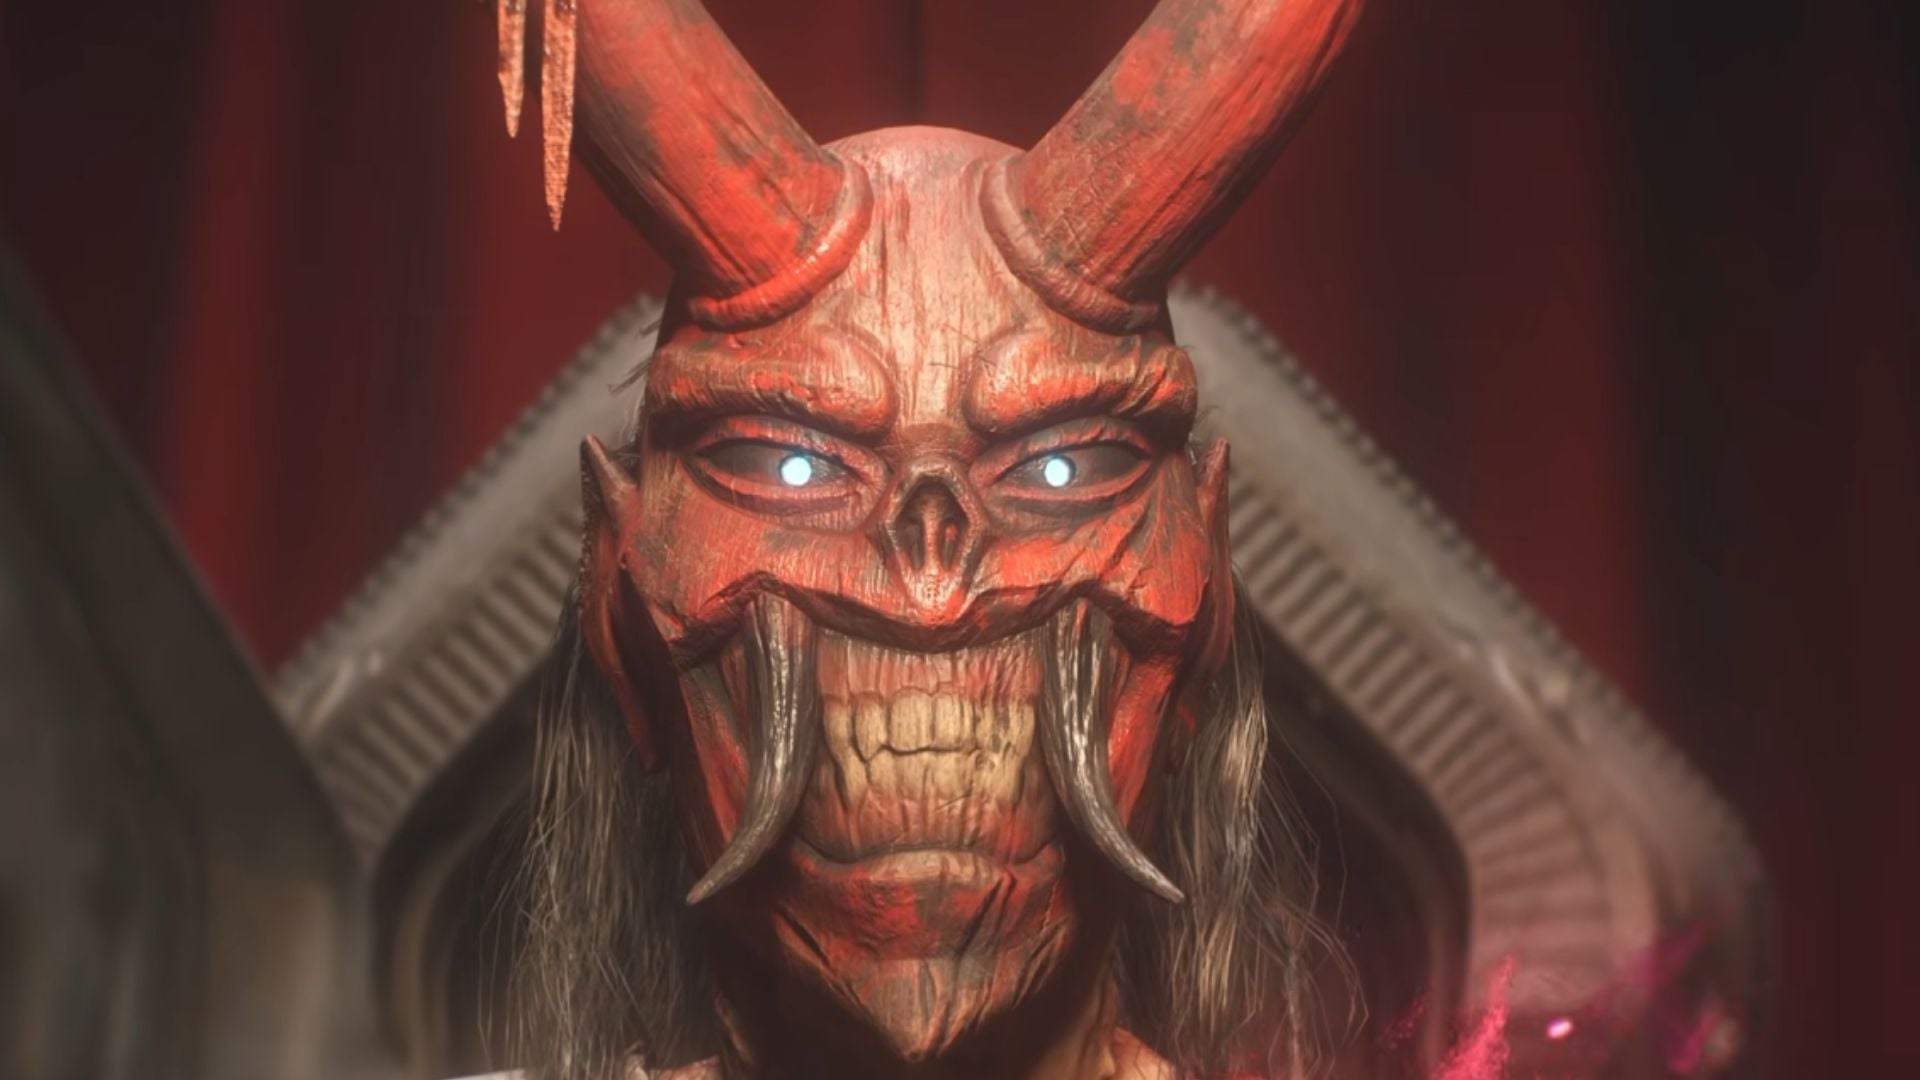
Once the cutscene ends, defeat the Hand and the brute enemy Deathstrike has summoned. She’ll try to escape, and you’ll need to chase after her across the city rooftops. Catch up to her to trigger another cutscene, where she’ll stab Wolverine.
This will kick off a dream sequence, with a voice speaking to Wolverine. Once you have control, you’ll unlock the Helix Claws and will need to survive multiple waves of enemies. Kill them all to complete this section of Wolverine’s Japan chapter.
We Were Wrong
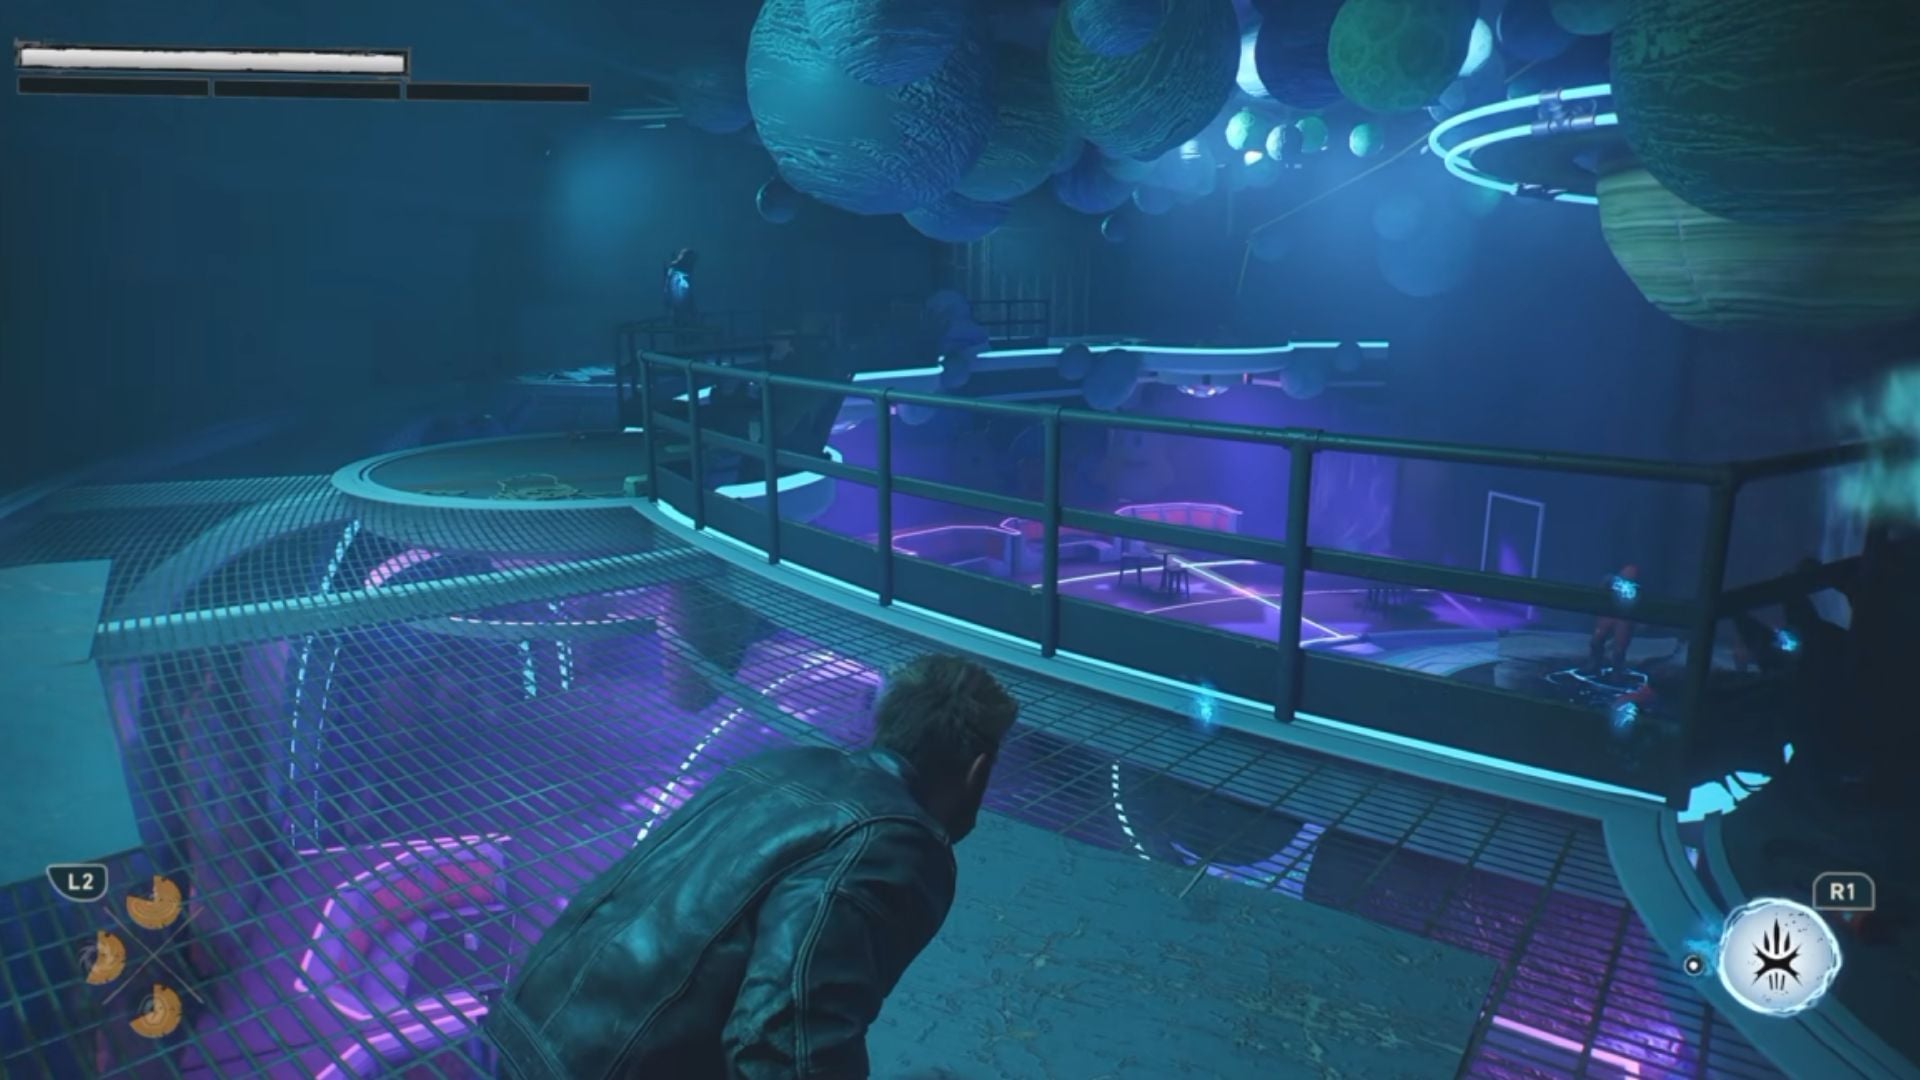
Follow Jean and walk through the conflict-torn streets. She’ll lead you to a building she believes holds the Helix Engine. Climb up and access this building through the grate in the balcony. You’ll land in a large hall with Hand assassins. Defeat them, inspect the Helix mark on the floor, and head through the black door to trigger a cutscene.
When the cutscene is over, go through the hole in the wall ahead and follow Jean to the mutant who took the Helix Engine. Fight the Hand assassins along the way, and you’ll reach a warehouse.
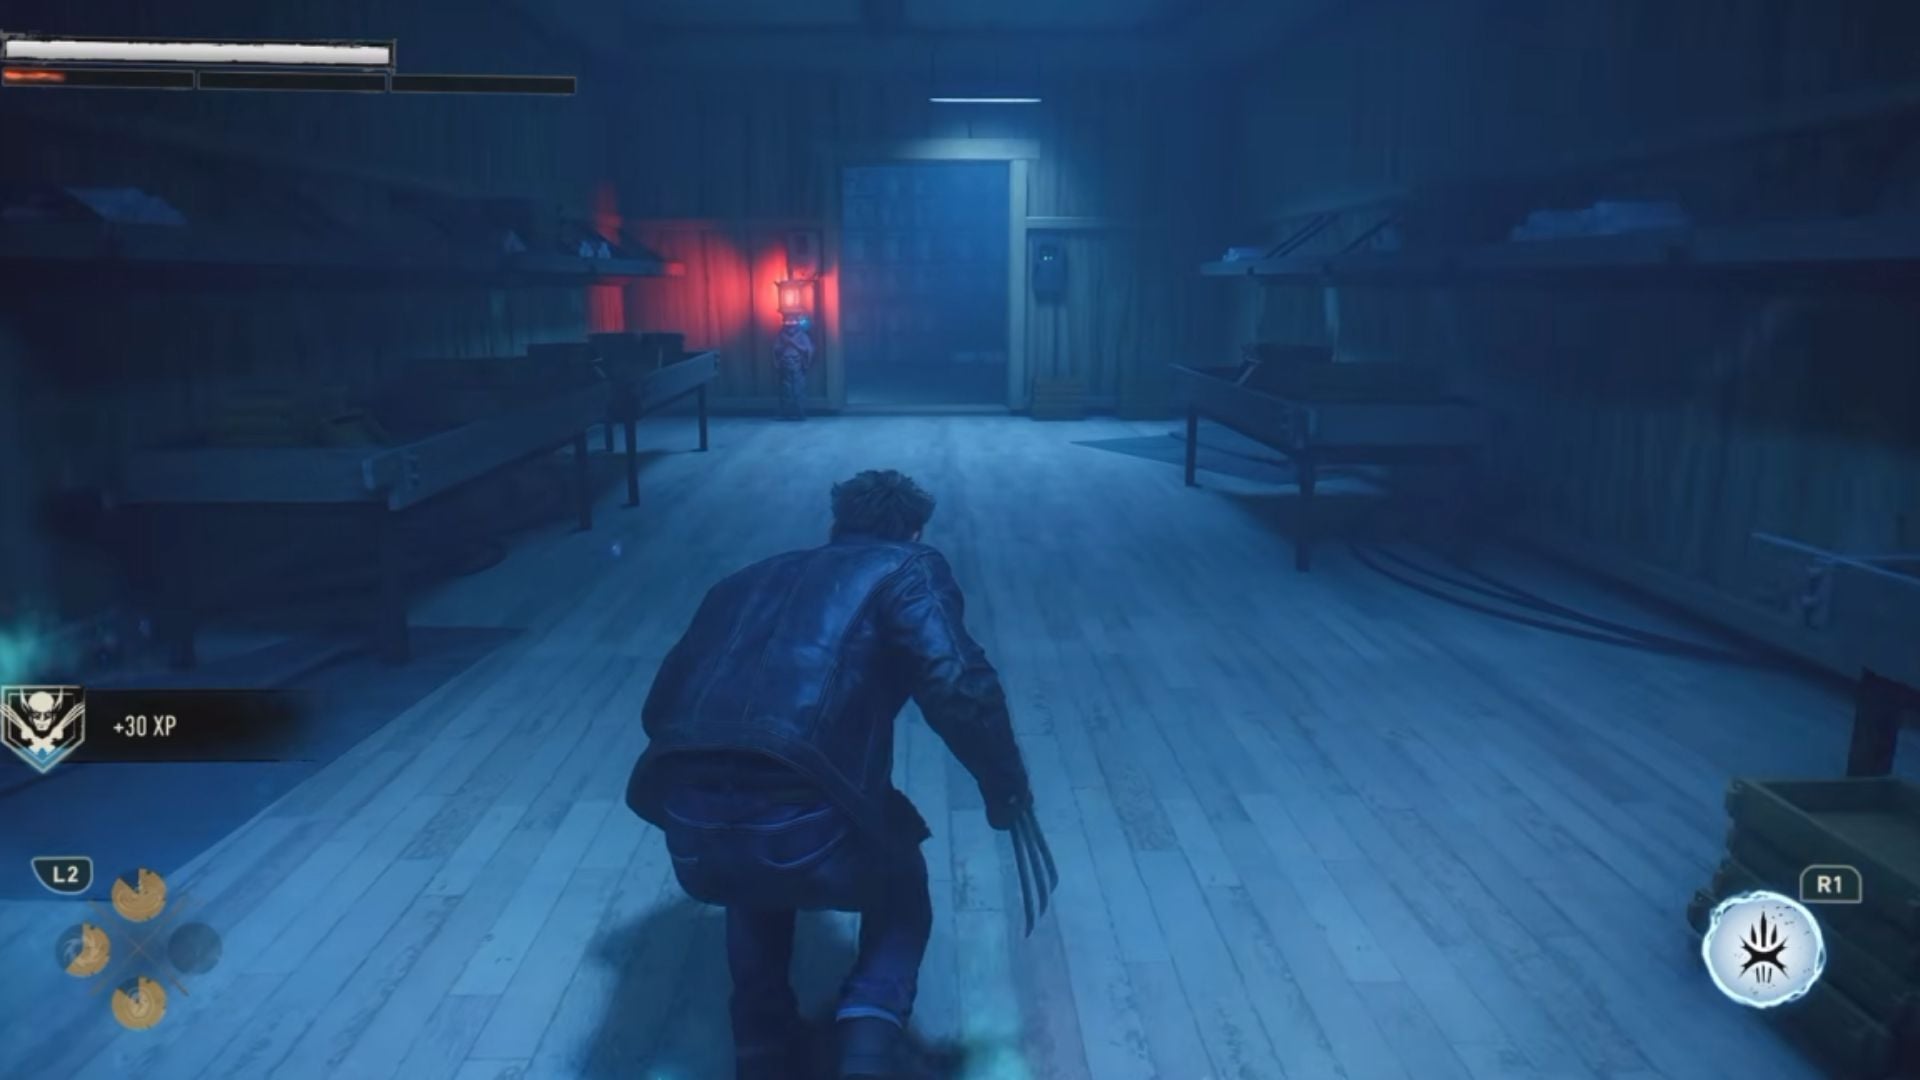
Enter the warehouse by climbing the containers to the side of the building. Cut through the warehouse, killing all the Hand assassins inside. Jean will lead you to a door and open it for you, and you’ll find the Hand brute inside, along with other assassins.
Defeat the brute and the assassins, and then enter the next room to find the Hand mutant. This is a giant enemy that wields a club. Kill the assassins around him first to isolate the mutant, and then beat him in a 2v1 with Jean’s help. This will trigger a cutscene, completing this section of the Japan chapter in Wolverine.
Hell Followed With Him
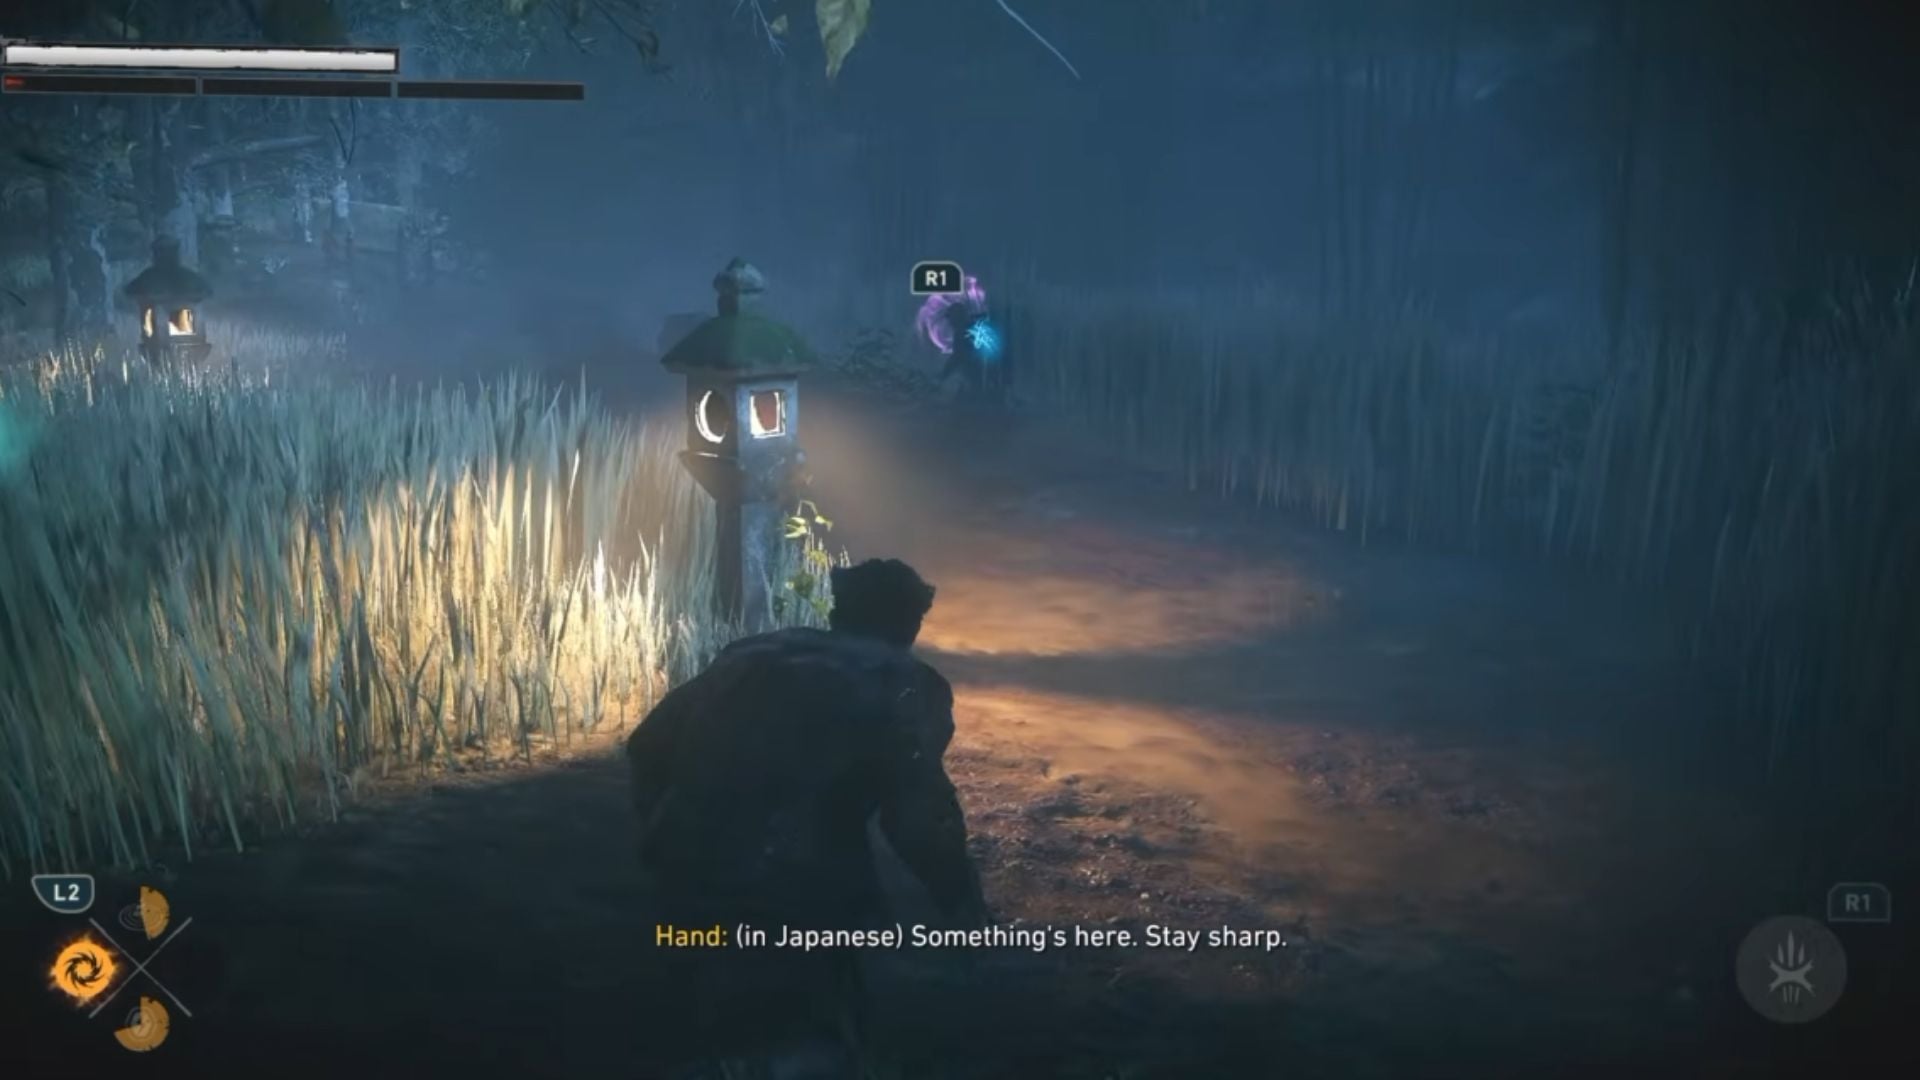
After the cutscene is over, you’ll now find yourself at the Hand’s stronghold. Walk through the empty courtyard and reach the garden ahead. You’ll find the Hand assassins patrolling the area. Sneak through, kill everyone, and reach the large gate ahead.
Enter the shrine and inspect the statues here. Once done, Jean will open the path ahead. Head up the stairs to trigger a cutscene, after which you’ll need to fight through a horde. Kill everyone, and you’ll force Deathstrike to come out of hiding. When this cutscene is over, you’ll face Deathstrike in a boss fight.
Death’s Match
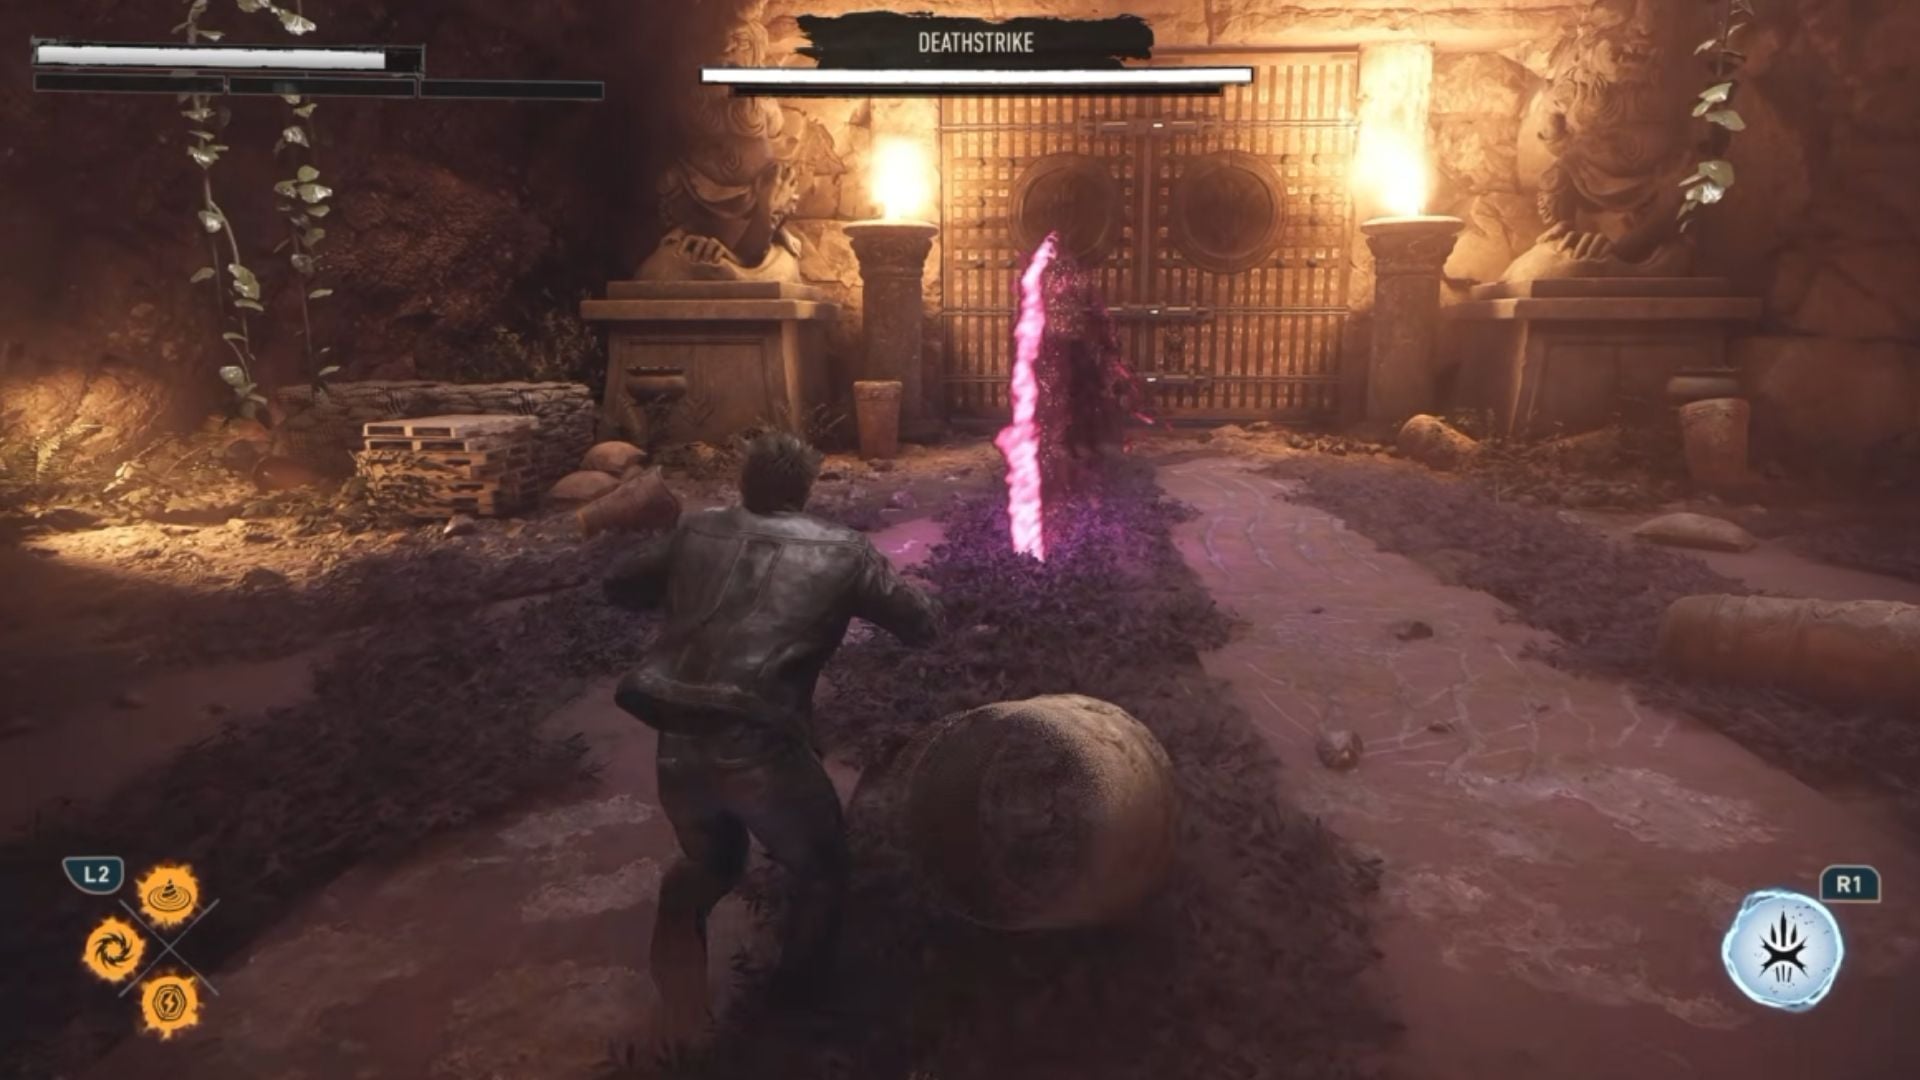
Deathstrike is a fairly simple boss, with no real tricks up her sleeve. Her attacks are slow, making them easy to block. Try to close the distance and keep her in claw-range at all times. Her combo barrage is easy to read due to her glowing blades, making them even easier to parry. Beat her here, and you’ll kick off a second phase.
The second phase is a little trickier since she teleports around. We recommend stunlocking her towards the edge of the arena, next to the lava. The boss won’t be able to escape, and you can stunlock her to death. This will trigger a cutscene, completing this section of Wolverine.
Sinister Tidings
Following the events of the boss fight, you’ll now wake up in Shiro’s apartment. Grab a drink, and then head downstairs to find Shiro and Jean. Talk to Jean here to trigger a cutscene, and this will bring the Japan section of Wolverine to an end. Wolverine’s story will then return to Madripoor again, continuing his fight against Essex.
Check out more Wolverine topics below:
Are you stuck on today’s Wordle? Our Wordle Solver will help you find the answer.
Edited by Mohammad Sadiq