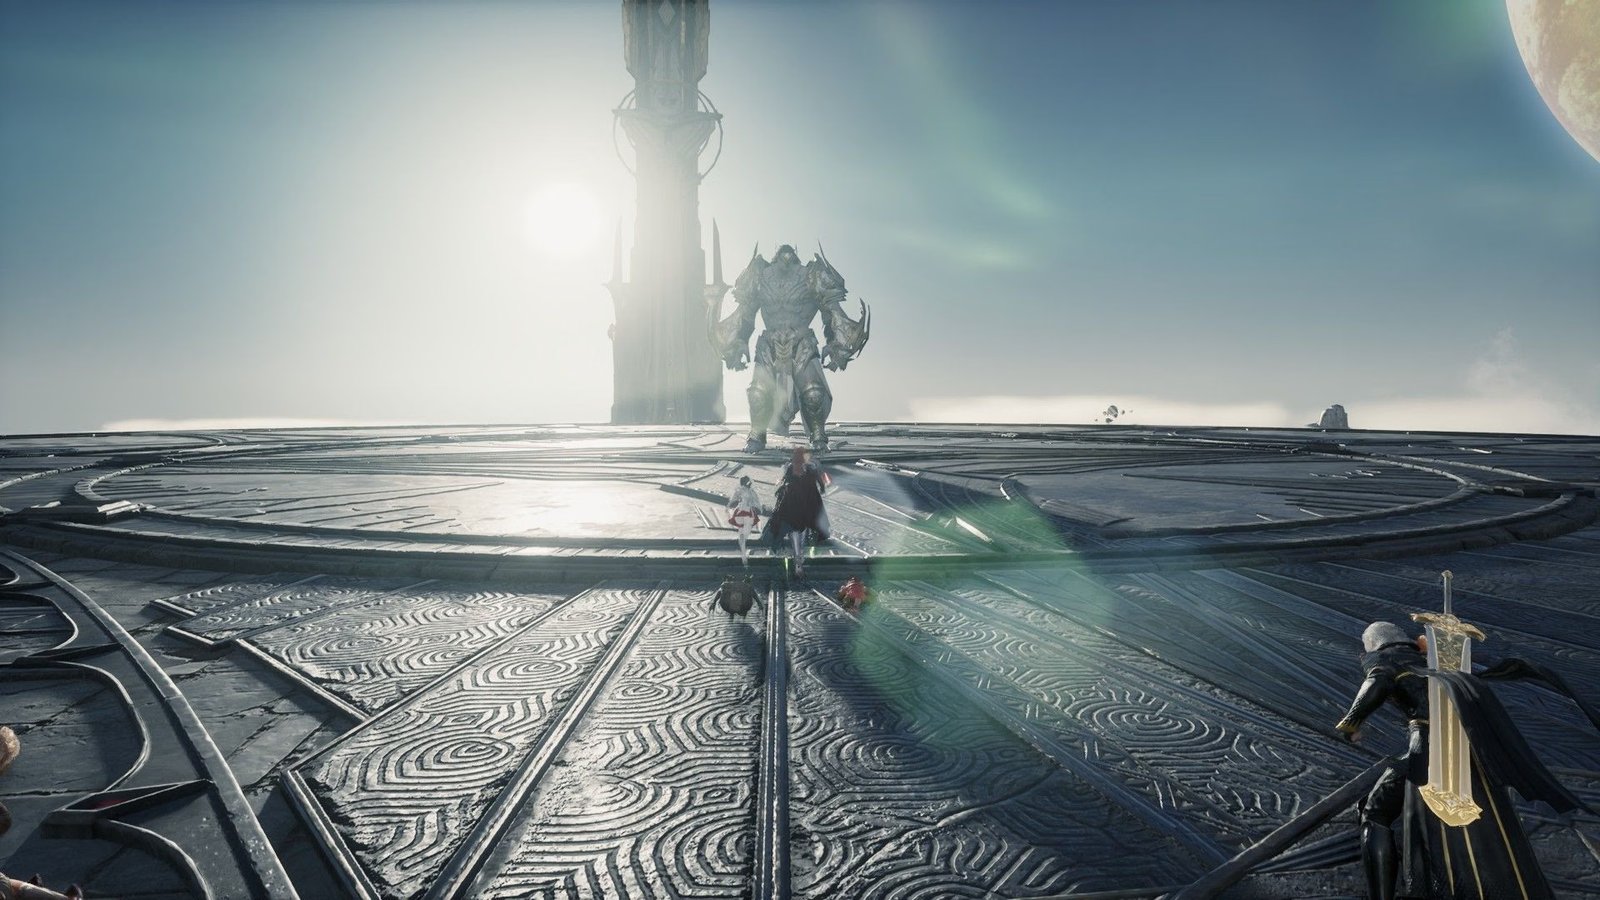

The Deus Research Base is one of the two Transcendence Dungeons available in Aion 2 Season 1. Transcendence is the next step in the player’s journey to become raid-ready, as they unlock one of the most essential parts of gearing: the Arcana Cards. Much like an Expedition, a Transcendence Dungeon also comes with three bosses, a specific tileset for traversing, more boss mechanics, and four difficulty stages as well.
This article goes over the Deus Research Base Transcendence Dungeon in full detail, including the ideal route, boss mechanics, and loot.
Deus Research Base route walkthrough in Aion 2
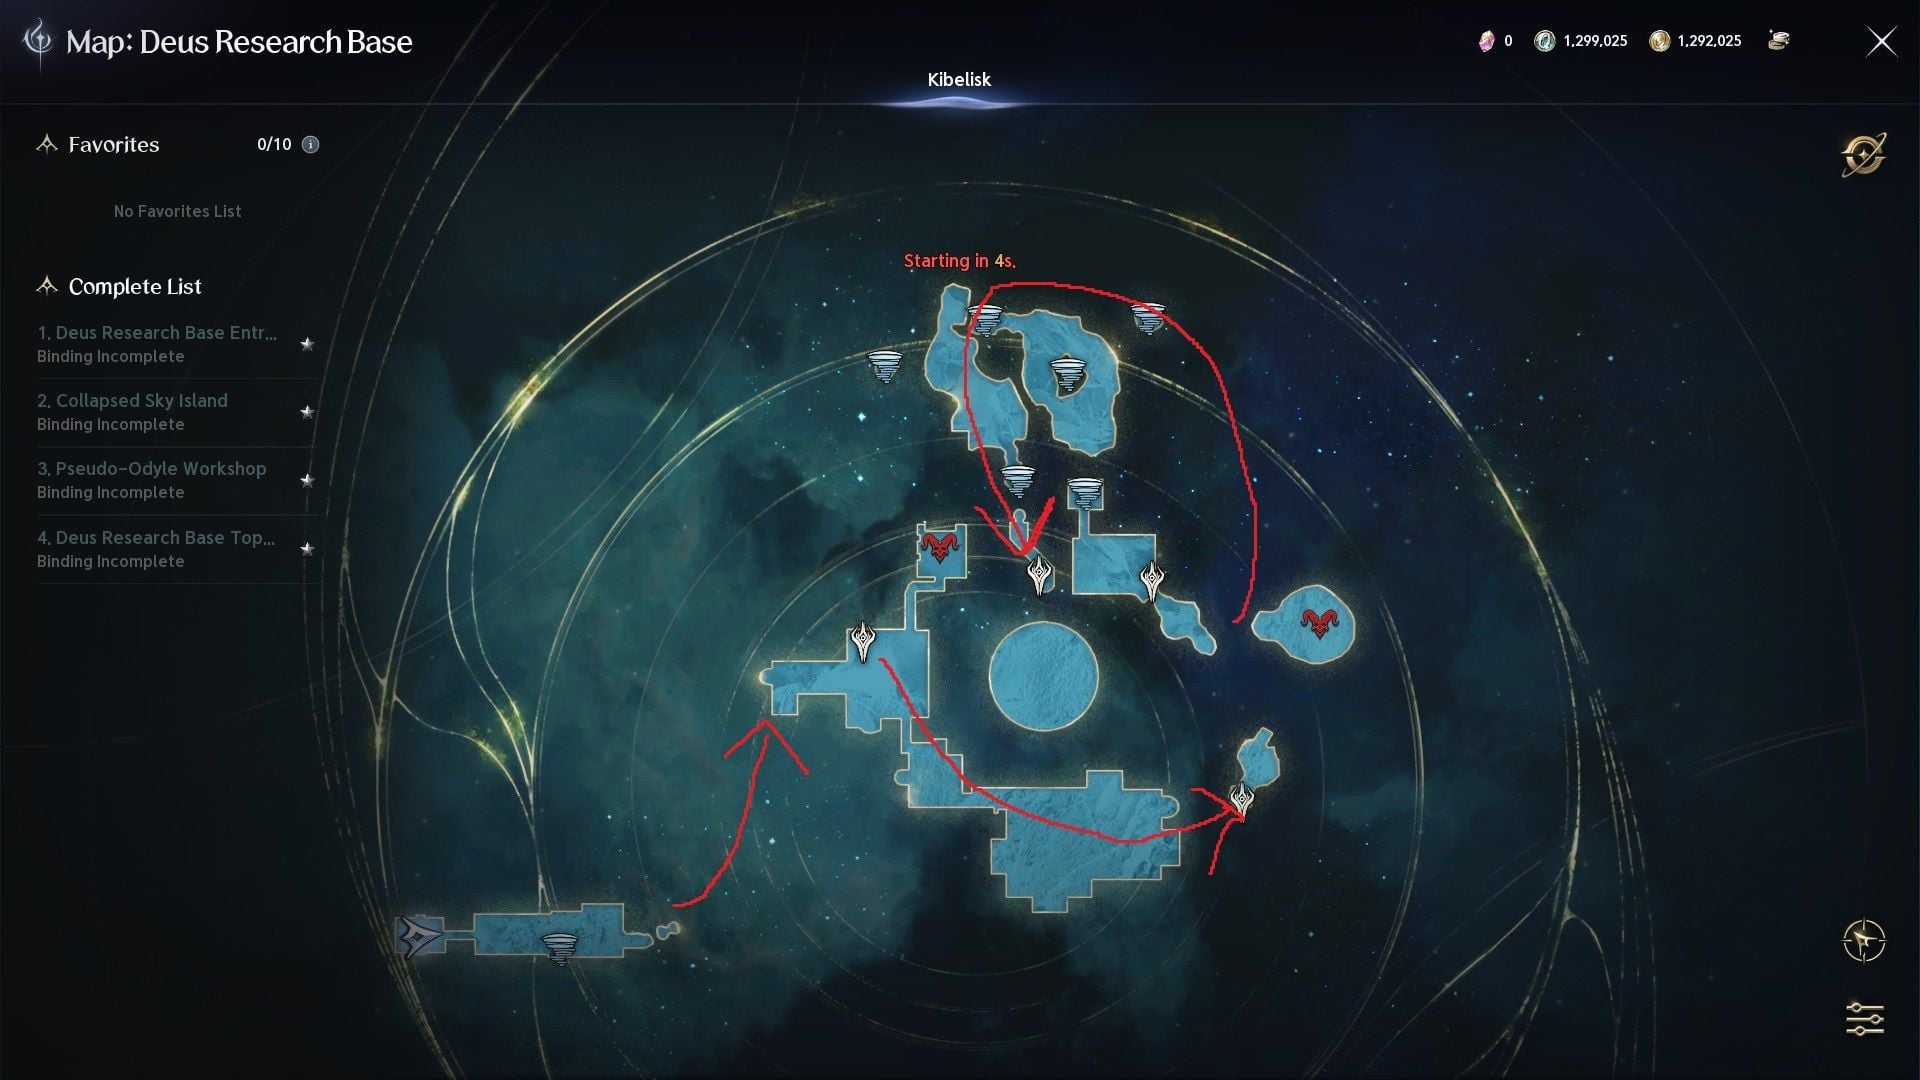
Deus Research Base comes with four difficulty stages, with each sharing the same route from the start to the final boss. The only difference between these stages, however, is the enemies’ health and damage, additional modifiers to enemies, and the item level requirement to enter them.
Furthermore, each team should usually have 1 runner, who needs to go ahead of their allies and activate all three Kibelisks near the bosses. This way, the other four players do not need to traverse the entire Dungeon. Lastly, do note that you need to reach a certain number of enemy kills by the time you reach the final boss, shown just below the minimap on the top-right.
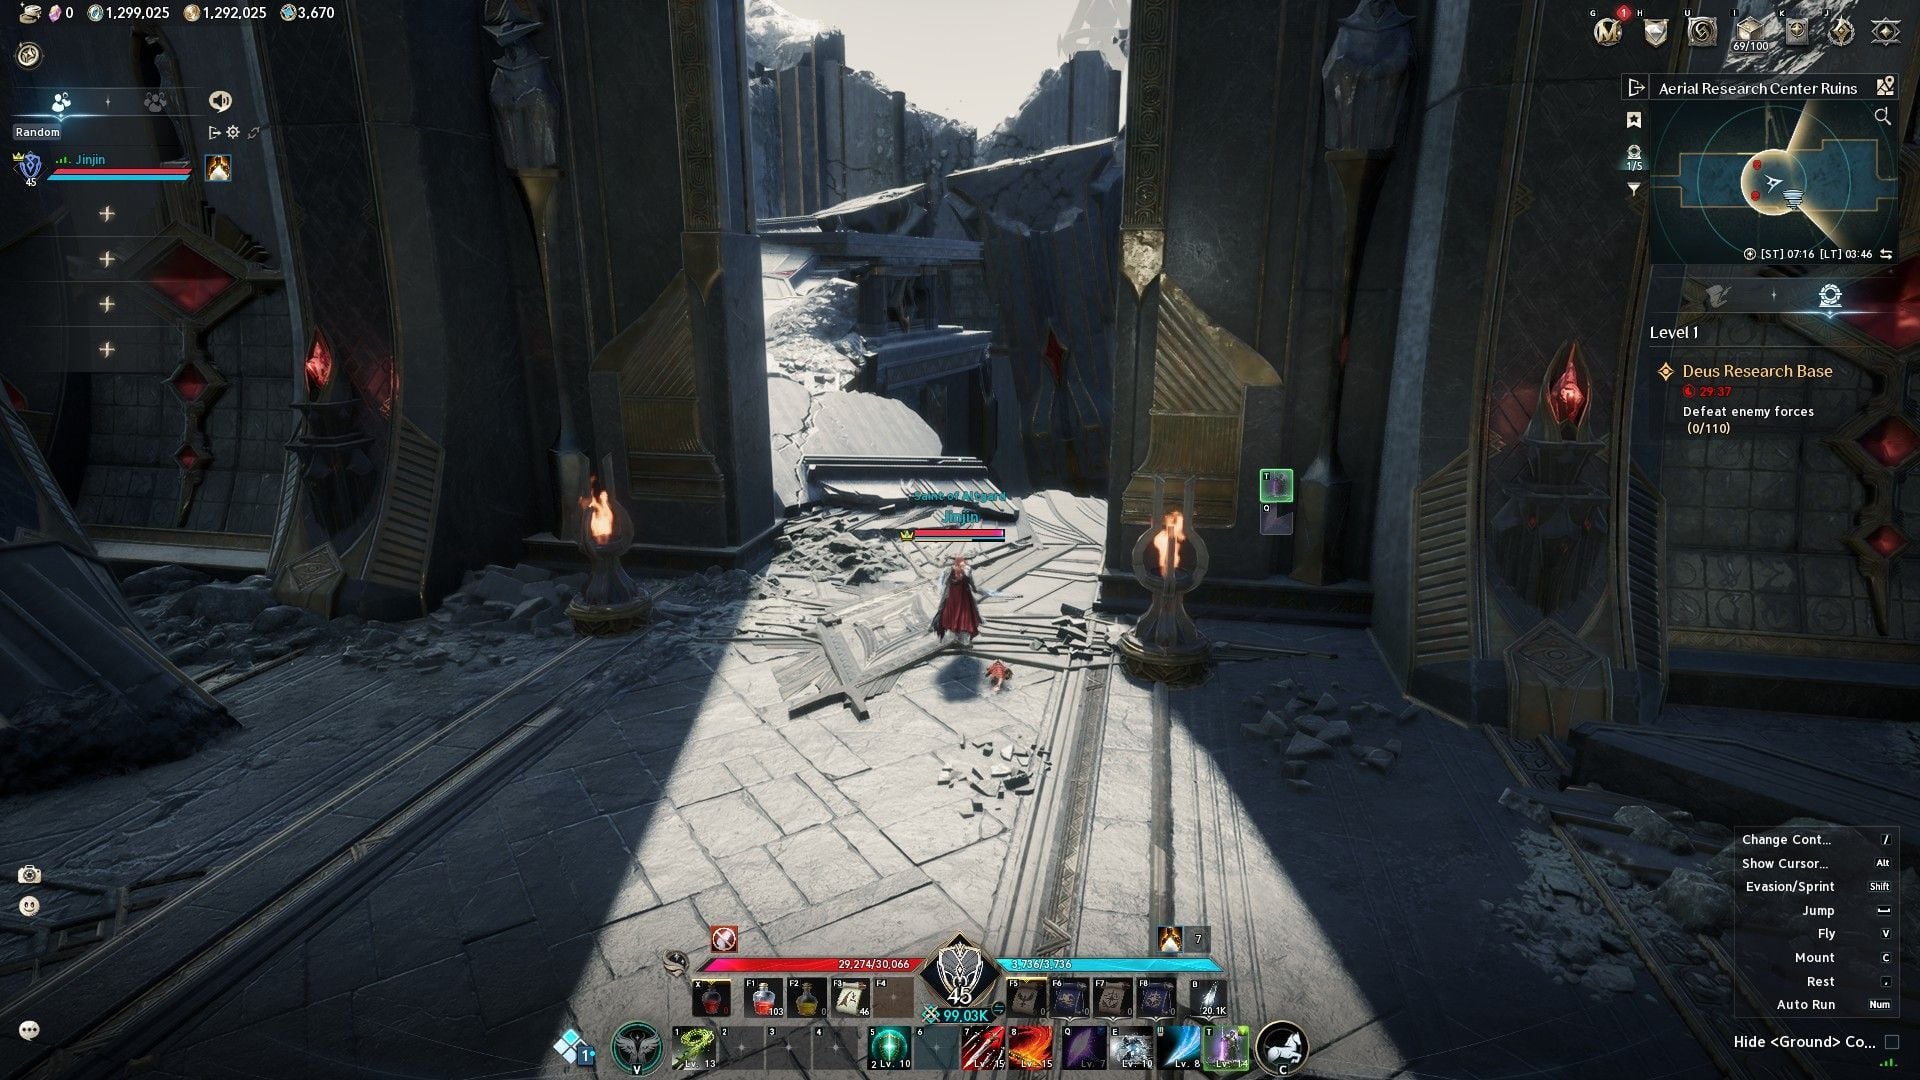
You can, of course, play however you want. Here is the full route from start to finish:
- At the start of the Dungeon, go straight and defeat enemies.
- You will then see a doorway with a path that goes left and upwards, alongside another path that leads down.
- More enemies are present if you jump down.
- A windstream awaits you if you take the path to the left upwards.
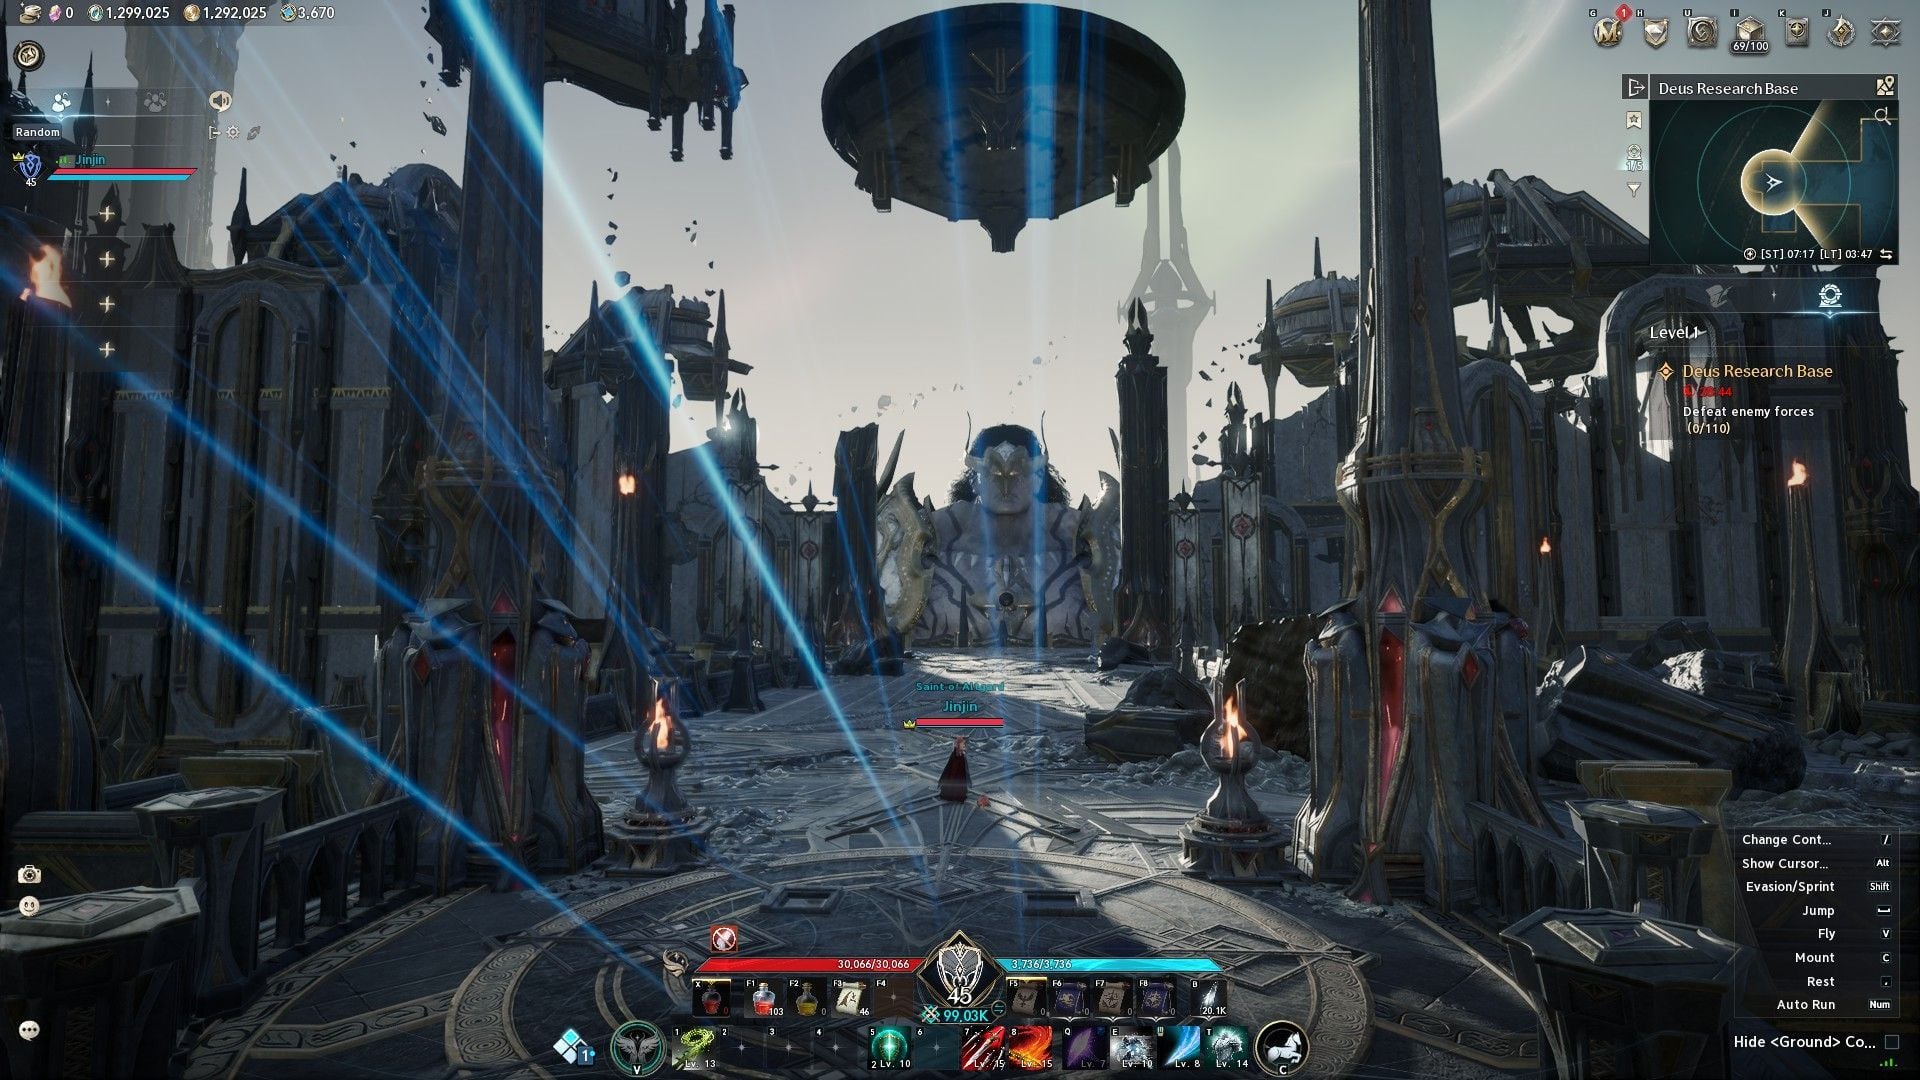
- After taking the windstream, it should take you to another area with a huge figure in front of you.
- Go straight, and you will notice a Kibelisk to your left.
- Activate the Kibelisk, defeat enemies, and then you will notice a set of stairs to your left.
- Take the stairs up to the first boss, Gelcos.
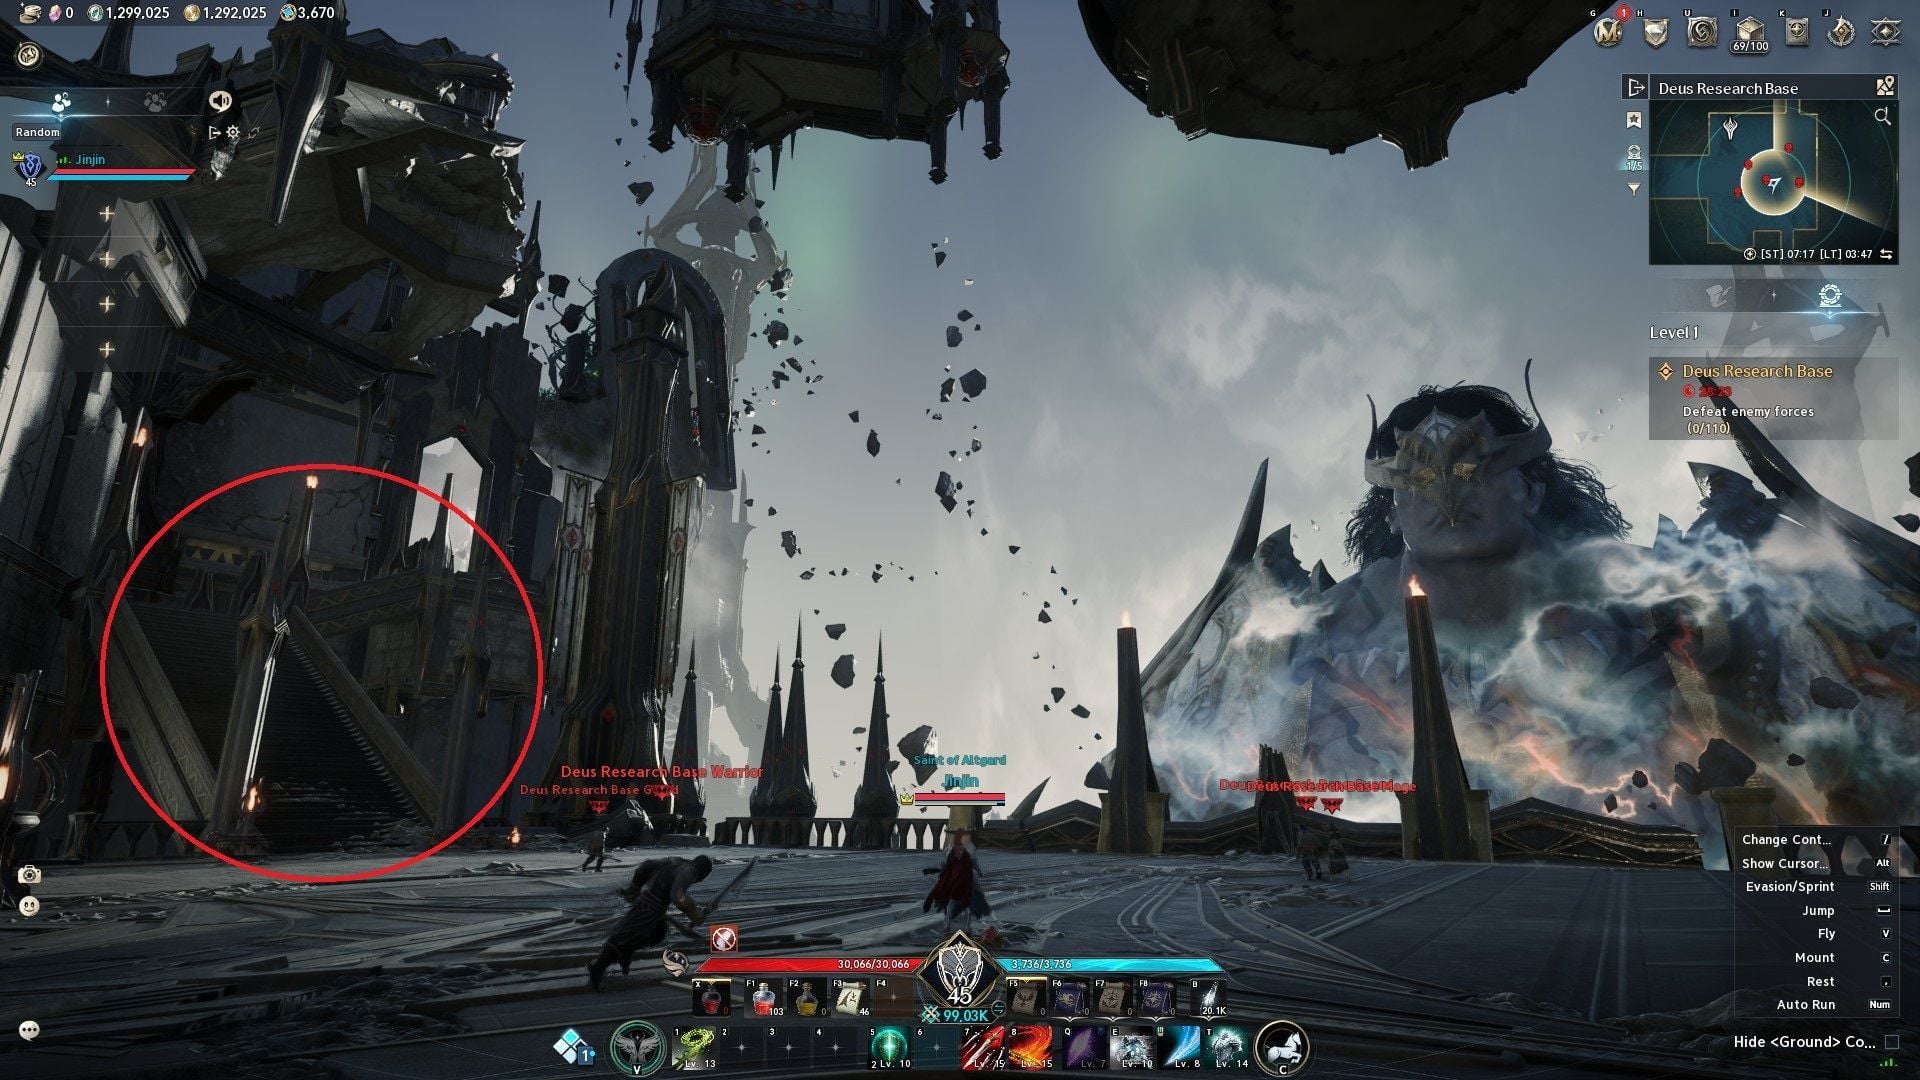
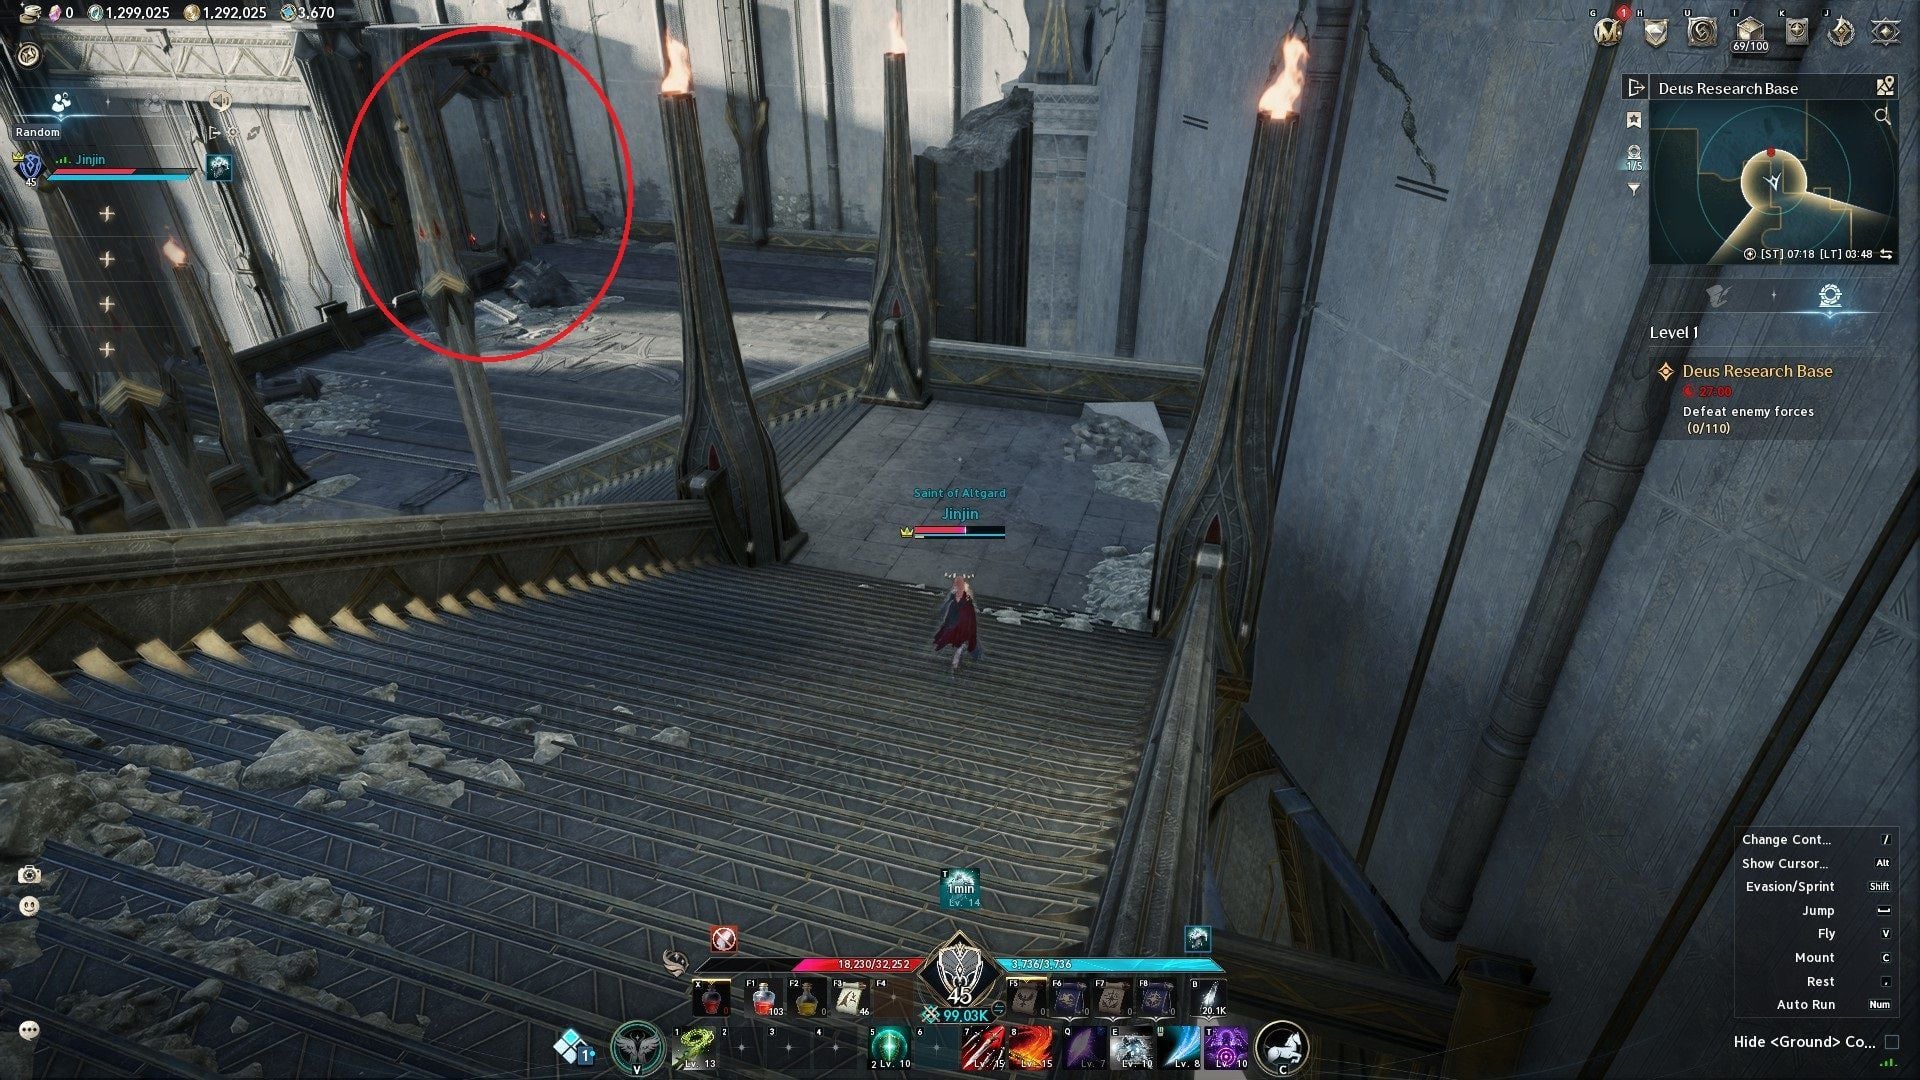
- After defeating Gelcos, go back to the stairs you first took and go down.
- Go straight, take another set of stairs down, and go left into a facility with lasers.
- Dodge the lasers if you can, defeat any enemies inside, and proceed through the linear path until you see a door leading outside.
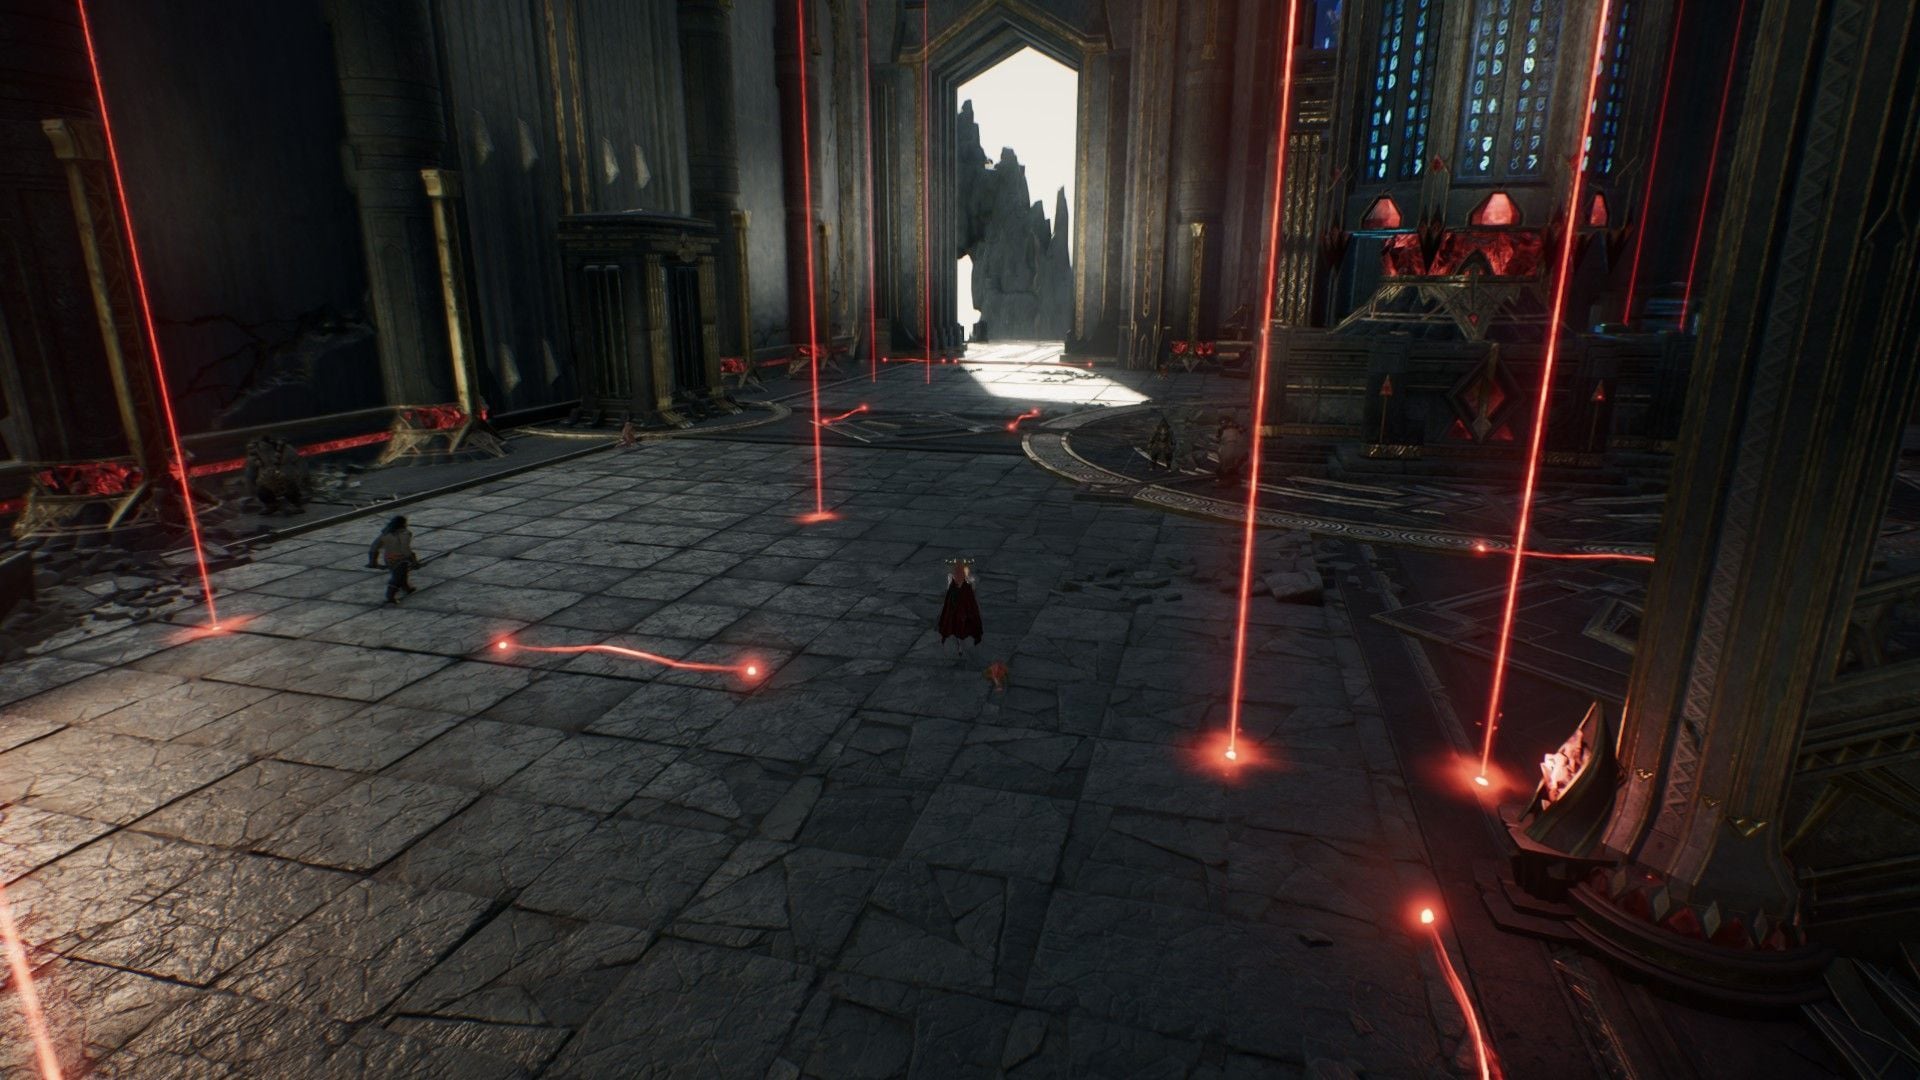
- Once you’re outside, glide down to the second Kibelisk and activate it. Defeat enemies if you need to.
- Proceed to the second boss, Nazmun, by gliding down to their arena.
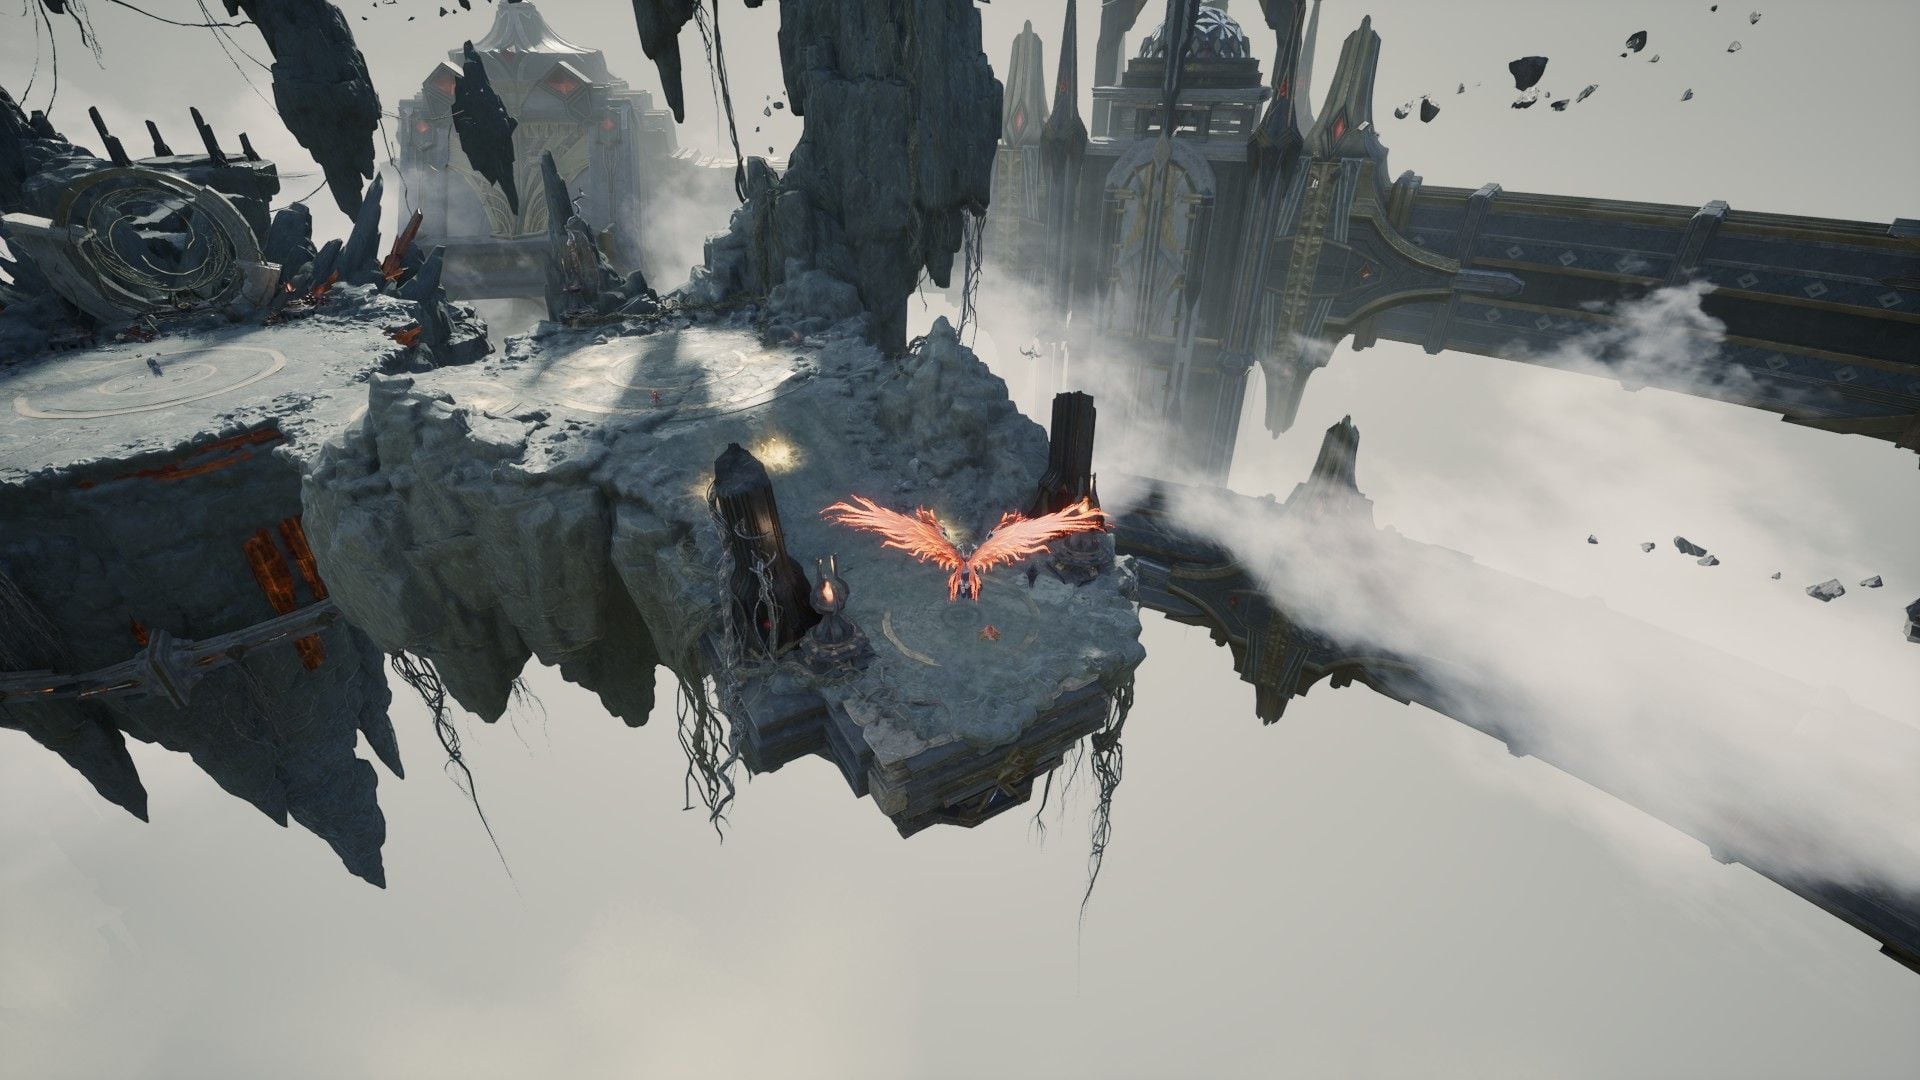
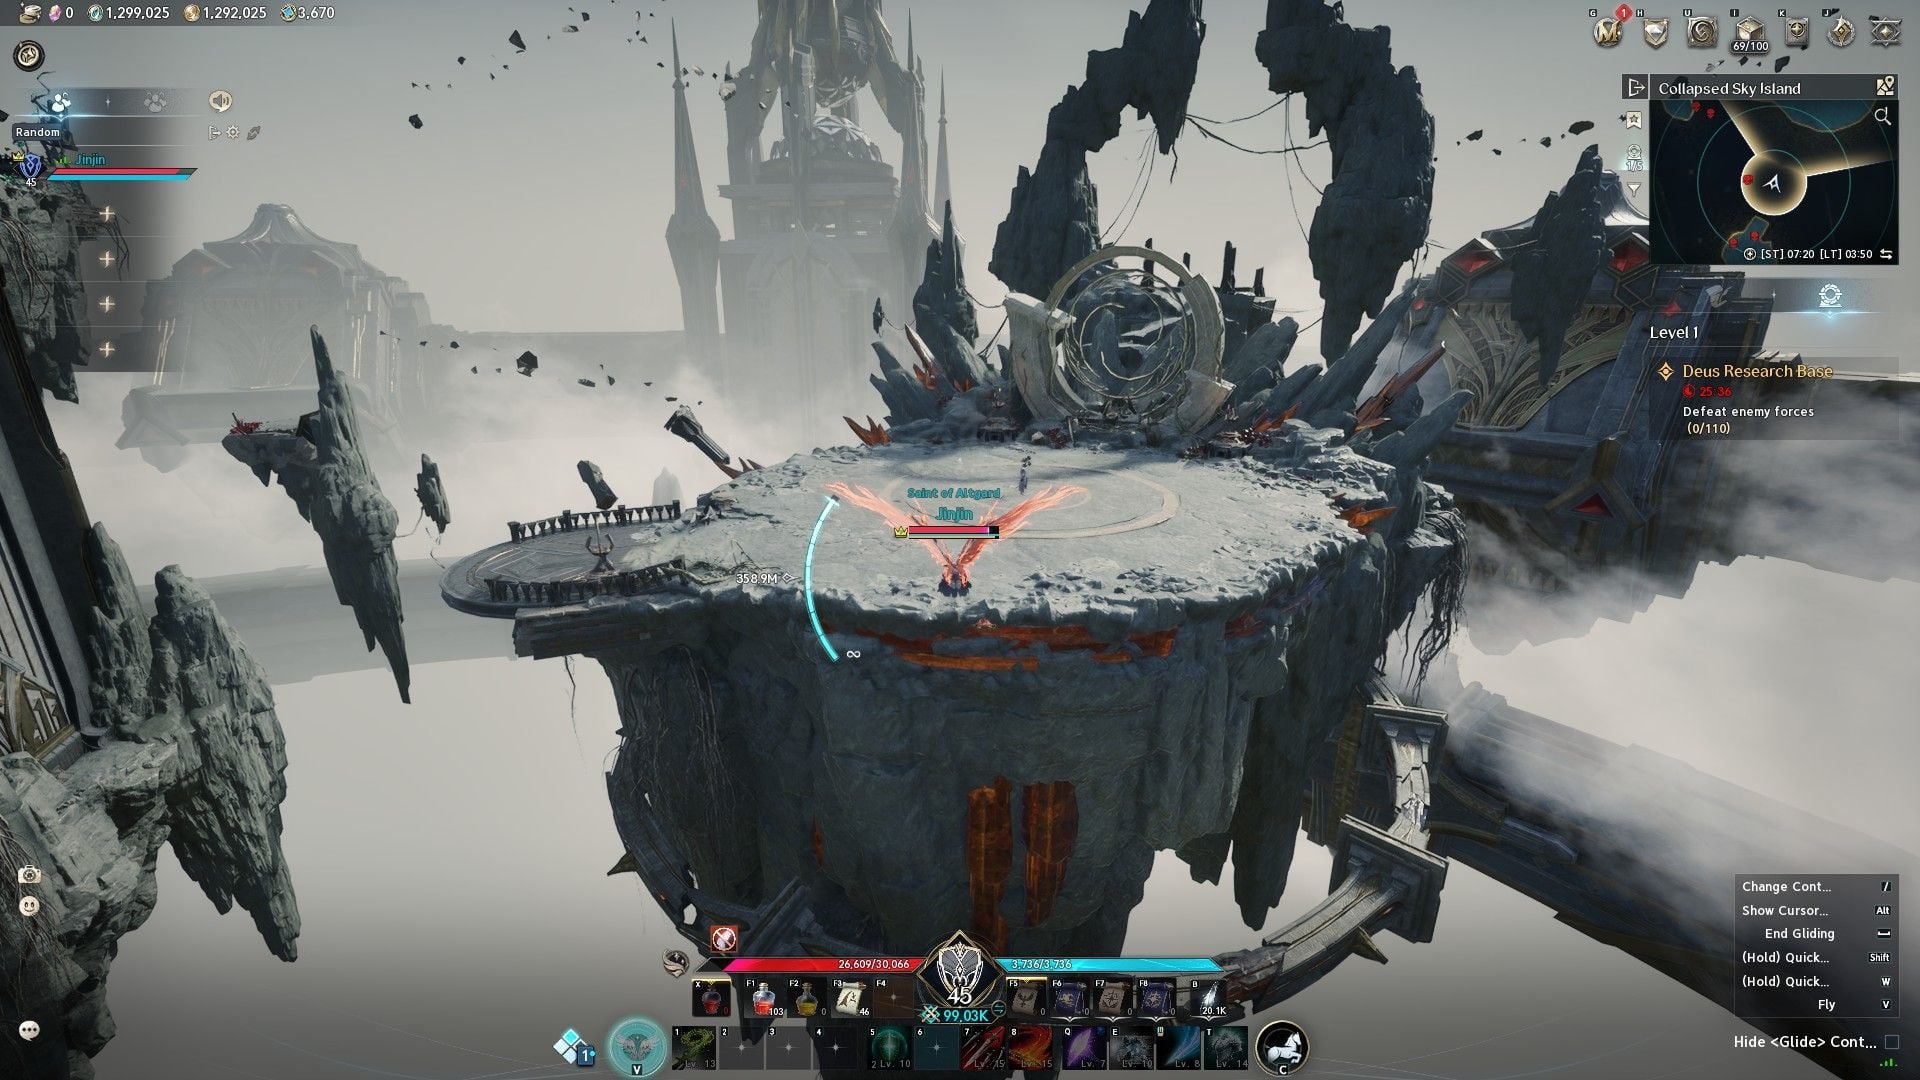
After defeating Nazmun, glide down to the west of the minimap, as shown in the image below.
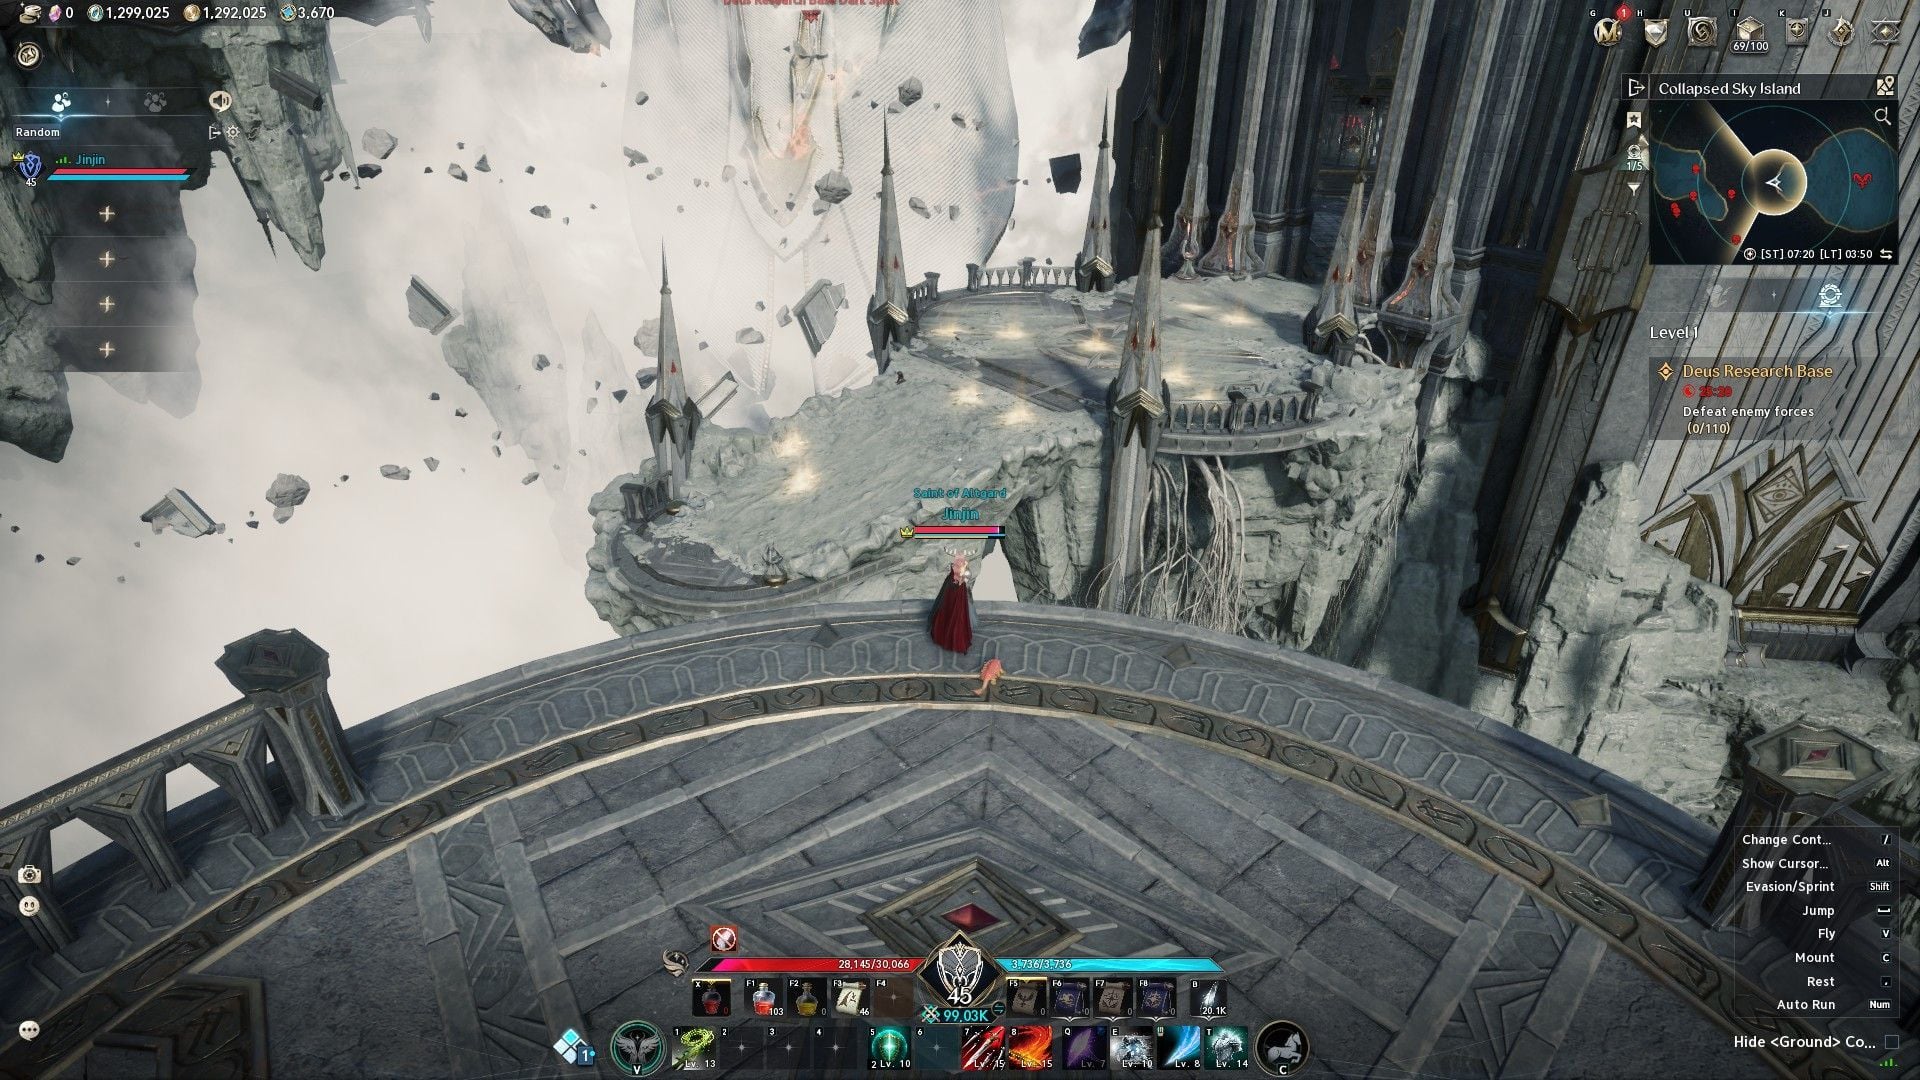
- Follow along the path that leads you inside another facility.
- Go through the facility, and at the upper-left corner, you will find a door leading to a wind upstream.
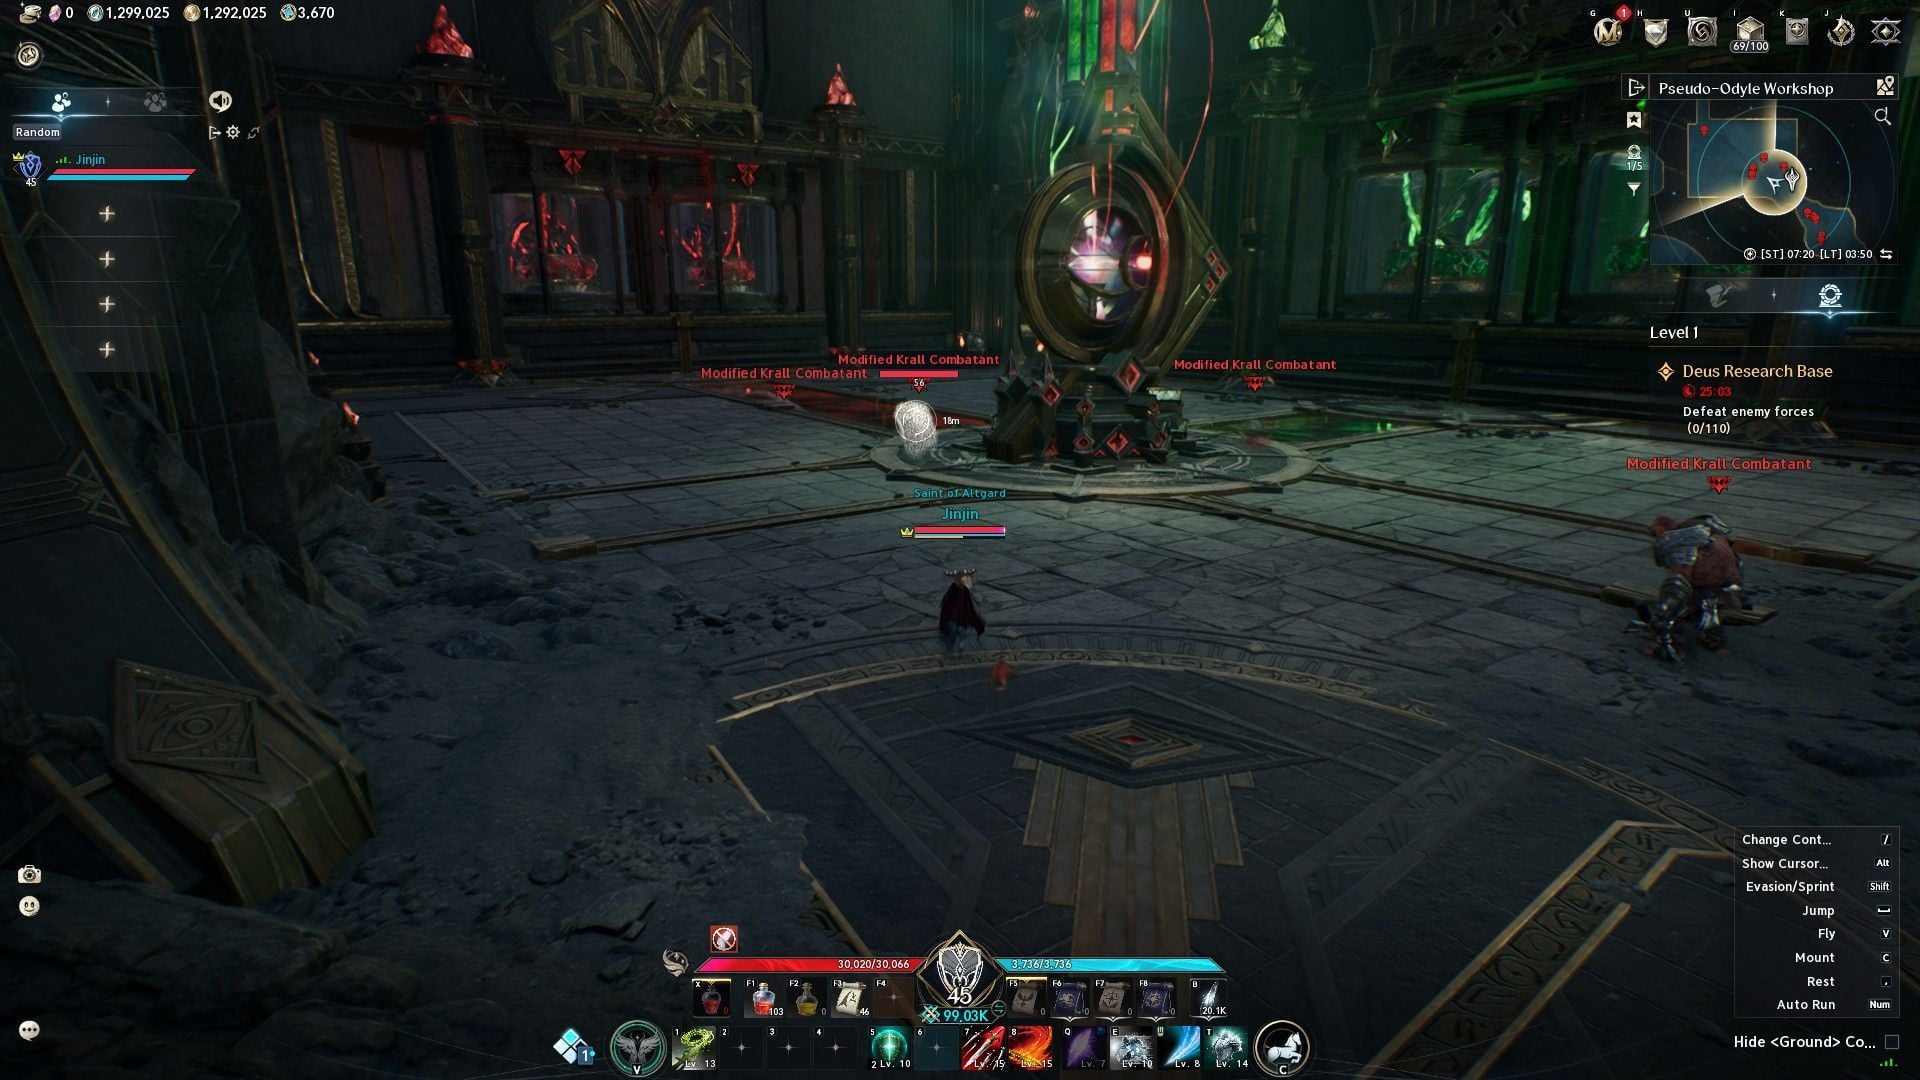
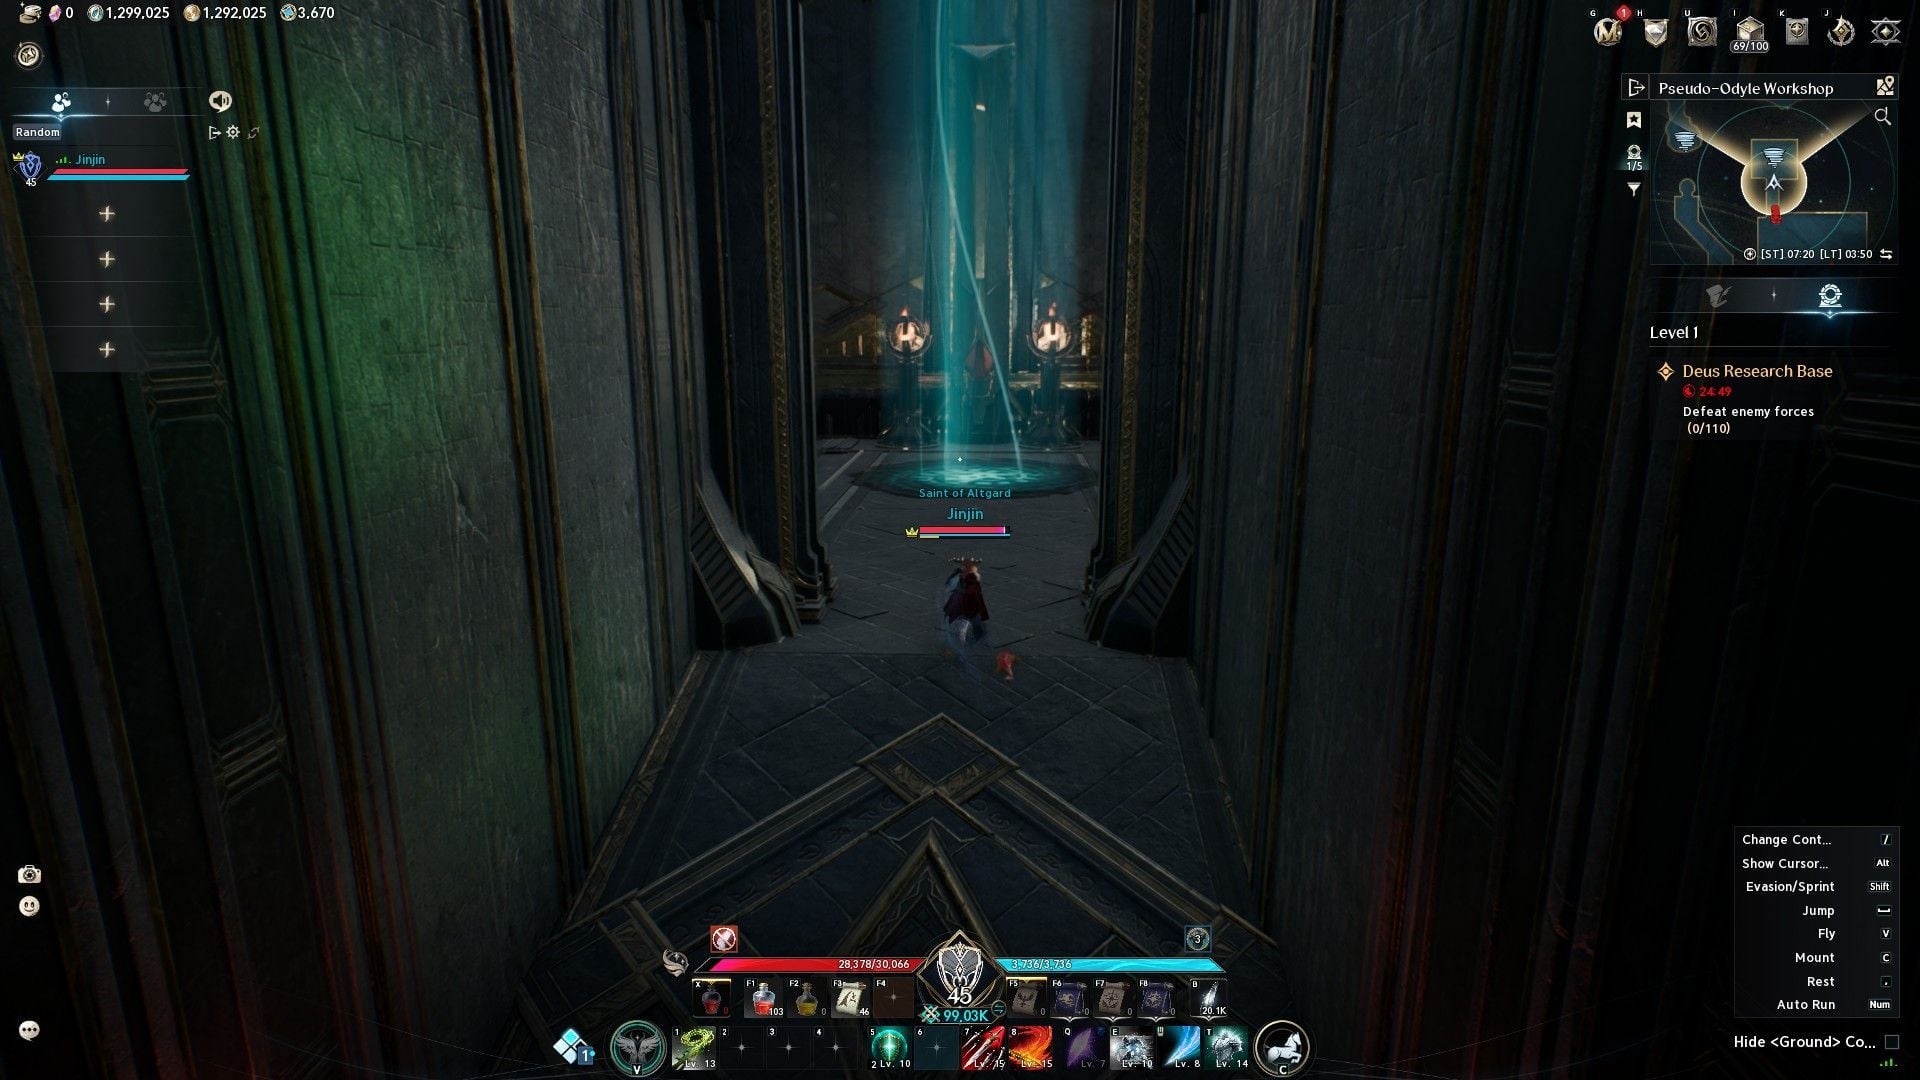
From the upstream, go straight along the linear path until you reach the final Kibelisk before the boss, which looks like the one in the image below.
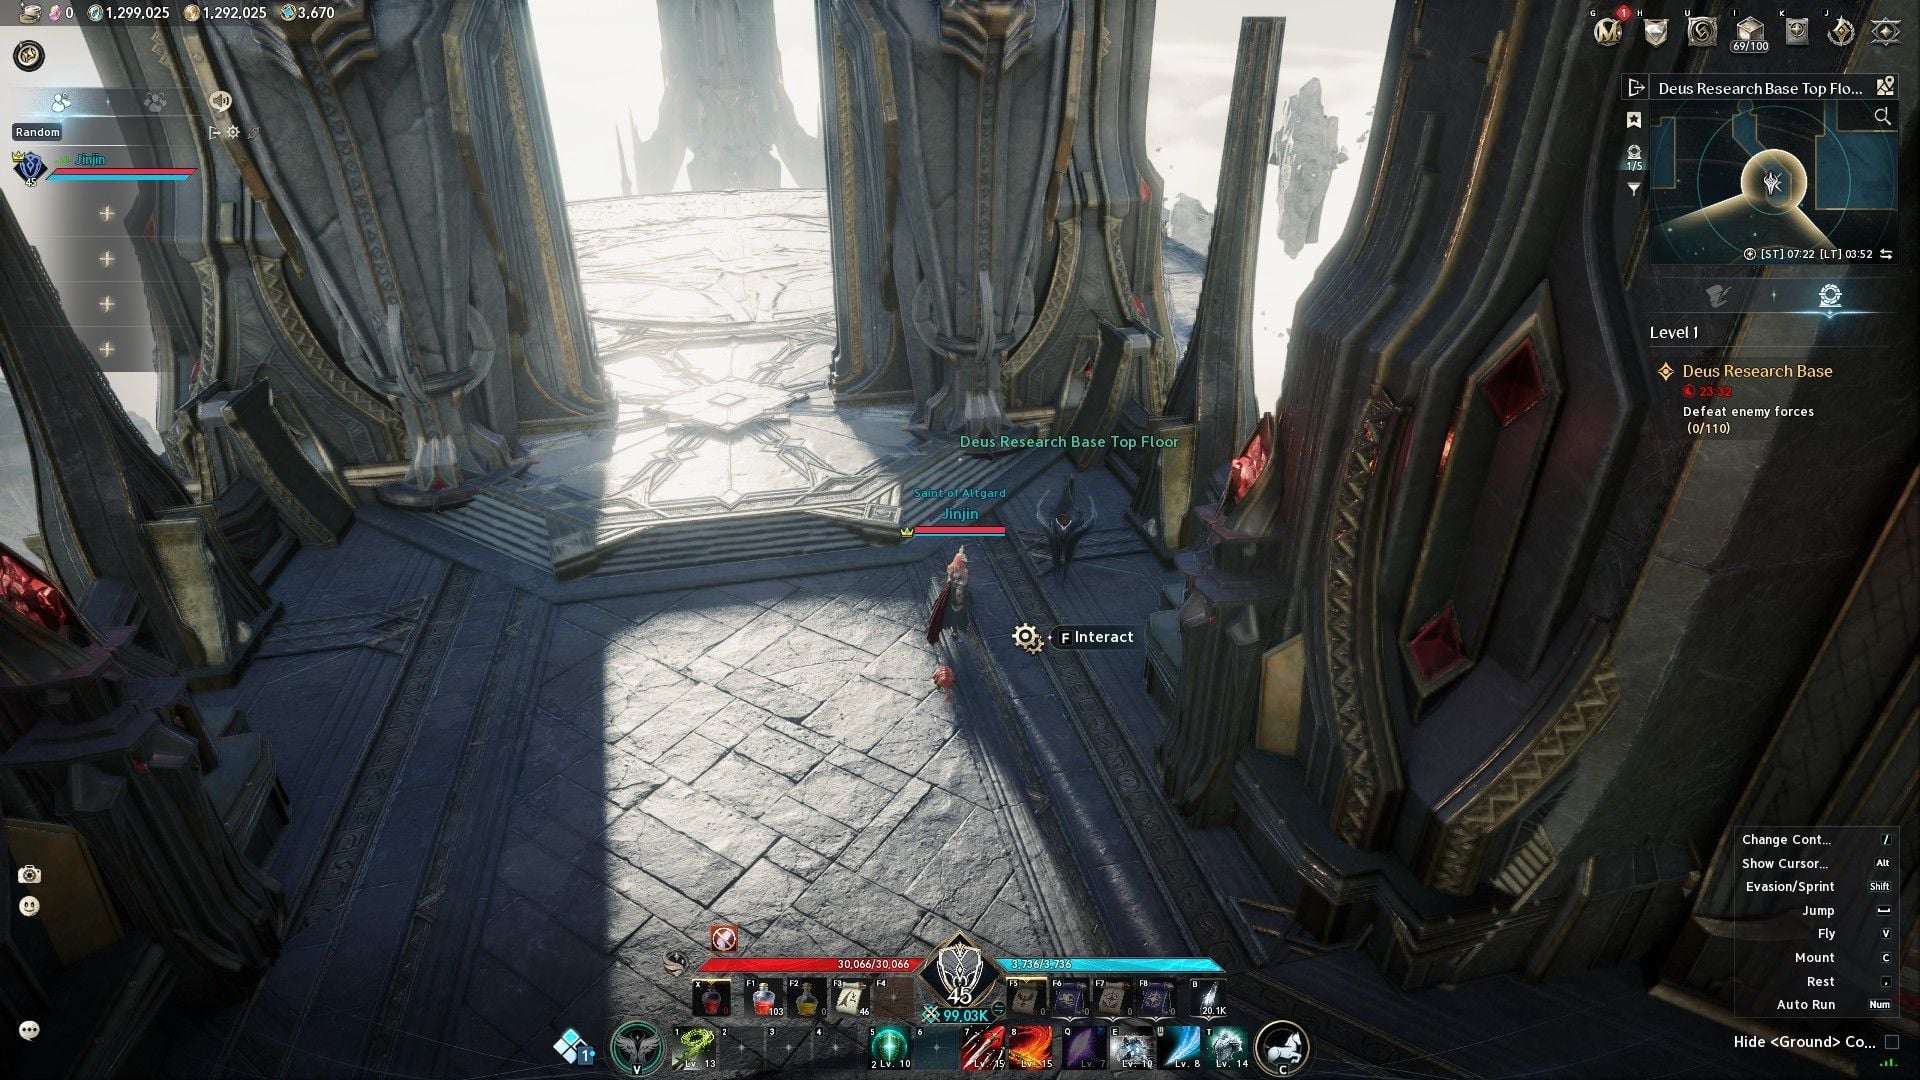
Once you have taken the final Kibelisk, jump down to the final boss arena. You should have already killed the required number of enemies as asked by the mission objective by now as well.
All Boss mechanics in Deus Research Base Transcendence of Aion 2
Gelcos:
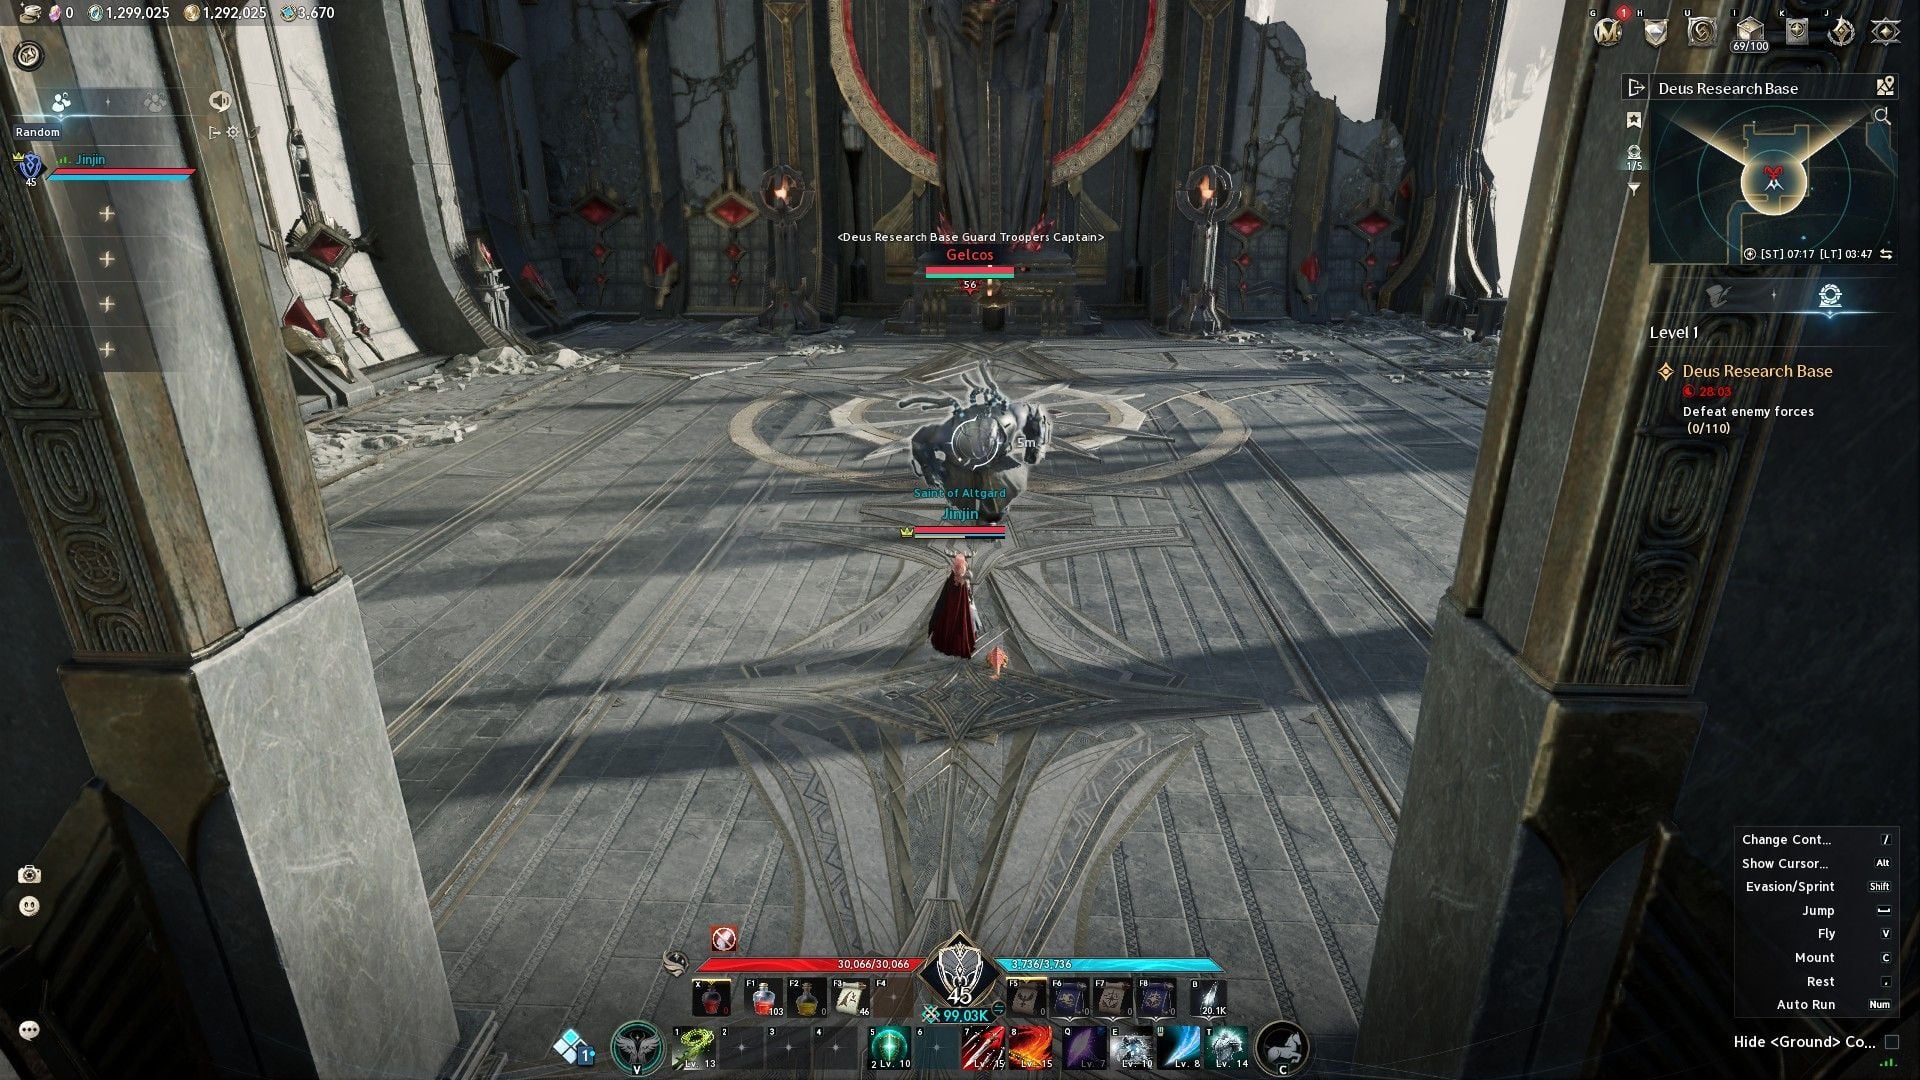
The primary mechanics are as follows:
- The boss will mark a player indicated by an eye icon, and dash towards that player. After the dash, the boss will then leave a lingering DoT puddle in that location. This will be repeated twice. Hence, the marked player must lure the boss to the corner of the arena, as it will lead the DoT puddle away from the middle.
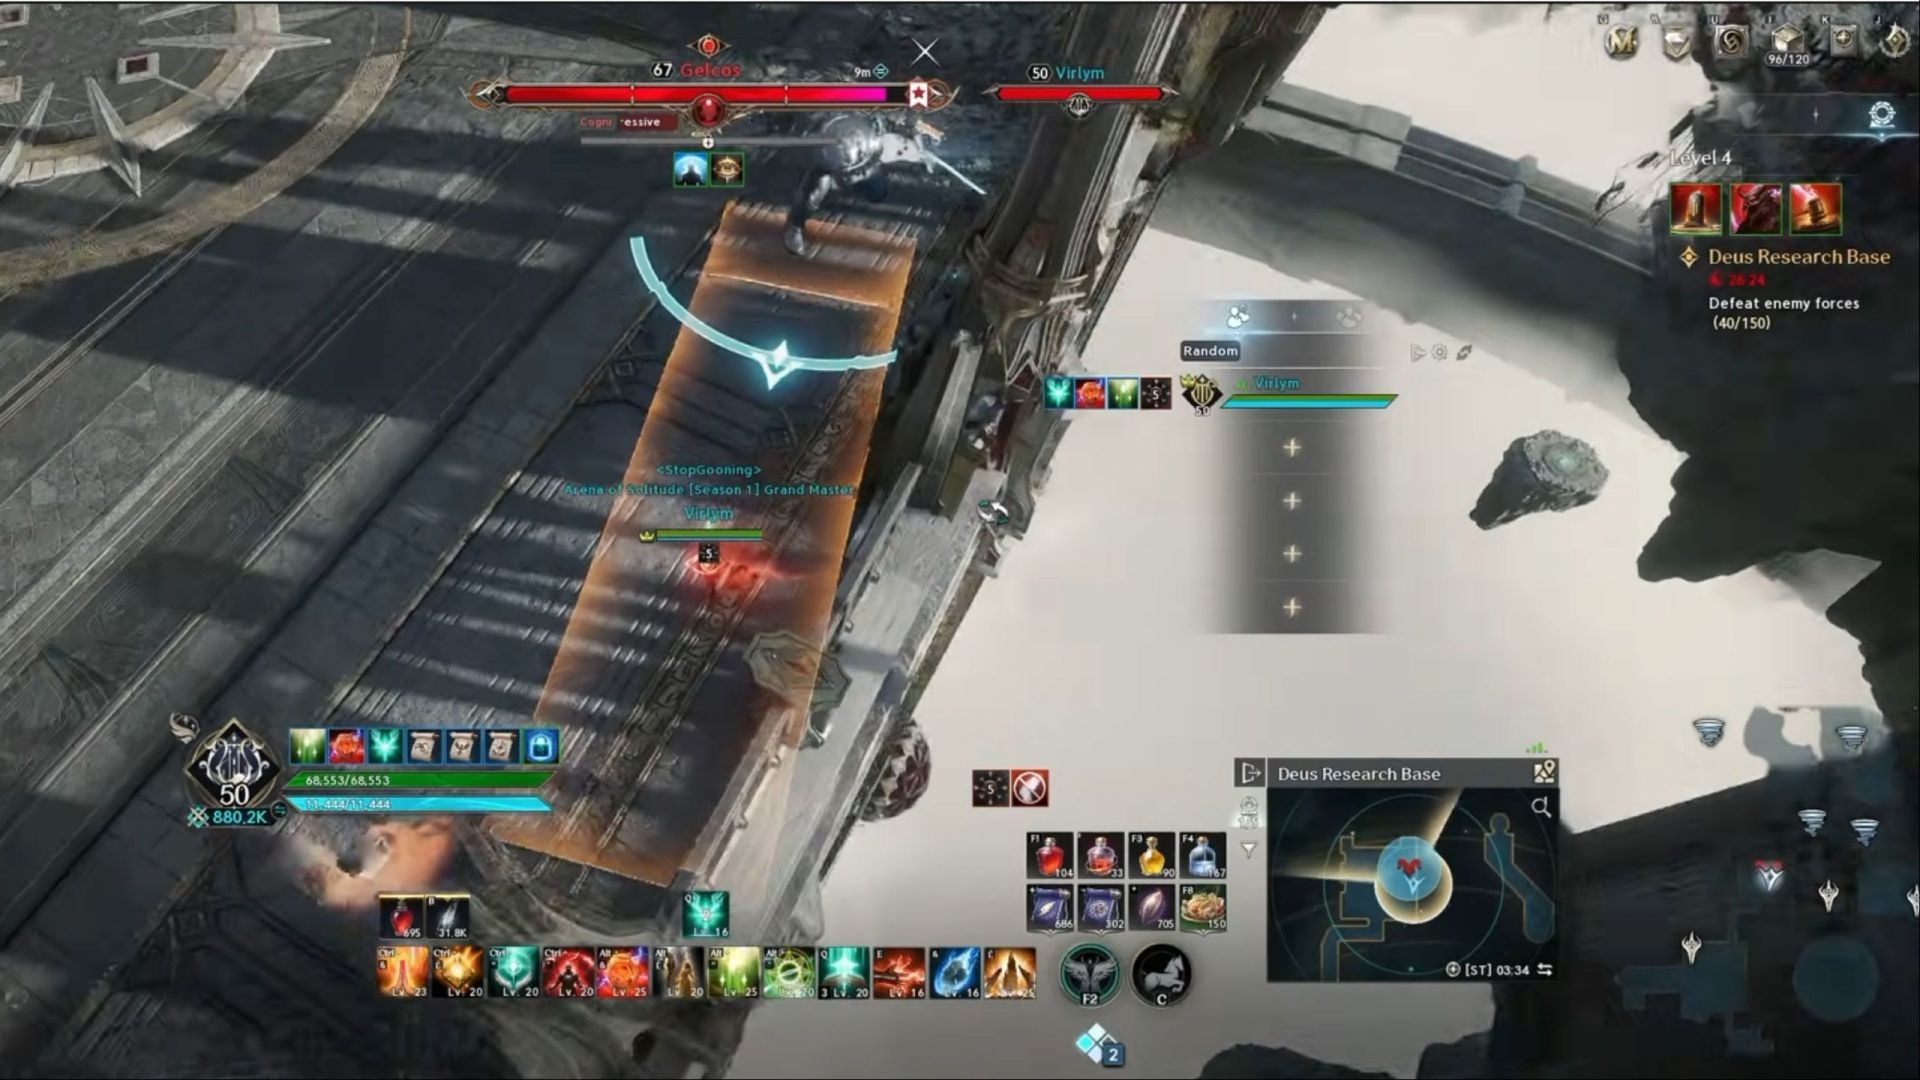
- Starting from 50% health, the boss will pull everyone towards itself, and then start swinging its lash, covering almost the entirety of the arena.
- Players can avoid this attack only in two ways: Either keep going away from the boss and outside the AoE, or get overhealed by the team’s healer to stay alive.
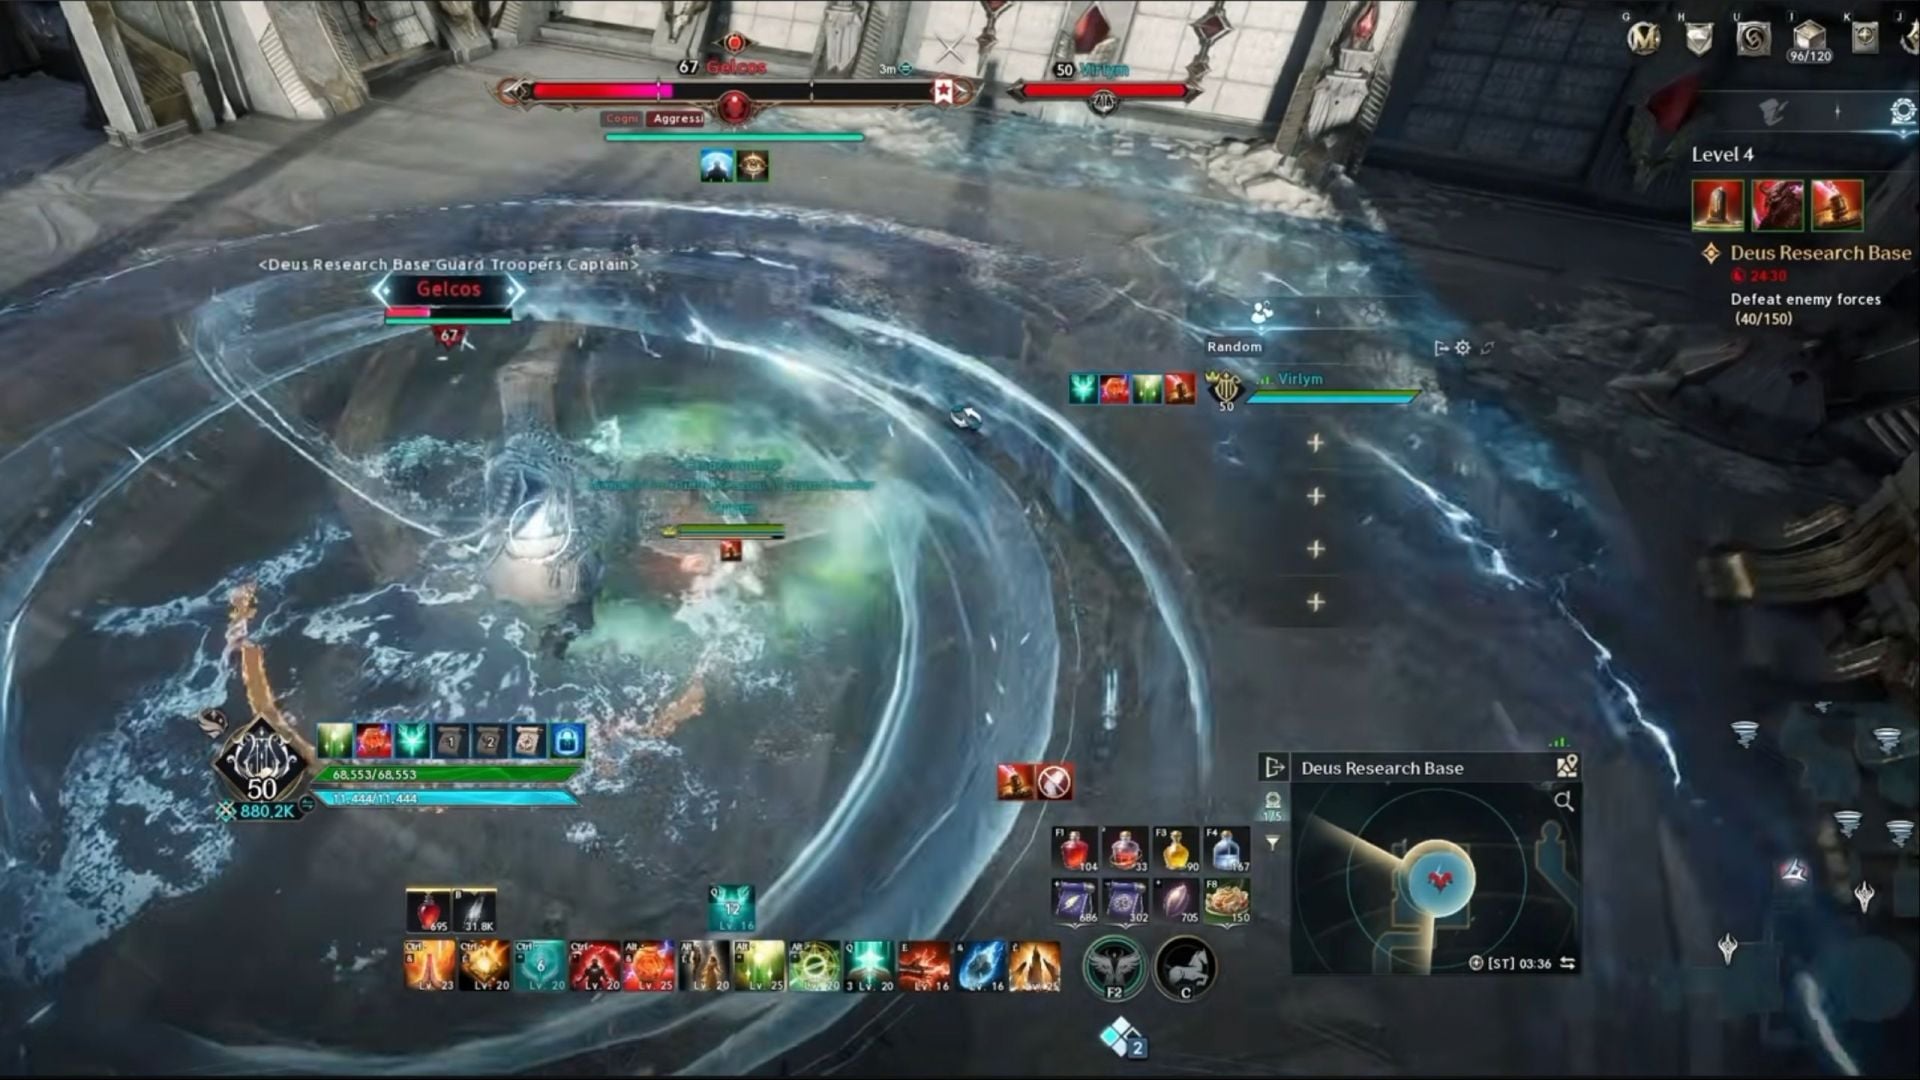
- From 50% health, the boss can also jump to the middle of the arena and then launch a series of multiple attacks. First, it will smash the ground close to it, followed by a donut AoE attack, alongside multiple projectile lines that travel in all directions.
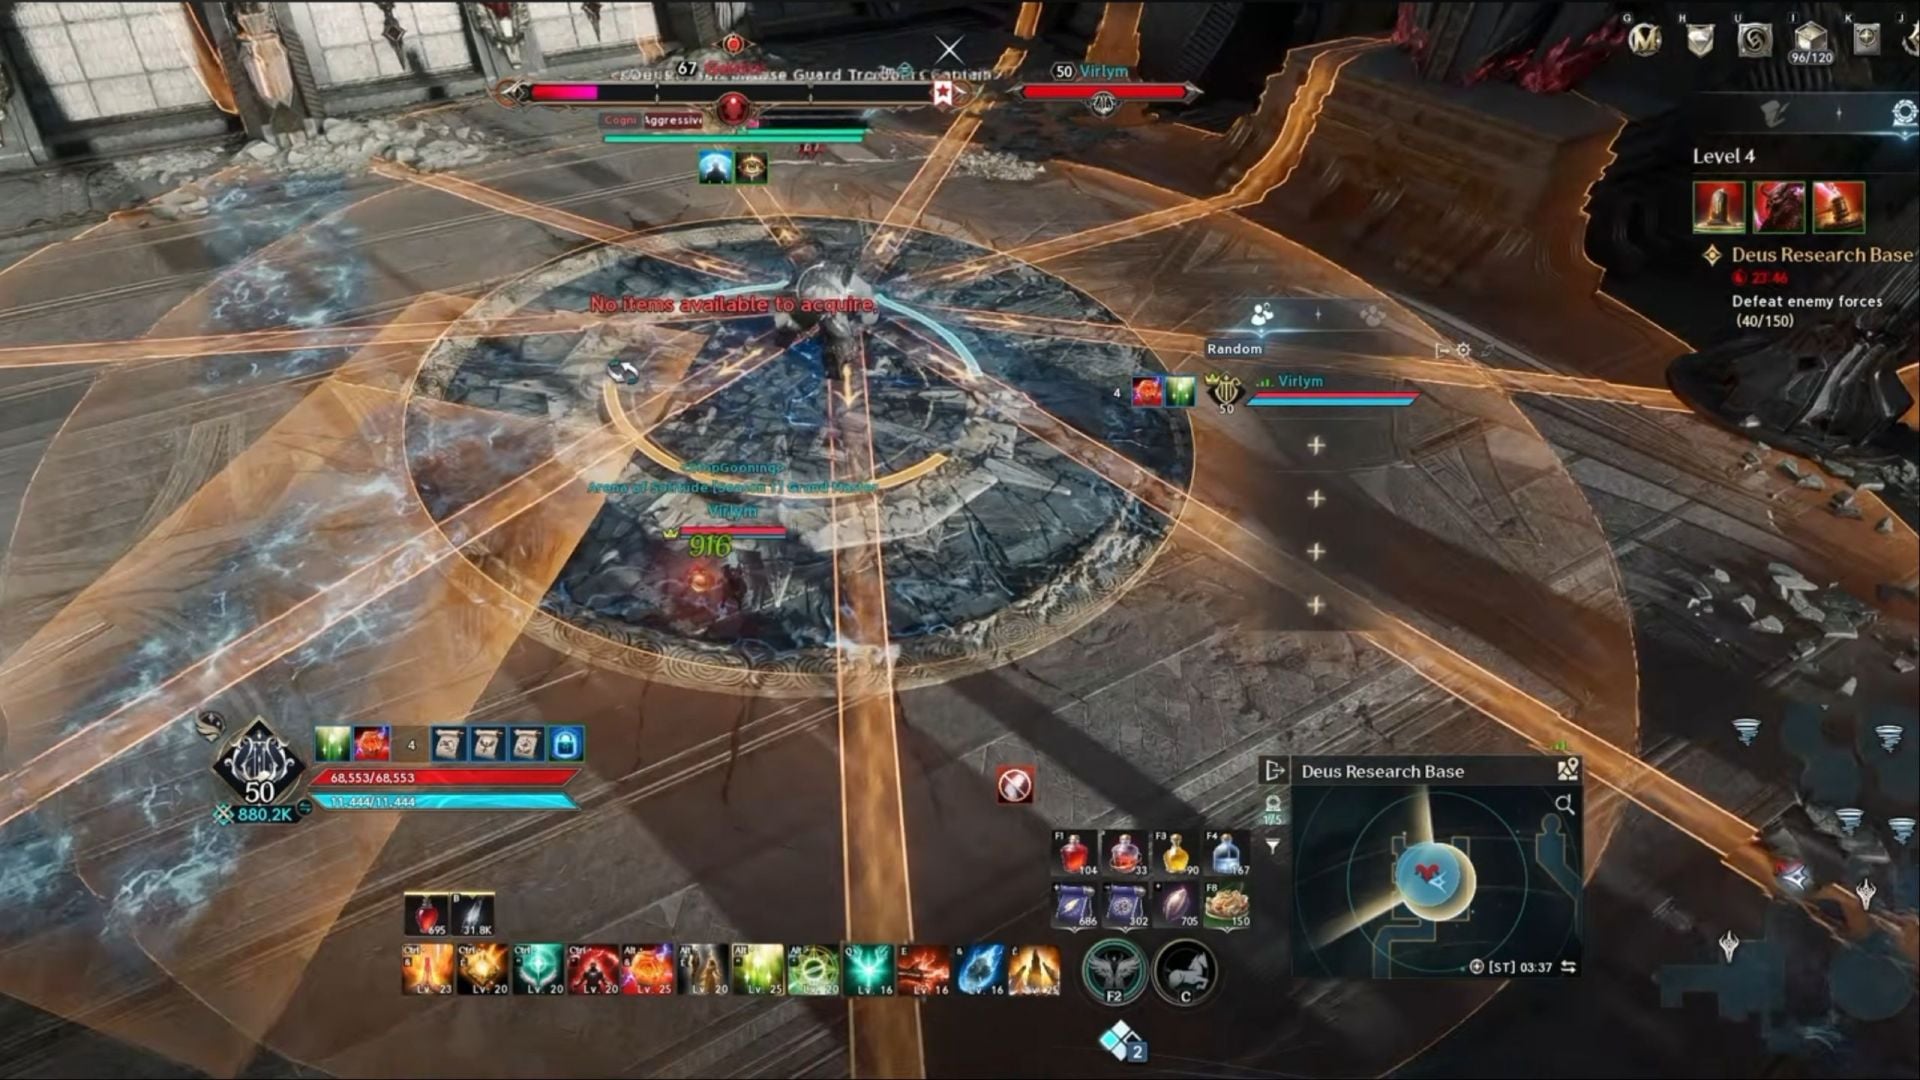
The boss’ other attacks include small lash attacks in front of it, including another donut AoE attack at 25% HP. Only this time, the lingering puddles from the marked phase will extend in area.
Nazmun:
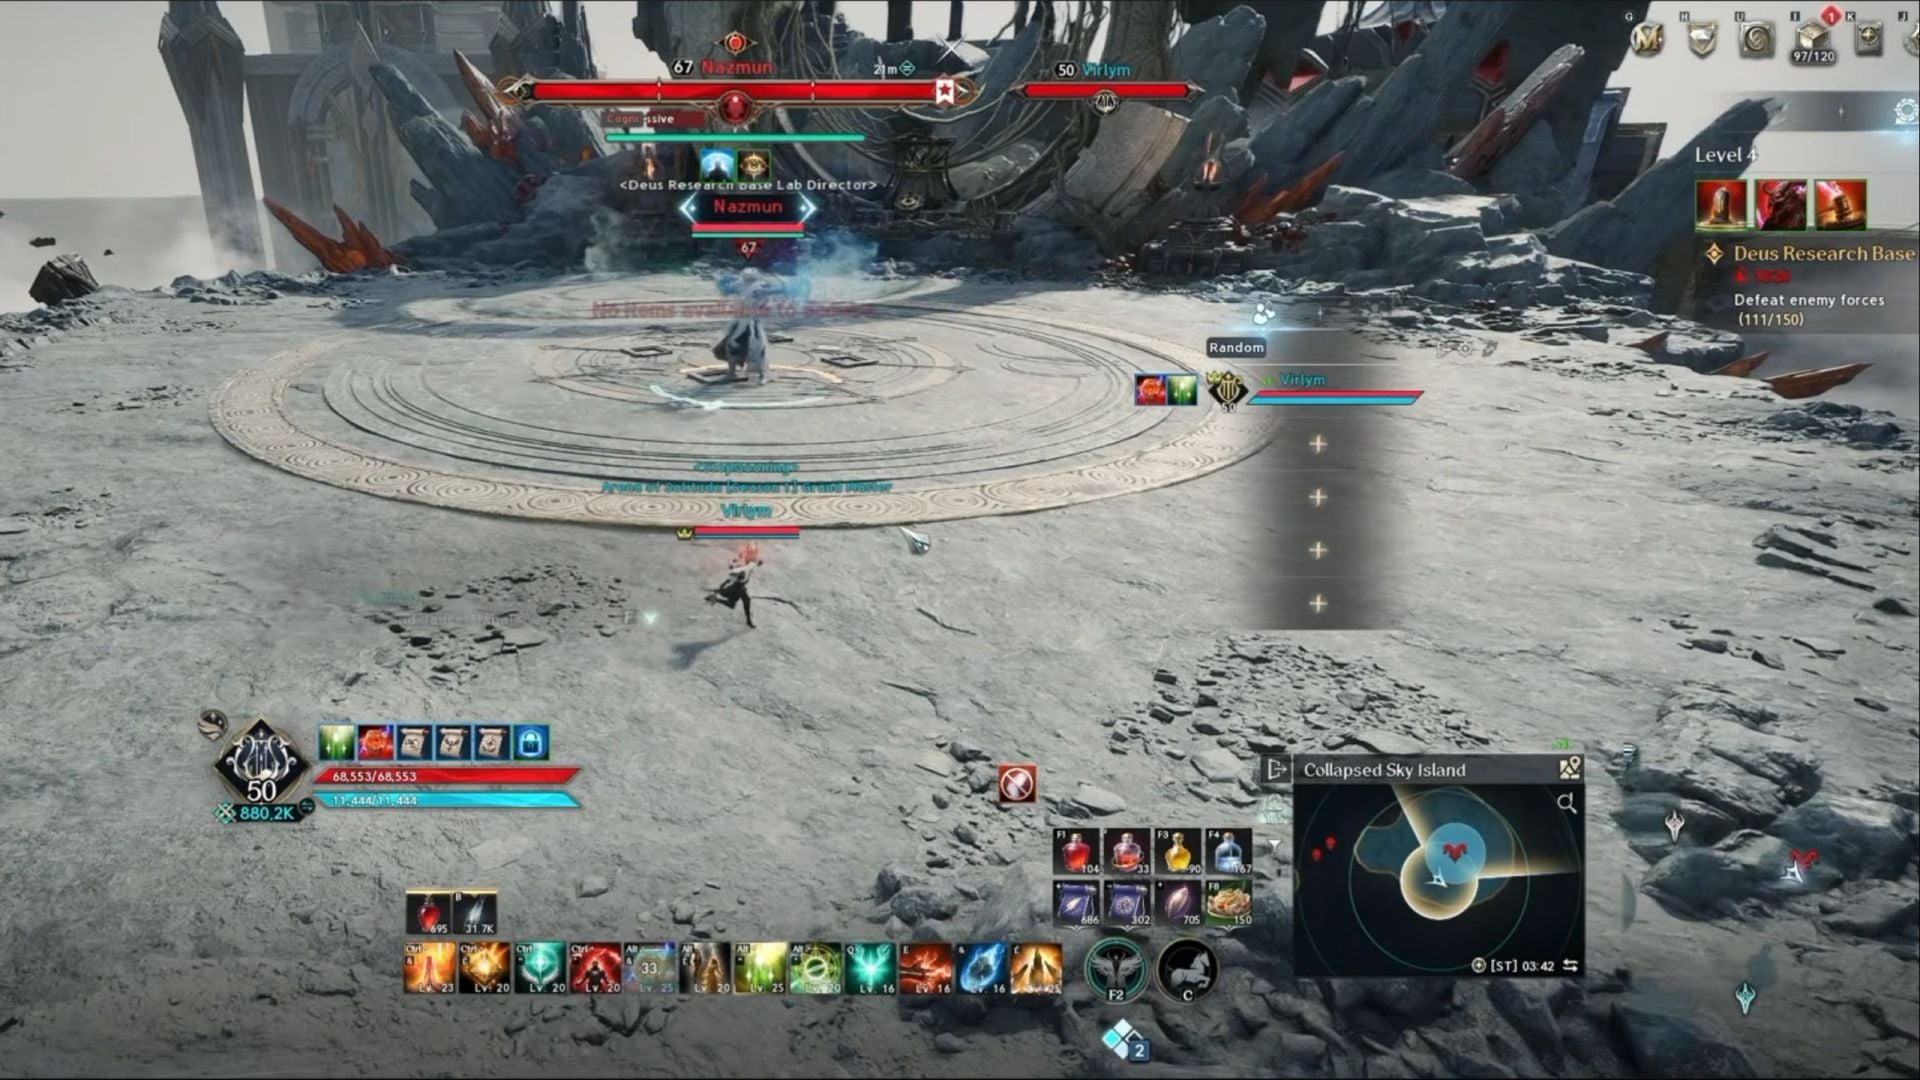
The recurring mechanic of Nazmun is that it will summon rotating lasers, typically in the middle of the arena. These lasers will be active for almost the entirety of the fight, and getting caught in these lasers deals significant damage in difficulty stage 2 and higher. Hence, it is a good idea to lure the boss to an edge to fight it.
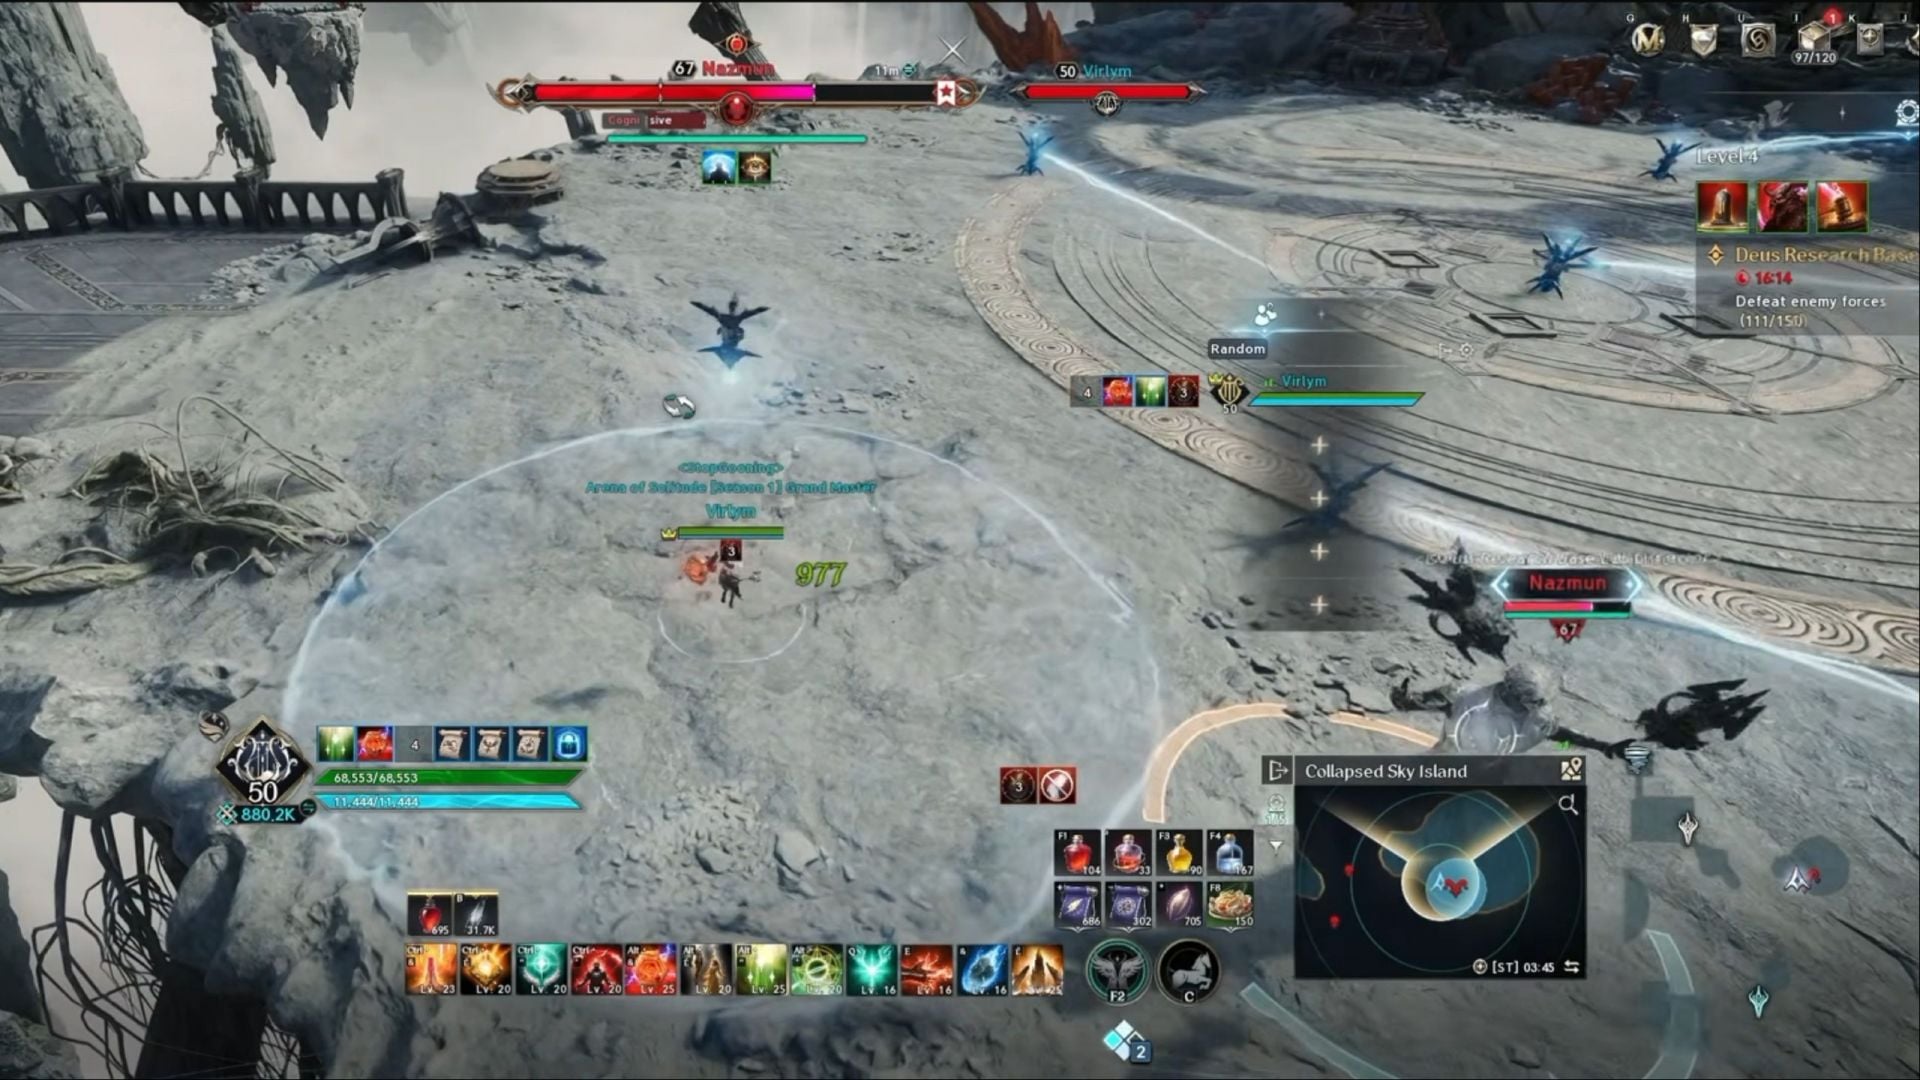
- At 75% HP, Nazmun will plant a time bomb on a player, marked with a blue circle around the target. Anyone caught within this circle will be dealt moderate damage.
- Nazmun will also attack with a series of straight lasers, starting with a single laser, and then quickly followed by two and three lasers in a cone shape. Getting caught in these attacks can one-shot any player and leave the tank with low health. Hence, it is best to avoid it every time you see a straight-line mark in front of Nazmun, usually indicating that it will start the laser attack.
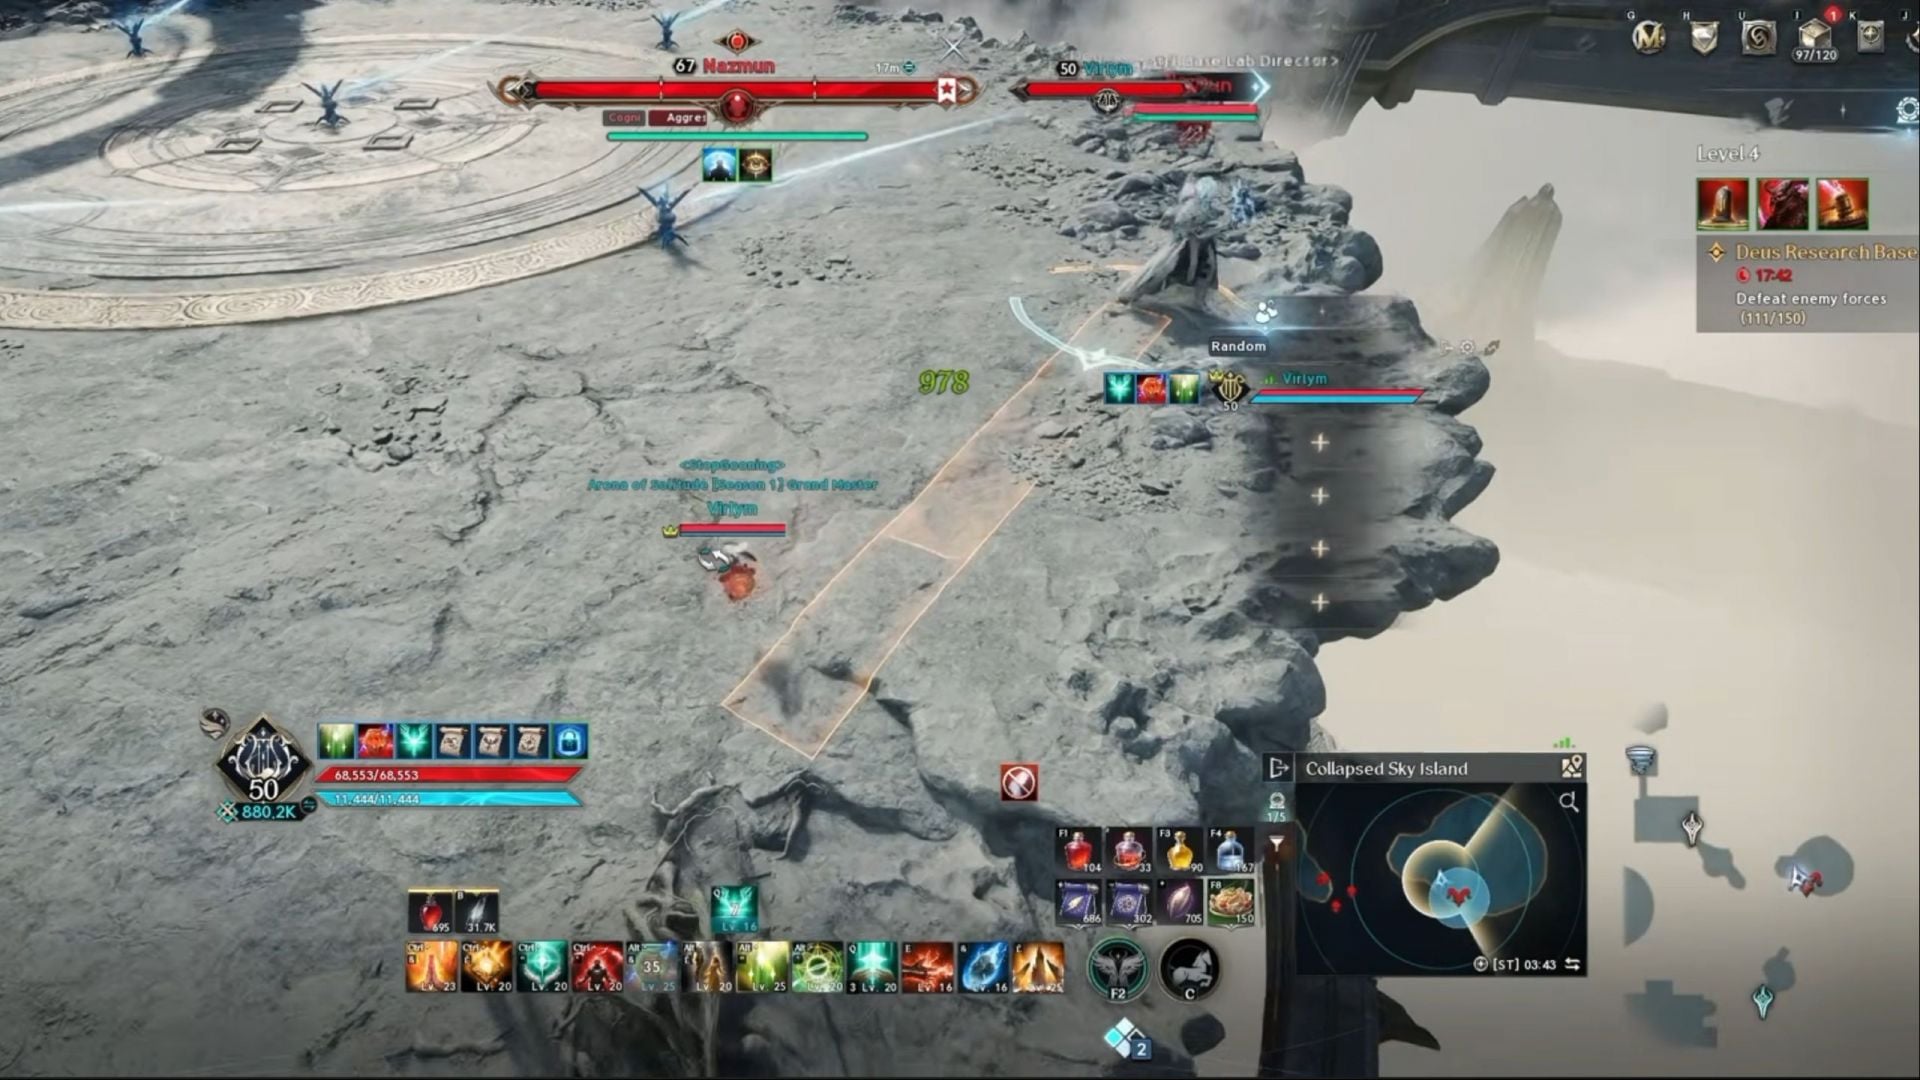
Lastly, Nazmun occasionally targets every member of the party, dealing lightning AoE damage to them, usually indicated by small circles.
Atiel:
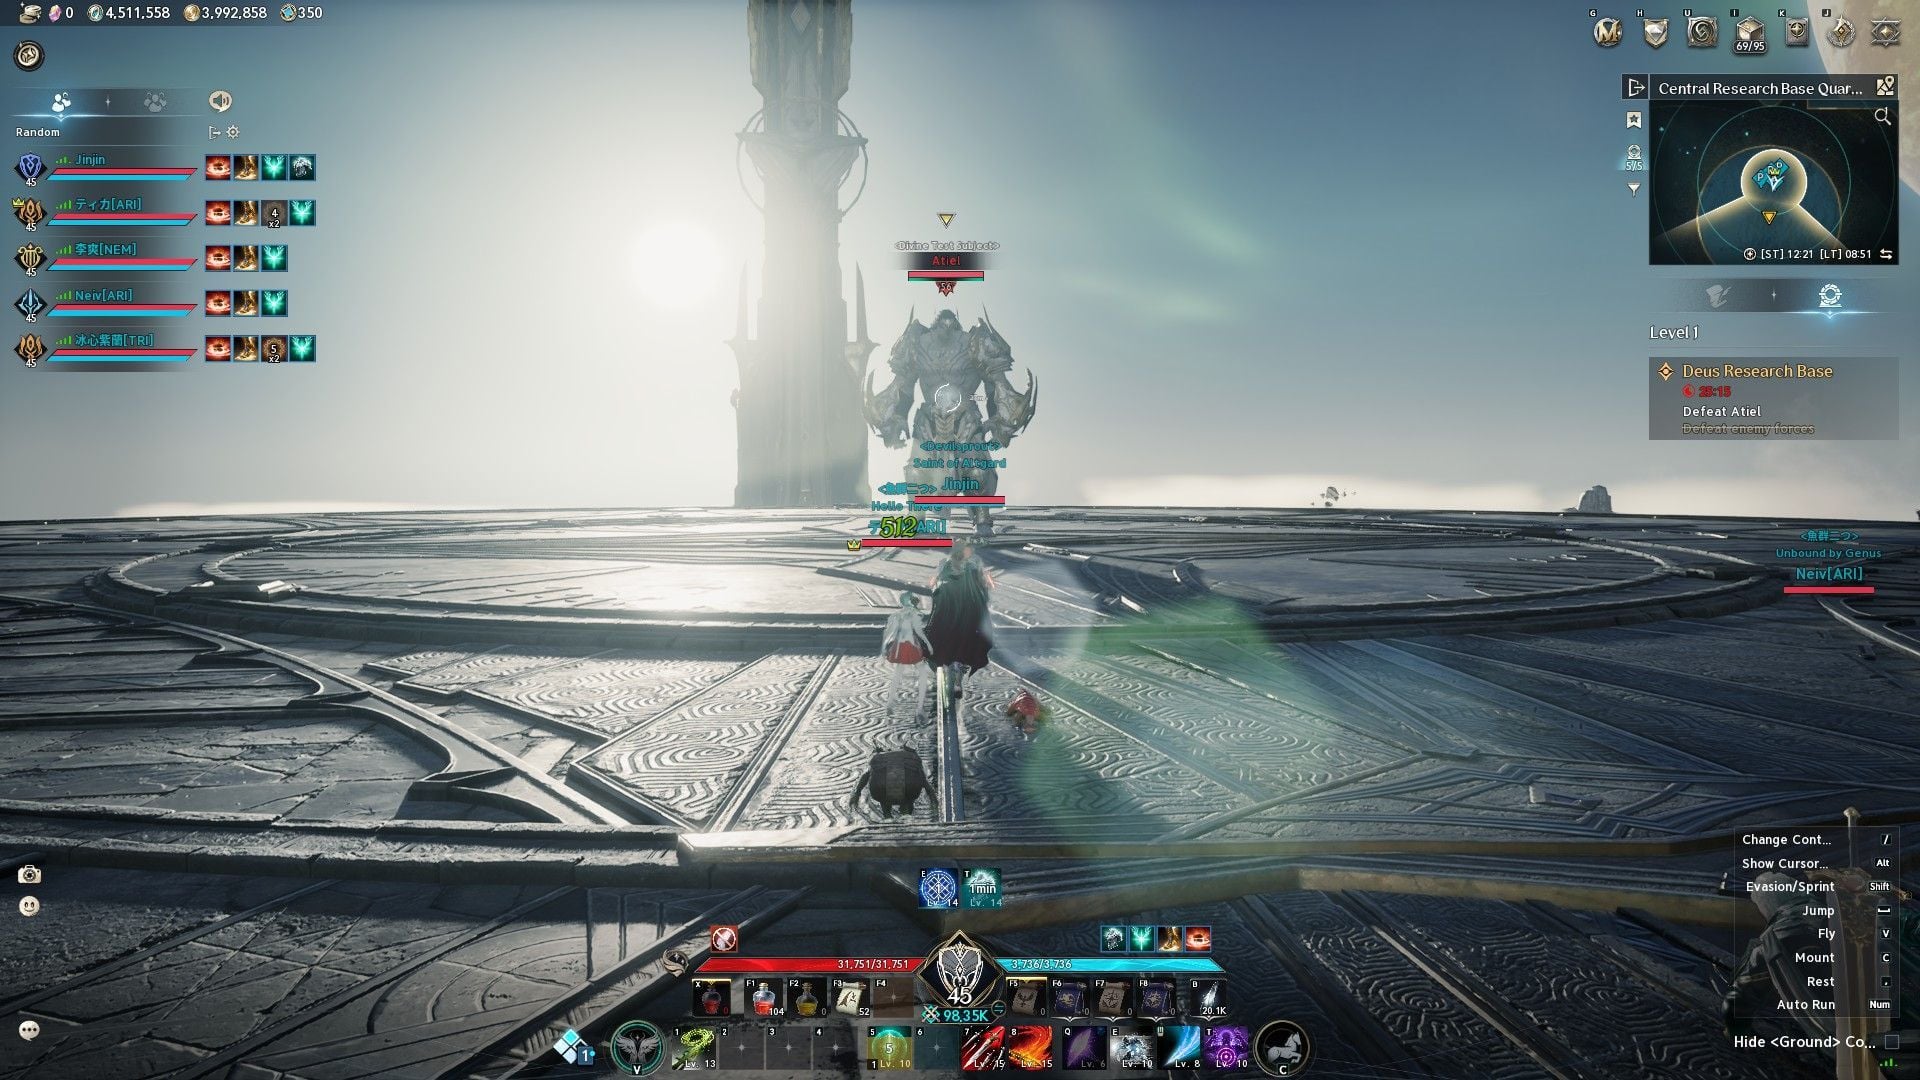
Let us go over the primary wipe mechanics first before Atiel’s other attacks:
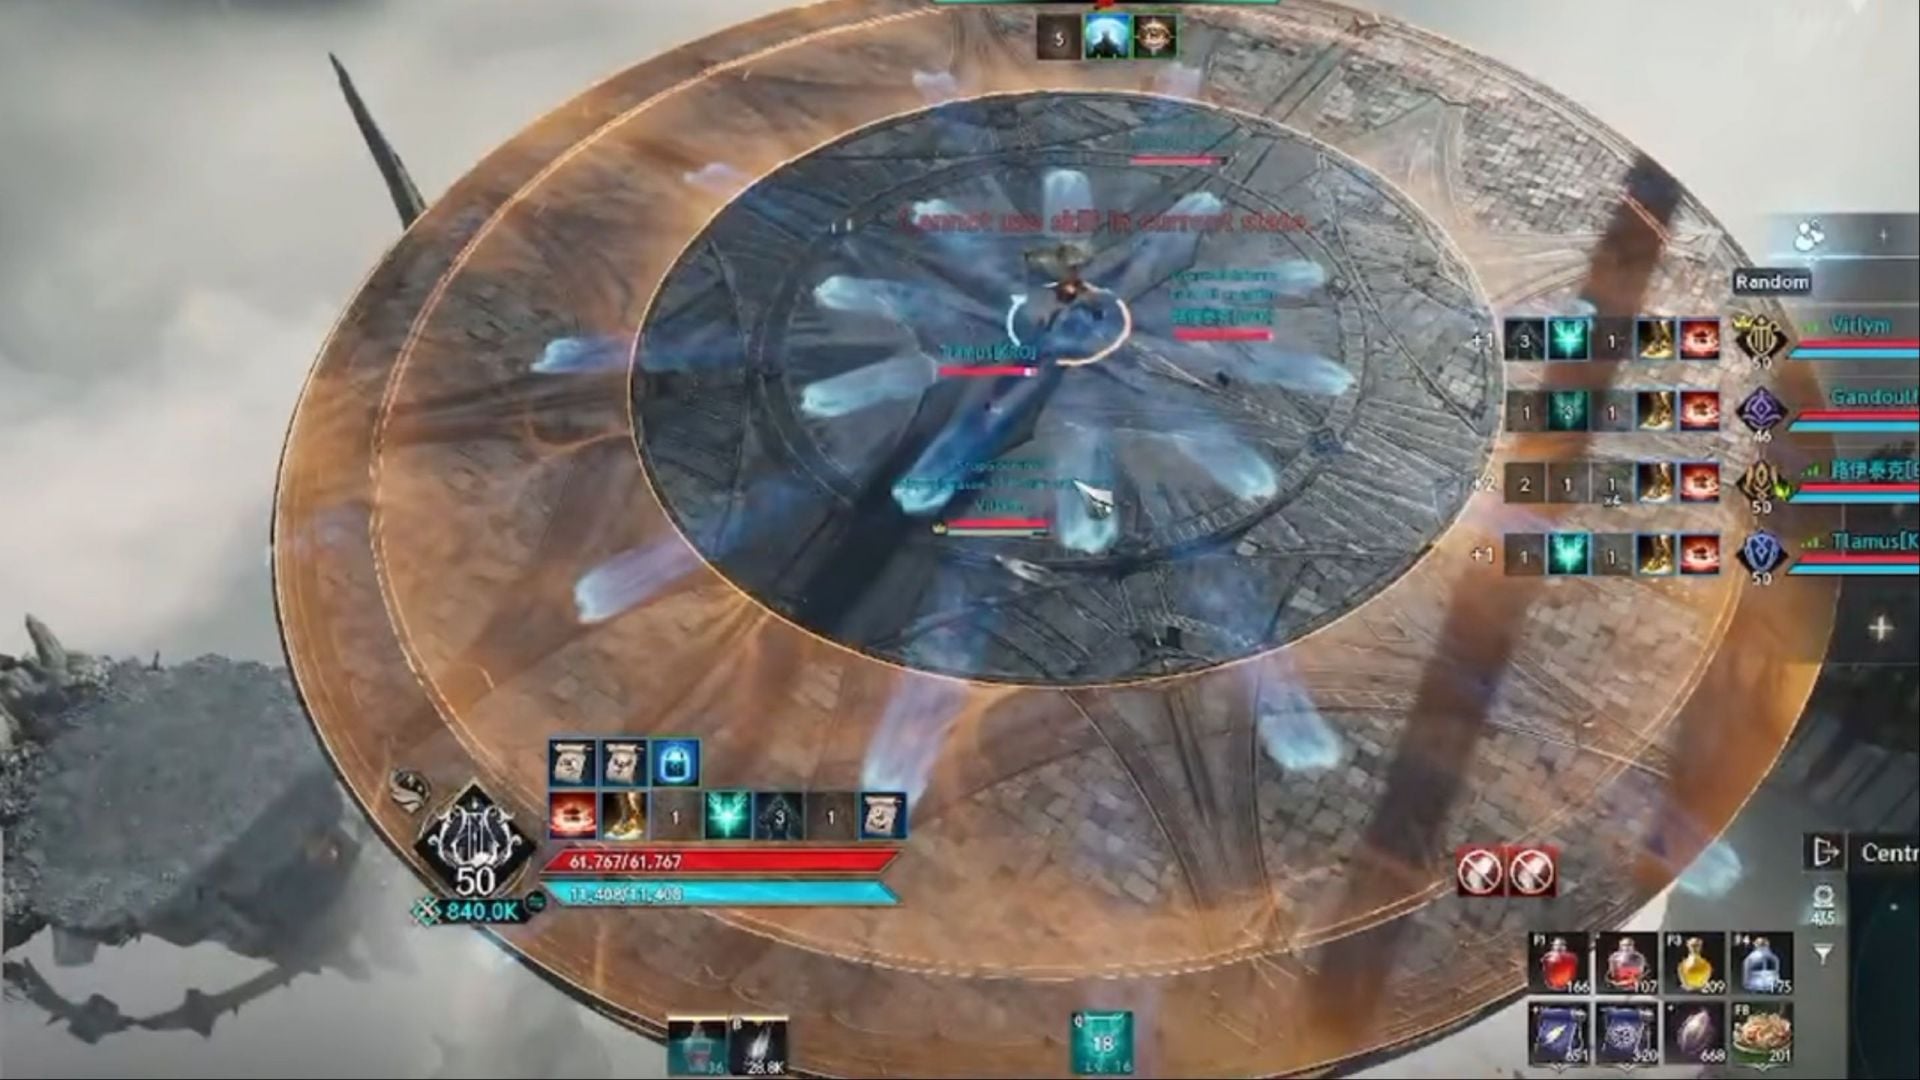
- At 75% and 35% HP, the boss will scream “Flail World, Crumble,” and launch blue AoE lines all across the arena, pushing players onto the edge. After a while, the outer circle of the arena will break, leading anyone caught in that area to die instantly, and be unable to resurrect back into the fight.
- The projectiles can be blocked by the tank.
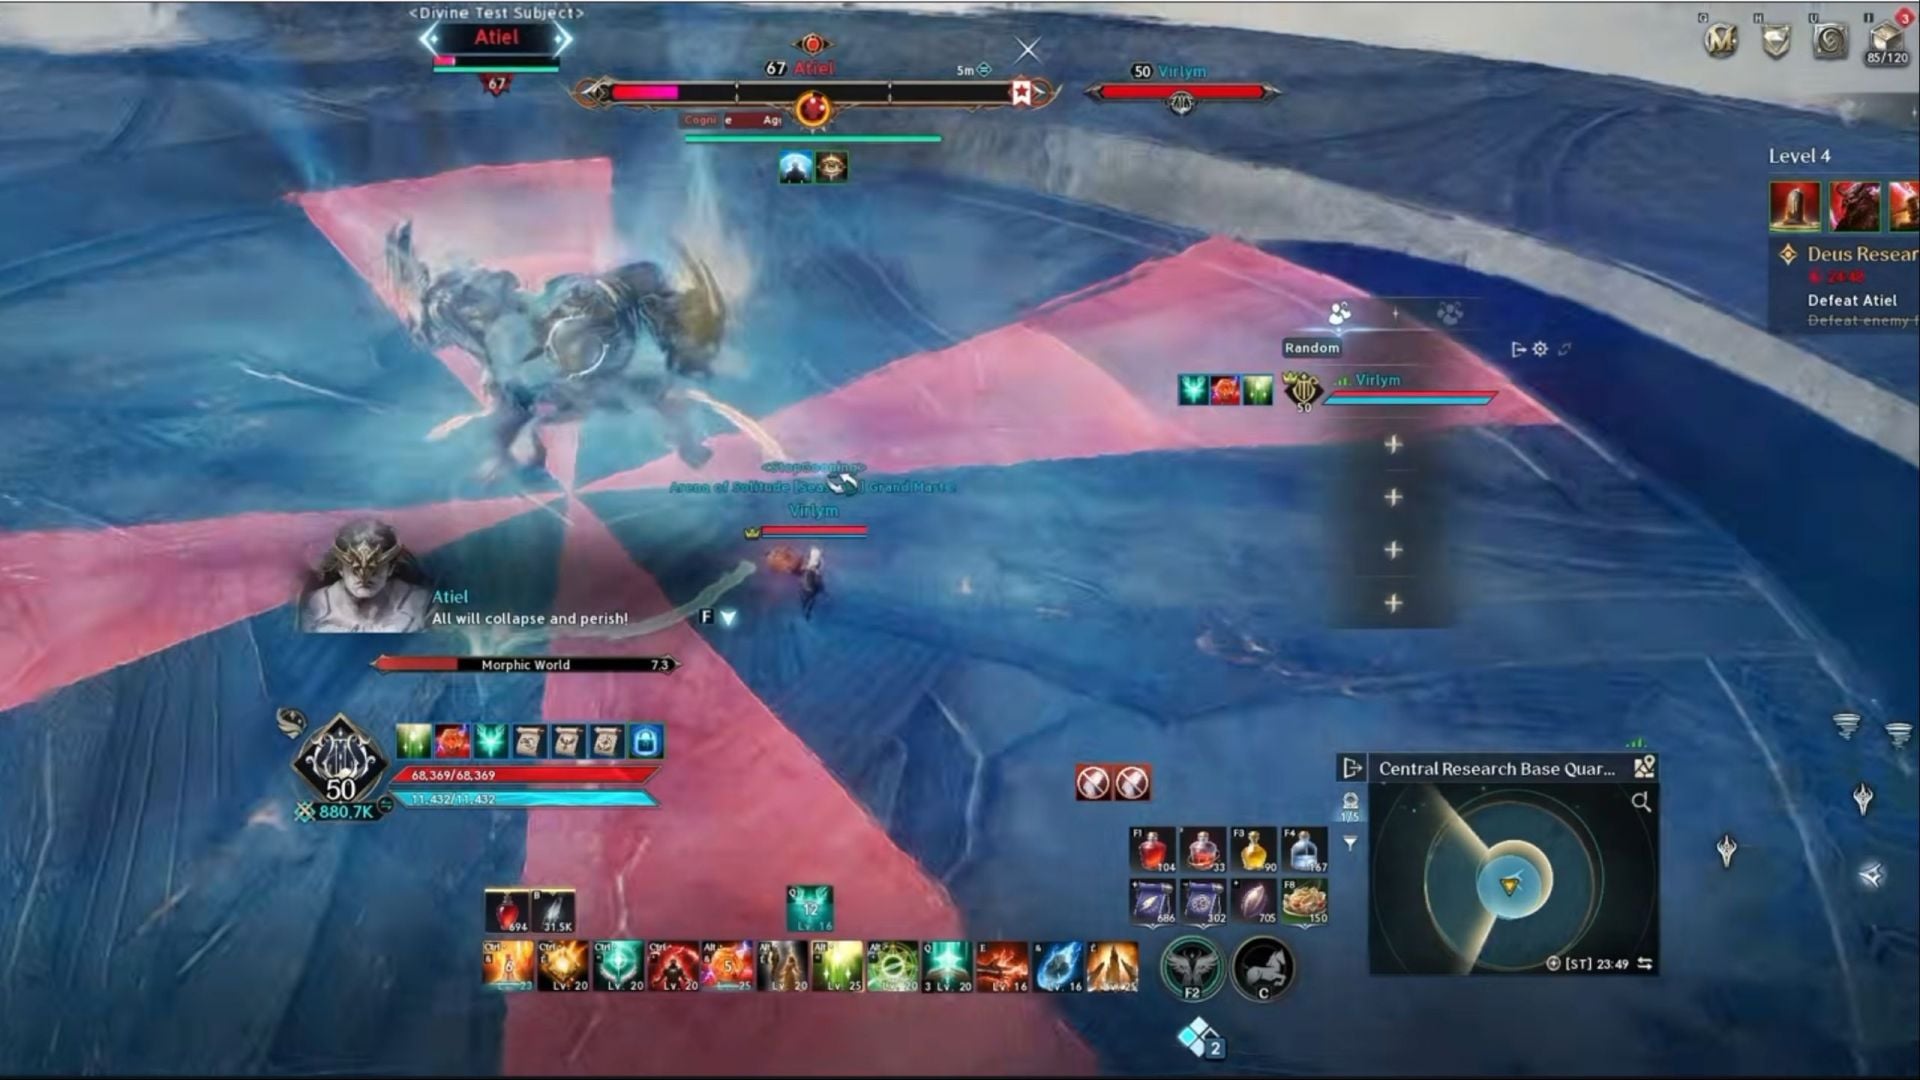
- At 25% HP, the boss will cast “Morphic World” for 10 seconds, pushing players away from it with four red cone AoE attacks. These cones also rotate in a clockwise or counter-clockwise manner, depending on your position. Each party member should also move alongside the cones and stay in gaps, to avoid them.
- At the same time, every player needs to attack Atiel and drain the boss stagger bar.
- Failing to drain the stagger bar in time will lead the boss to shatter the arena completely, leading to a full team wipe.
- Next, the boss will occasionally pull every party member towards itself and tether two players with a blue line.
- These two players must keep distance from each other until the tether goes away, or else both of them will receive damage for the duration of the tether.
Right after the tether phase, Atiel will target one player and tether them in place, with a circle AoE marker pointing inwards. At least three players need to be inside this circle for everyone to survive.
Regarding Atiel’s other attacks, it will occasionally grab the tank and slam them into the ground. Additionally, portals will spawn on the edge of the arena, launching phantoms of Atiel from one side to the other, indicated by the AoE lines on the ground.
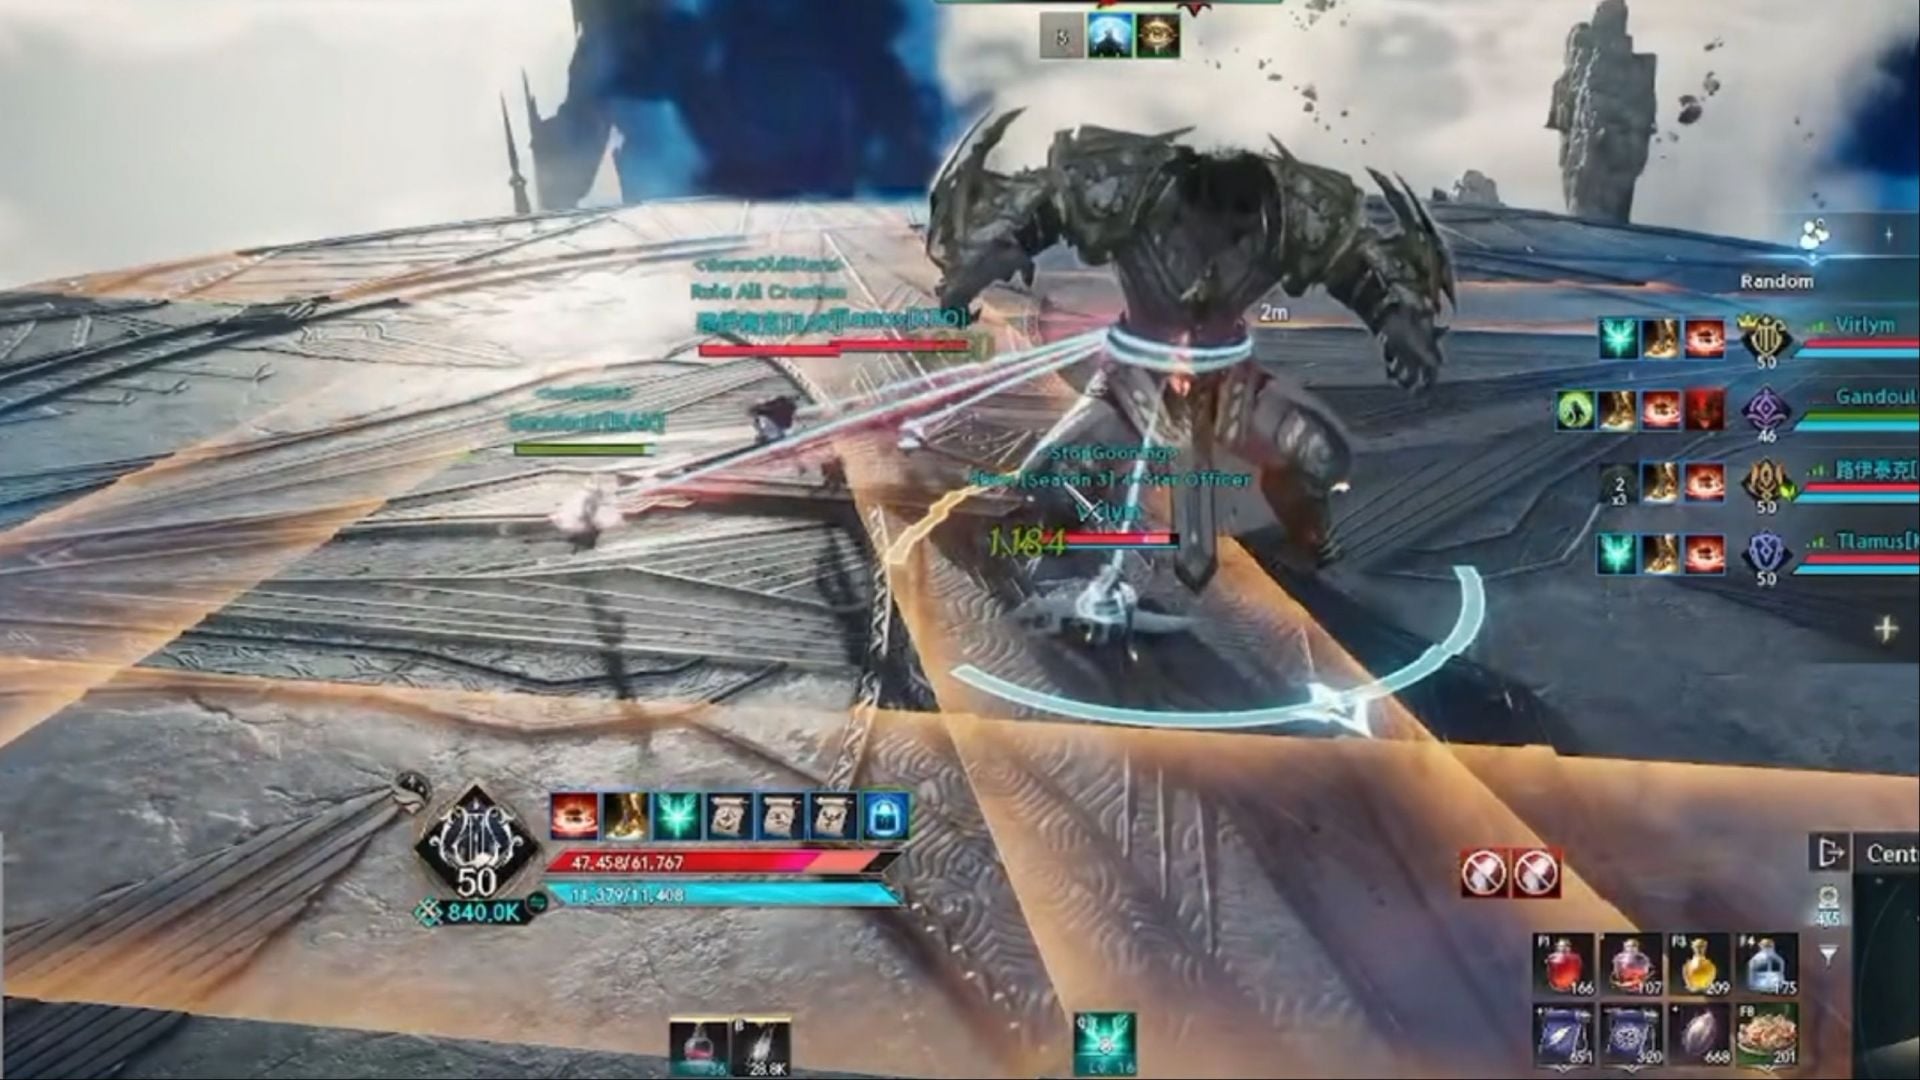
Atiel also sometimes attacks with a fan-shaped AoE in front of it, dealing moderate damage and pushing players caught within it by some distance.
Lastly, Atiel will slam the ground and randomly target party members with a “+” AoE attack.
Item level recommendation:
Deus Research Base Transcendence requires players to have a minimum of 1600 GS/item level to enter Stage 1. Here are the other requirements for the other stages:
- Stage 2: 1900.
- Stage 3: 2200.
- Stage 4: 2500.
However, we strongly recommend having at least 100k to 120k Combat Power before attempting Stage 2. For Stage 1, the minimum recommended combat power is 90k.
Loot table for Deus Research Base Transcendence in Aion 2
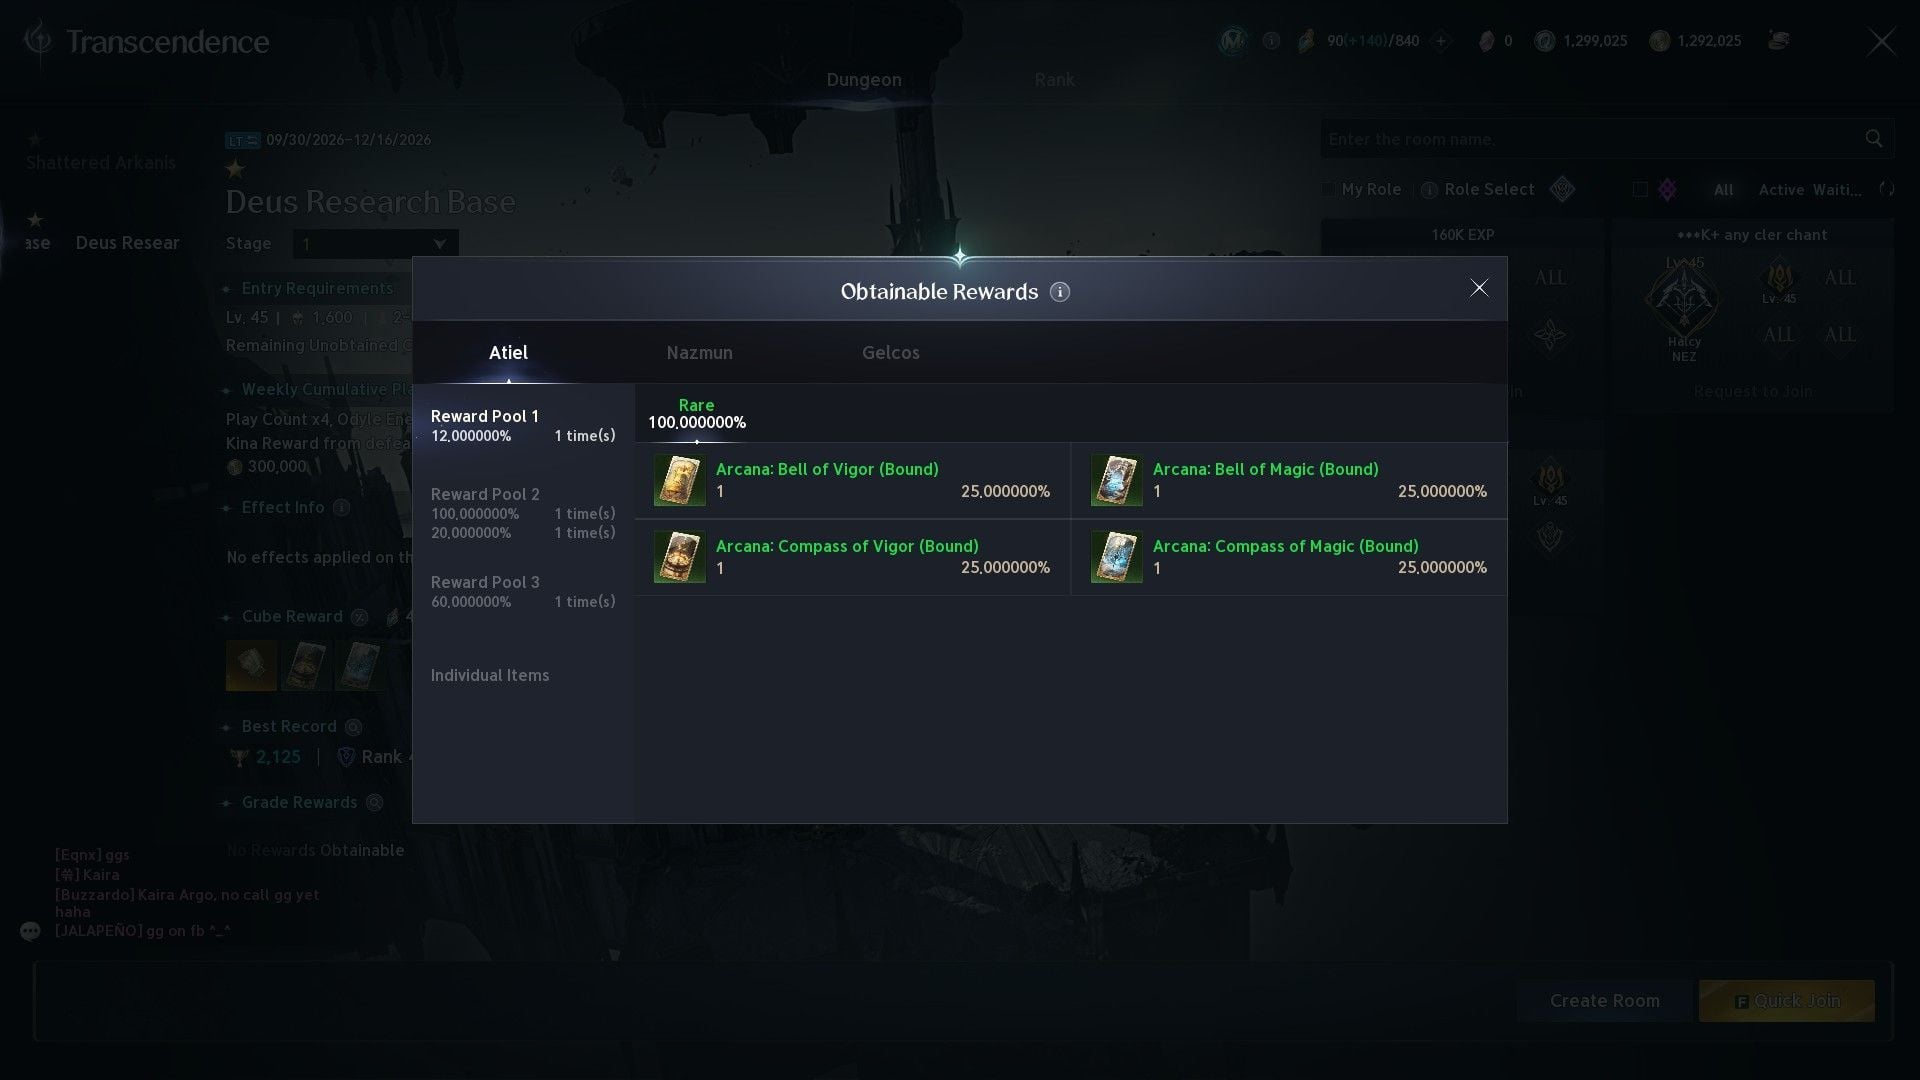
A complete Arcana set can be completed using a Chalice Card, a Compass Card, a Bell Card, a Parchment, and a Mirror. The Deus Research Base Cube grants Chalice, Compass, and Bell.
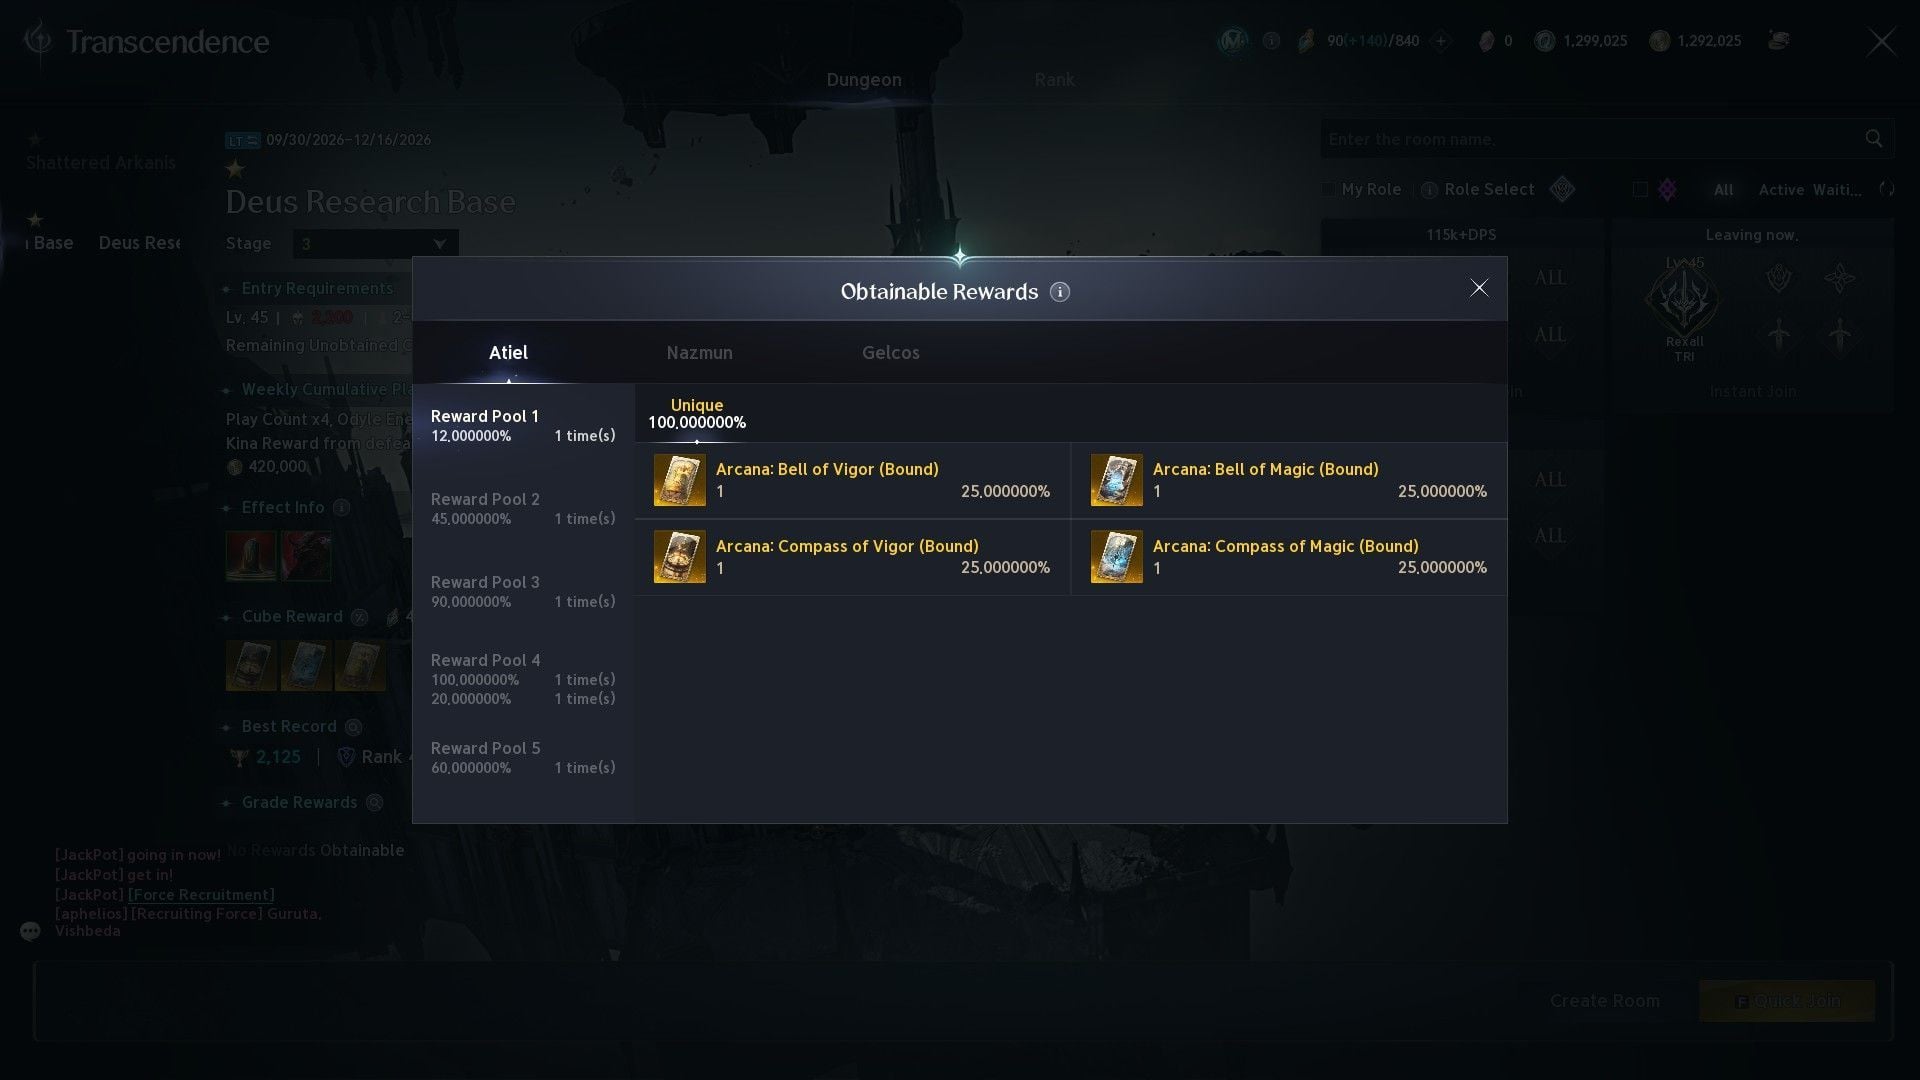
Stage 1 has a chance to drop white and green rarity cards, while Stage 2 has a chance to drop blue rarity alongside white and green. Lastly, Stages 3 and 4 have an increased chance to drop gold-tier cards from the Cube.
Check out our Aion 2 build guides:
Edited by Soumyadeep Banerjee