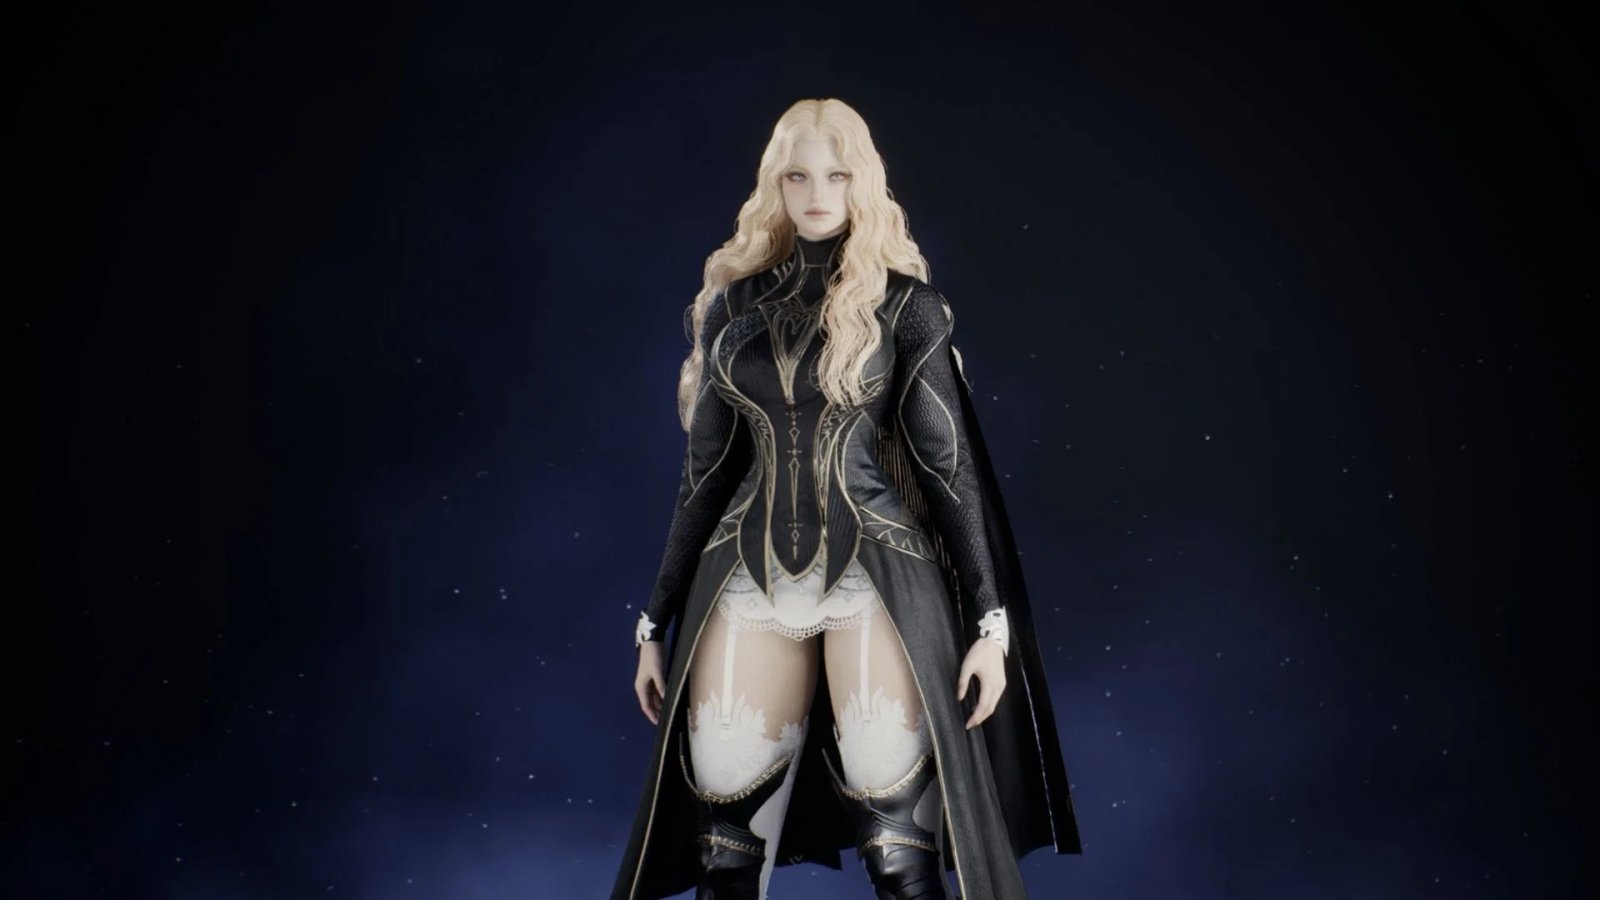

Aion 2’s Cleric may not deal as much DPS as other classes, but they are the premier healers of the game. Masters of holy power, they do have some attack skills, but their primary purpose is to keep others alive. It becomes a delicate balance between finding time to DPS and preparing big heals to keep party members alive in raids, but that’s the kind of thing that comes with practice.
If you’ve hit level 45, and want to know what you should be doing with your Cleric in Aion 2, we’re here to give you some tips to get ready to save the lives of those around you, while also blasting foes into oblivion with holy might.
Cleric’s party role in Aion 2
A Cleric’s primary party role in Aion 2 is to be the party Healer. They also have access to a useful debuff in Debilitating Mark, and can create an aura that deals damage to a single target via Divine Aura.
While the Cleric has more damaging skills than healing skills, the primary role is to keep others alive. They can drop a heal that targets themselves and the lowest health party member (Healing Light) or heal everyone nearby while also removing a debuff (Radiant Recovery).
Skill Point and Stigma guide for Aion 2’s Cleric
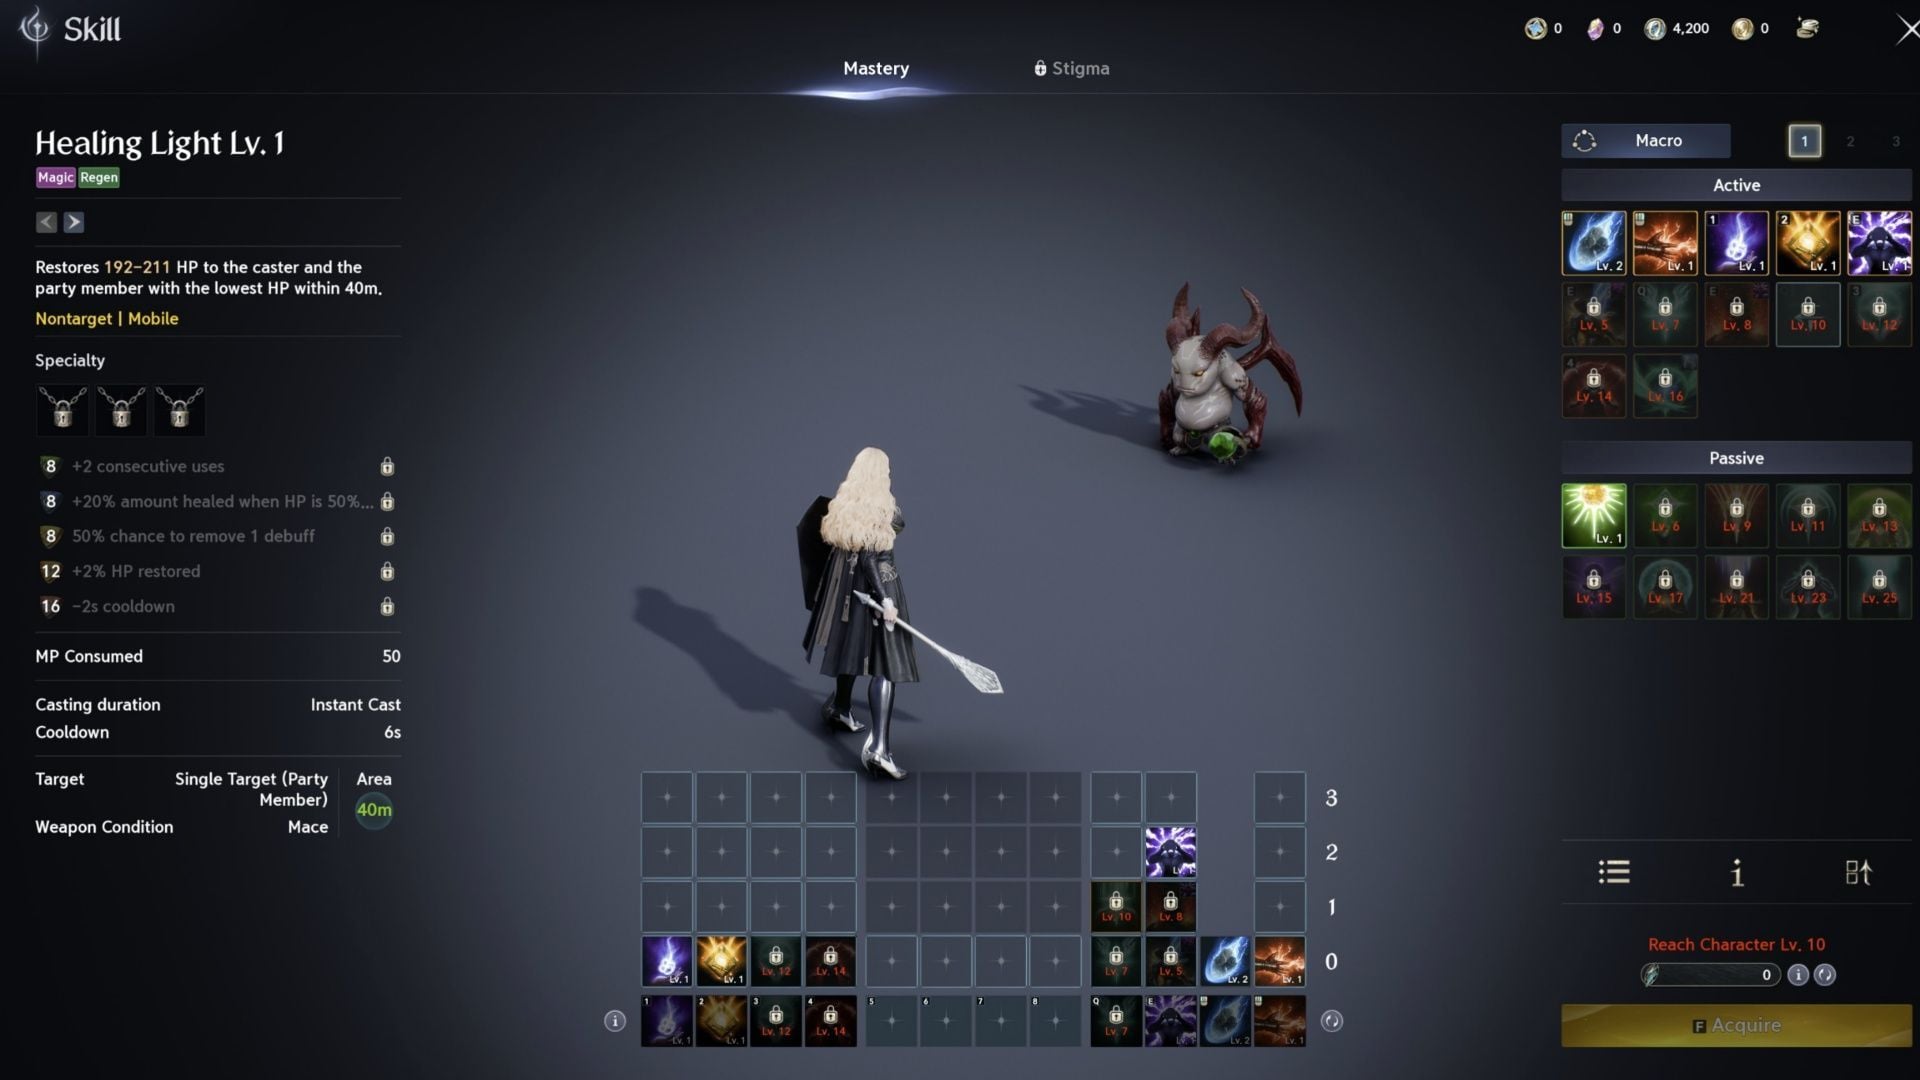
While you’re leveling up, it really doesn’t matter what you do with your points in Aion 2, even as a Cleric. As long as you’re putting some points into your heals, I think you’ll, generally speaking, be okay. Things don’t get challenging until the endgame anyway. Below we’ve gone over what we recommend for your Skills, Specialties, and even what the best Stigma choices are going to be.
In the early game, during the low level dungeons, you probably won’t need many ranks in Healing Light. It is primarily used for yourself and whomever else is low, and you have other, better group options. You’ll really stack points into this when you’re getting into harder content.
Note: Skills with an Asterisk denote extra ranks from Arcana and Daevanion systems.
Skills and Specialties
- *Healing Light (11+1 ranks): +2 consecutive uses. Ideally, you’ll want to pick up the -2s cooldown with 16 ranks, further down the line so it can be spammed.
- Light of Regeneration (10 ranks): +20% amount healed when HP is 50% or lower. This can be changed to +5% Movement Speed when you’re stronger.
- Defiance (8 ranks): Restores 10% HP after using Defiance.
- Radiant Recovery (8 ranks): You’ll want to pick this up later, when you’re doing more challenging group content. Removes up to 2 debuffs.
- Earth’s Retribution (8 ranks): +20% MP restored.
- Judgment Thunder (10 ranks): Up to 12% damage when fewer targets are hit.
- Divine Aura (10 ranks): Pick either Changes to AOE Skill or +50% attack speed to Divine Aura.
- Chain of Torment (8 ranks): +3s Damage over Time.
- *Lightning Strike Scattershot (11+1 ranks): Changes to a mobile skill and adds Multi-Hit on hit.
- Condemnation (8 ranks): Up to 12% damage when fewer targets are hit.
- Bolt (10 ranks): +30% Skill Speed.
While you eventually want all of these passives, the ones you 100% need are Empyrean Lord’s Grace, Earth’s Grace, and Healing Enhancement. These are your top priority. If you wind up with the spare points, I also recommend Radiant Benediction to allow players to heal themselves when attacking enemies.
Passive Skill ranks
- Empyrean Lord’s Grace: 12 ranks.
- Earth’s Grace: 10 ranks.
- Healing Enhancement: 10 ranks.
Stigma selections
- Light of Protection (only with no Chanter in the party): 5 ranks.
- Summon Resurrection: 1 rank (eventually increase to 5).
- Earth’s Punishment: 5 ranks.
- Noble Aura: 5 ranks, Prayer of Amplification, Absolution, or Benevolence can fill this spot as needed.
Combat Macro and rotation guide for Aion 2’s Cleric
When you’re playing a Cleric in Aion 2, I highly recommend using the Tab Target Mode. This is because in the Tab Target Mode, when you use your auto attack, it will continually cast your auto attack, instead of requiring you to keep mashing it. This helps you generate mana, which is so incredibly important, because your auto attack does exactly that.
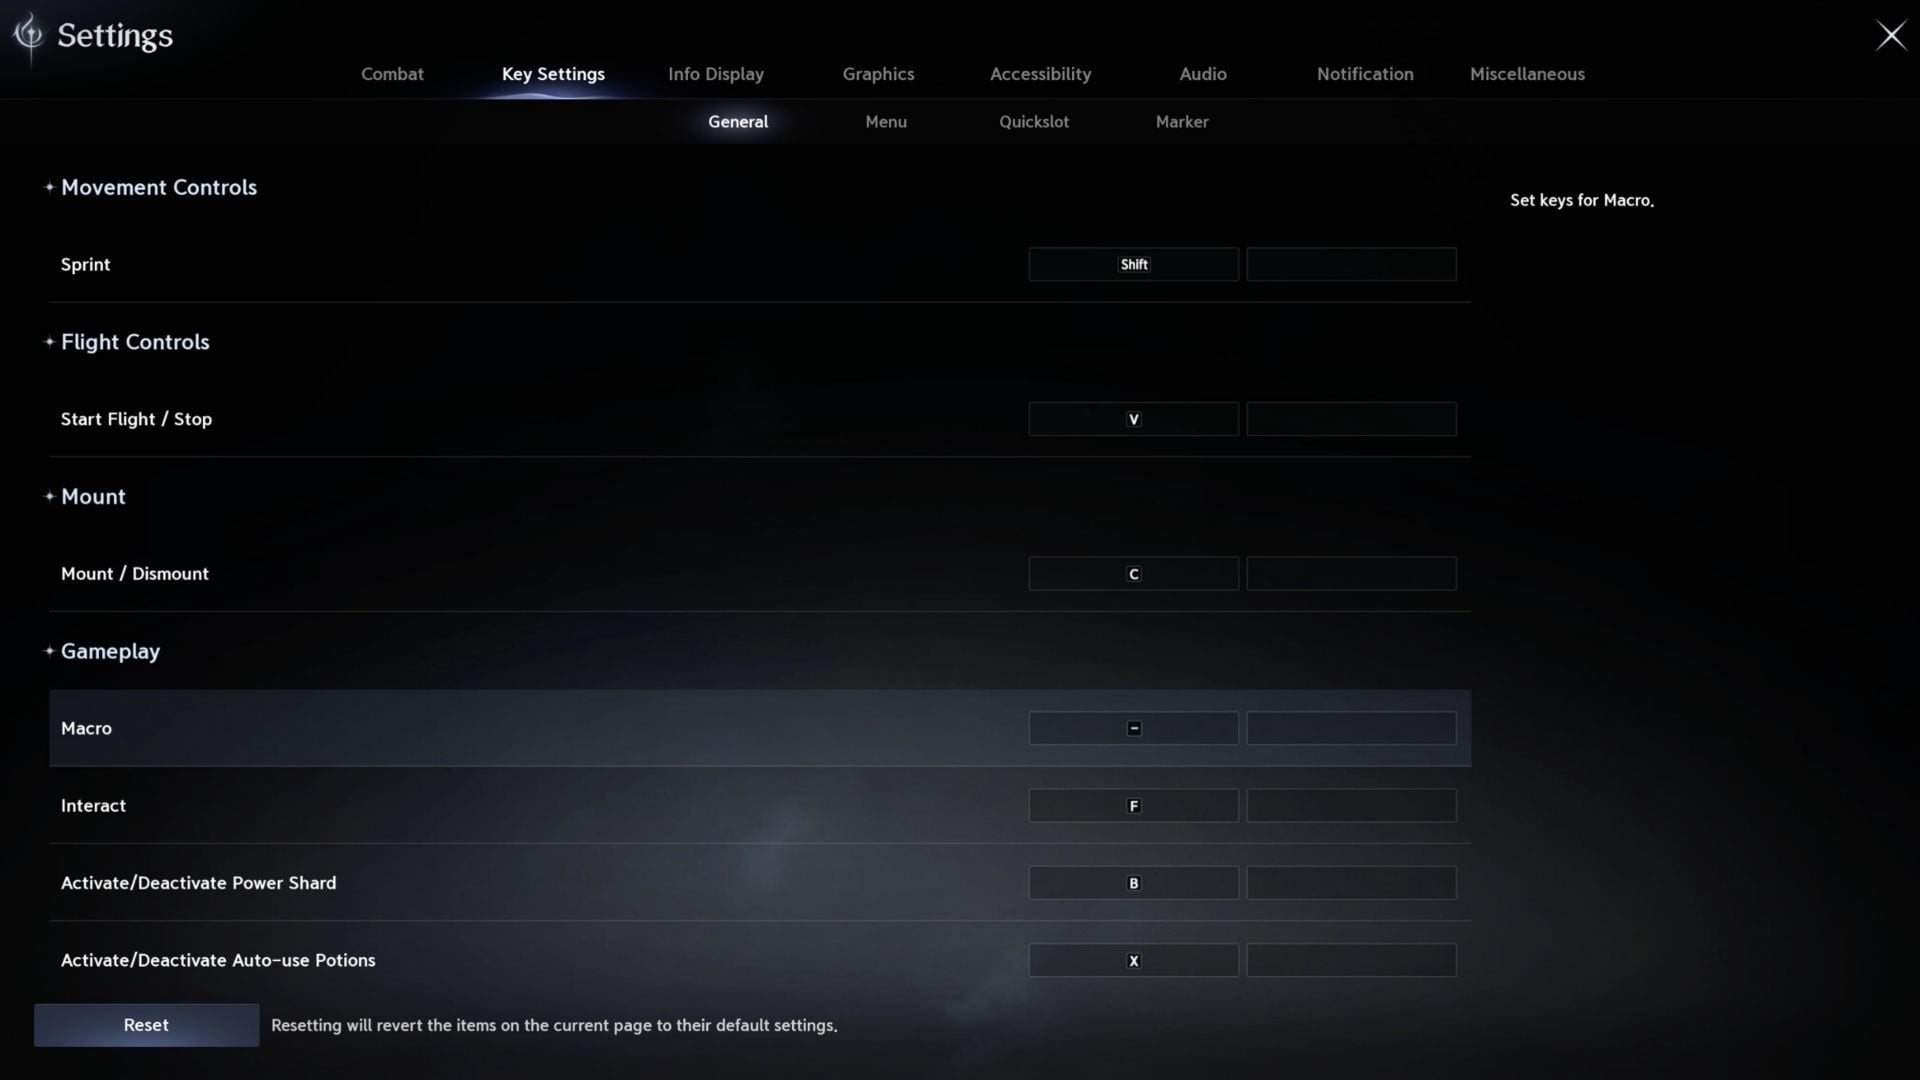
For your Macro, don’t forget to bind the Macro button in the Settings, under Key Settings. Otherwise, you won’t be able to use the Macro you create for your Cleric in Aion 2. Depending on what your delay is, you may have to set your Macro’s delay to the 40-50 ms range. I don’t have any kind of lag, so I can leave mine at 10 ms between inputs.
For the most part, your buttons won’t have long chains as a Cleric. The majority of your buttons will just be next to each other on your hotbar. There are exceptions to this, but the following skills will just be on your bars:
Hotbar skills
- Judgment Thunder
- Divine Aura
- Radiant Recovery
- Lightning Strike Scattershot
- Bolt
- Healing Light
- Noble Aura
- Summon Resurrection
- Light of Protection
Light of Regeneration Line
- Light of Regeneration
- Healing Light
Combat Line Macro
- Debilitating Mark
- Chain of Torment
- Earth’s Punishment
- Condemnation
The idea is to use your Combat Line to get all of your debuffs out, and drop Condemnation, which is your biggest source of damage. Then make sure your auto-attack is firing, keep your other skills on cooldown, and heal as needed. I tend to just go down the line on my other abilities. Just make sure those debuffs are always on your target.
Daevanion Board guide for Aion 2’s Cleric
Daevanion Boards have changed between the Korean and Global release, so there are going to be differences between them, if you play(ed) on both servers. Below are the important nodes you want to focus on in the early stages of the endgame. Eventually, you’ll have these boards filled up, but since resources are limited for now, we have some suggestions.
After you finish the below suggestions, then you can return to the Nezekan Board, and start picking up some of the +1 Skill nodes that you might need or want. You can also forsake some of the Damage Bonus on the Zikel Board, if you want to get those +1 Skill nodes earlier.
Important nodes on Nezekan Board
- Cooldown Reduction 2.5% (top right of the board)
- Cooldown Reduction 2.5% (bottom left of the board)
- Combat Speed 2.5% (bottom right of the board)
- Combat Speed 2.5% (top left of the board)
- Defense Bonus +500 (left center of the board)
- Defense Bonus +500 (right center of the board)
- Attack Bonus +50 (top center of the board)
- Attack Bonus +50 (bottom center of the board)
Important nodes on Zikel Board
- Damage Tolerance 5% (top left of the board)
- Damage Tolerance 5% (bottom right of the board)
- Damage Boost 5% (top right of the board)
- Damage Boost 5% (bottom left of the board) when you have the points to spend on it.
Important stats to keep in mind for your gear
There are so many gear stats to keep in mind as you’re growing more powerful in Aion 2, but we’ve listed a few down below that we think are especially important. Your needs may change depending on what you’ve already got equipped, and how your growth has been.
- Illusion: This is cooldown reduction, and we always want more of that.
- Combat Speed: Reduces the time between attacks/casting abilities.
- Damage Tolerance: Decreases damage taken.
- Natural MP Regen: Increases mana regeneration, so you can spam skills harder.
Check out our other Aion 2 guides and features
Edited by Jason Parker