


Chapter 2 is the toughest half of the Tales of the Dark King quest in Dress To Impress. It forces players to search for clues in a dark mansion, solve a slew of puzzles, and unlock the catacombs under a strict countdown. The final part of the Chapter takes place inside a labyrinth that has a limbless monster, where the only source of light is your torch. To make matters more challenging, failing to complete the puzzles within the allotted time or getting killed by the monster forces a restart.
Tales of the Dark King Chapter 2 is the ultimate test of your patience, puzzle-solving skill, and survival. Here’s a step-by-step guide on how to finish the challenge in Dress To Impress.
How to reach Chapter 2 in the Dress To Impress Tales of the Dark King quest

To reach Chapter 2, finish the first Chapter in the Tales of the Dark King quest by reaching Soul Field. Chapter 1 is relatively straightforward because it requires you to fuel a Lantern and whack away Souls that try to climb your boat from the river.
Chapter 1 ends with Clotho and Lachesis teleporting your avatar to a memory. In the following Chapter, your avatar arrives at a village, where the residents are fearful of Agamemnon’s forces.
How to complete Tales of the Dark King Chapter 2 in Dress To Impress
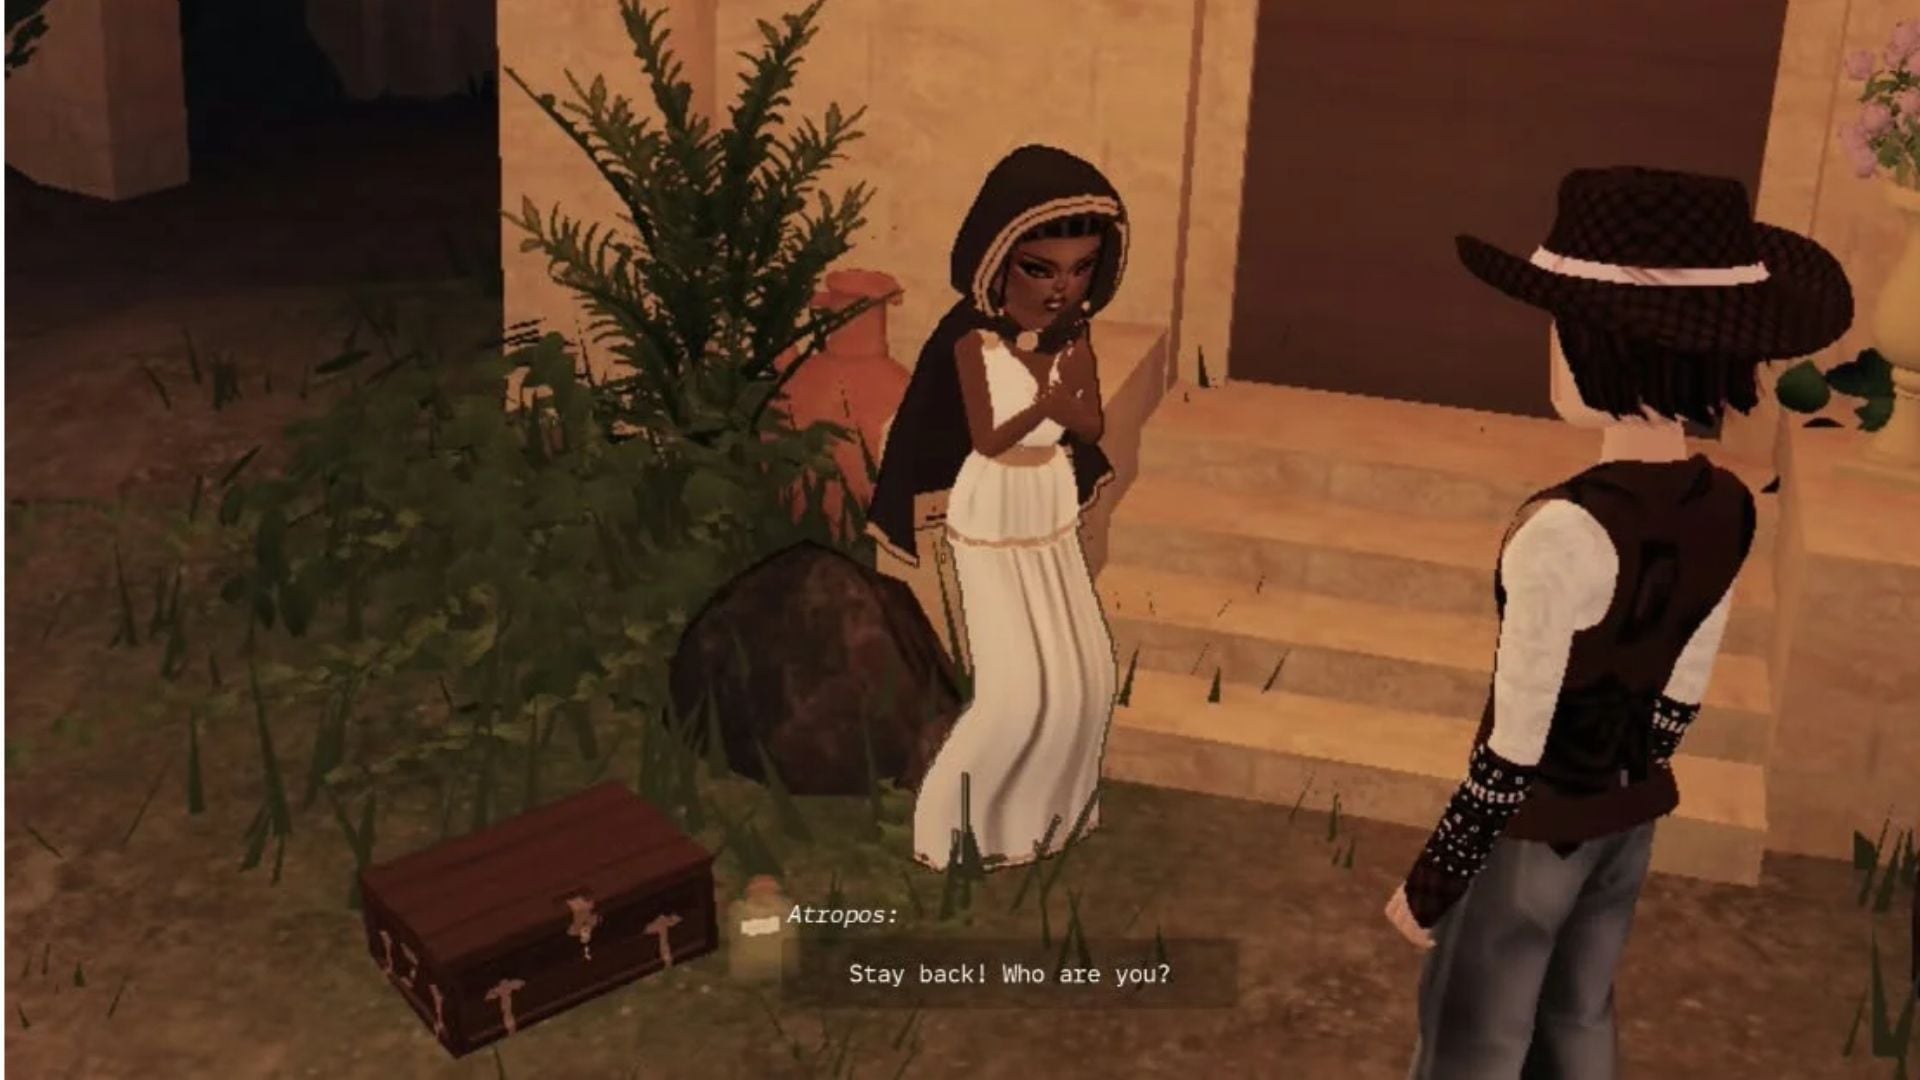
In Dress To Impress, the second Chapter of the Tales of the Dark King quest is divided into three parts. The first requires you to find a Gate Key, the second is teeming with mind-boggling clue hunts and puzzles, and the third features a monster prowling the catacombs.
Part 1
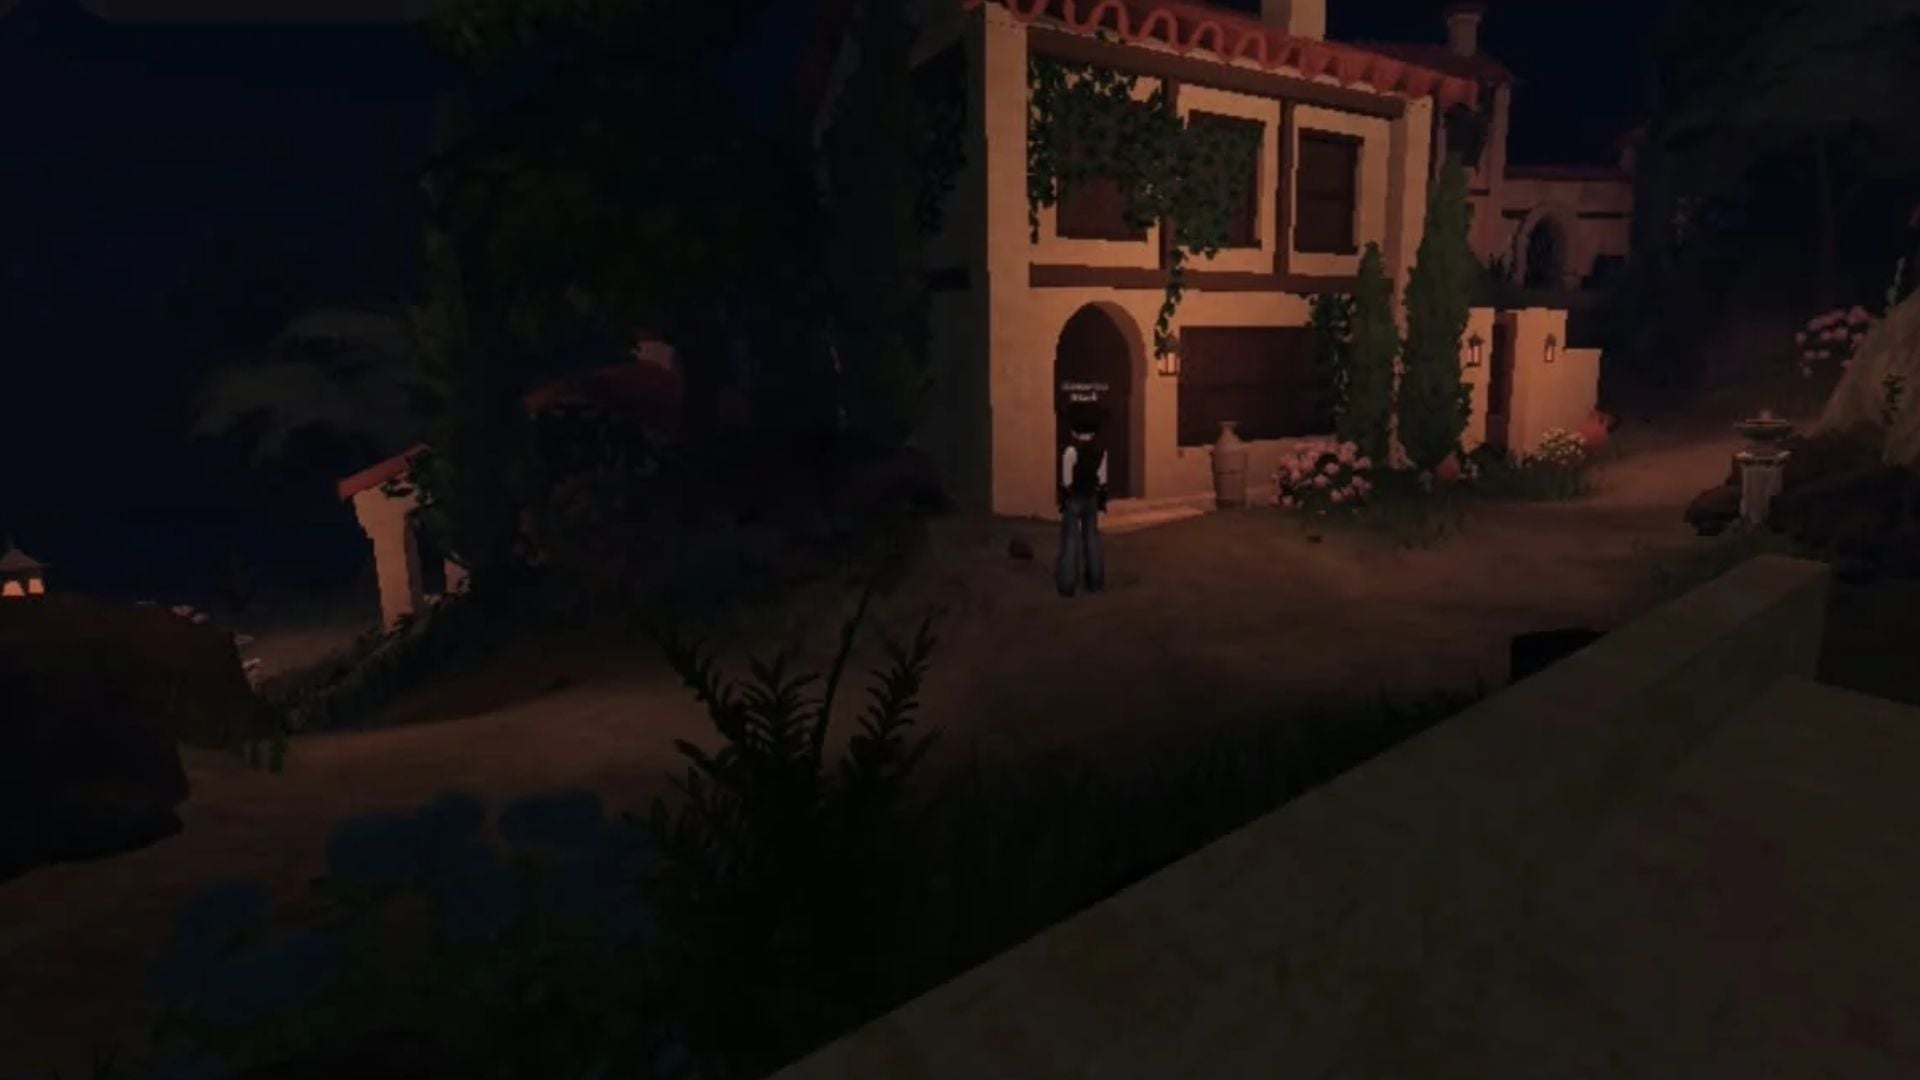
After speaking to Atropos, go inside the building that has a slightly open door. Pick up the Gate Key from the table inside the building by holding the E key on PC.
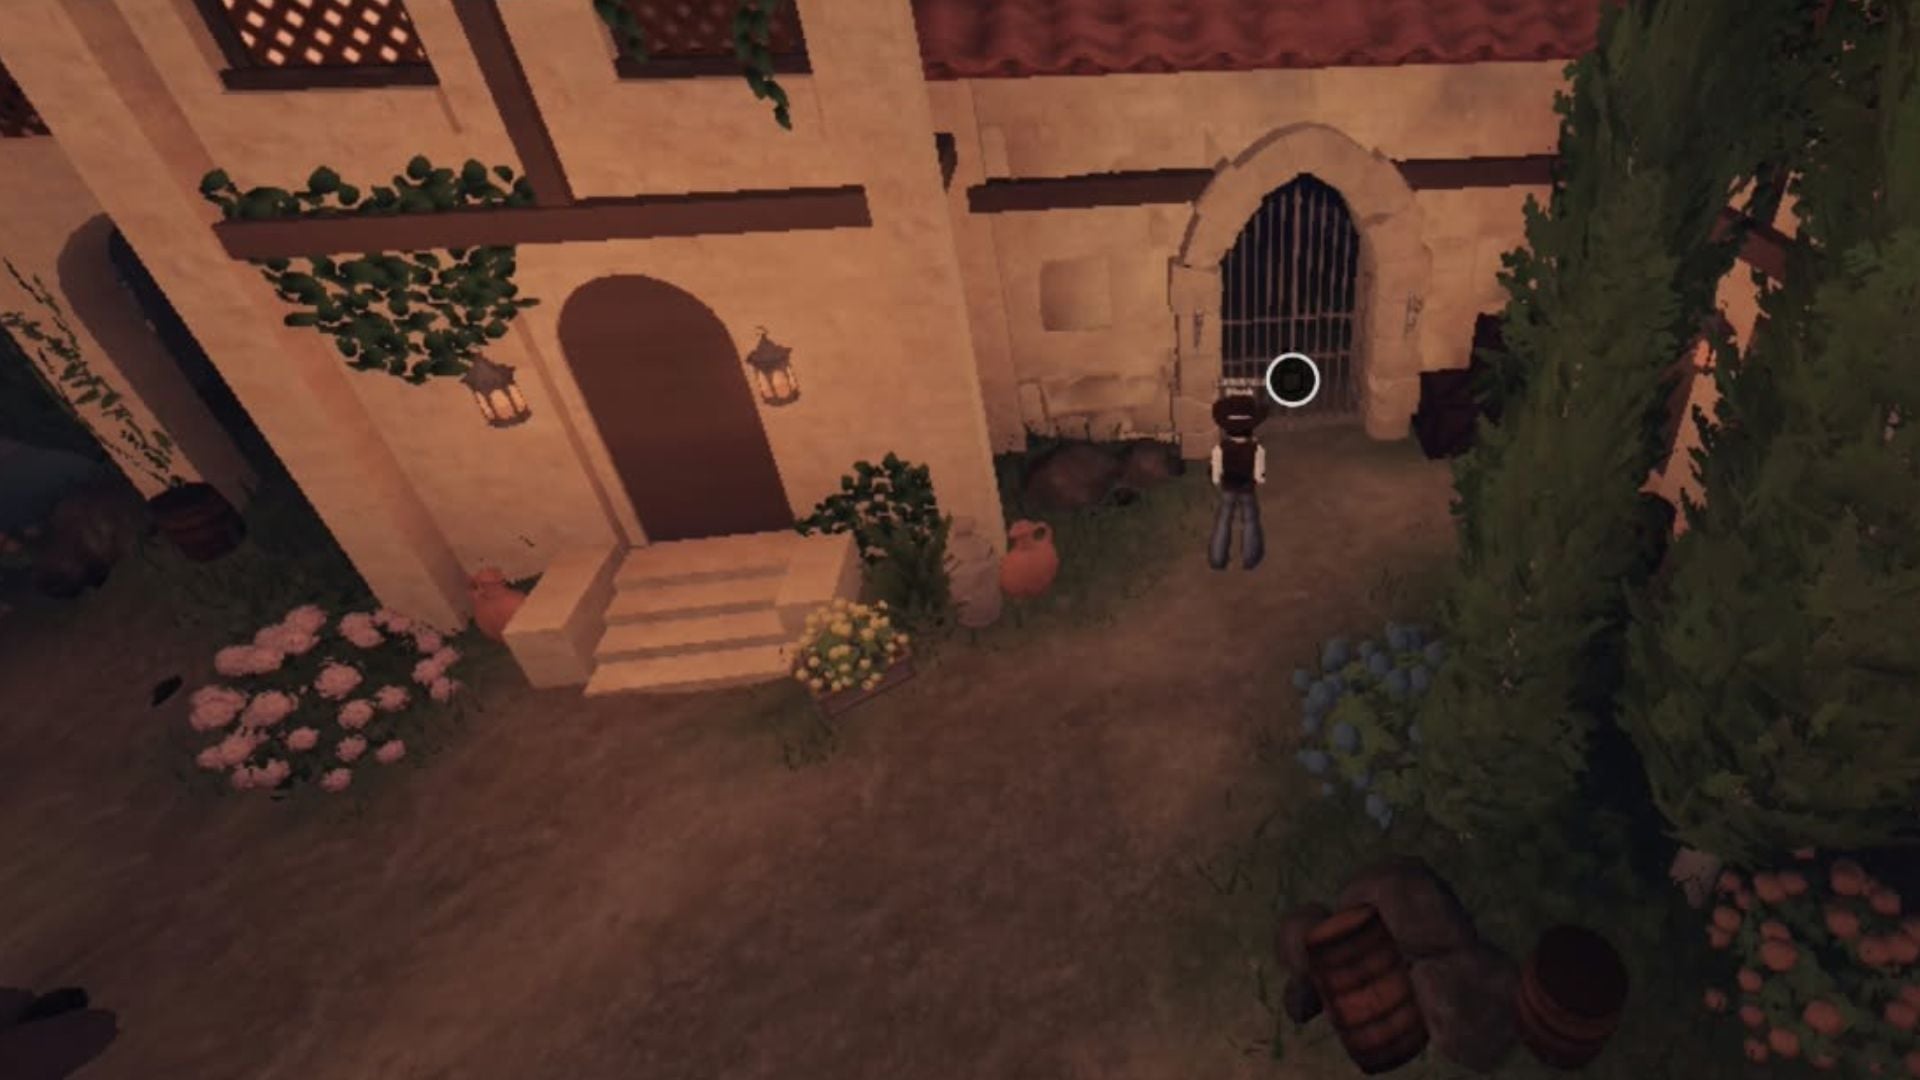
The Gate Key is needed to open the gate leading to a dark mansion. Follow the path leading up to a hill and then interact with the gate while holding the key.
While the first part in Dress To Impress is a cakewalk, the second is difficult.
Part 2
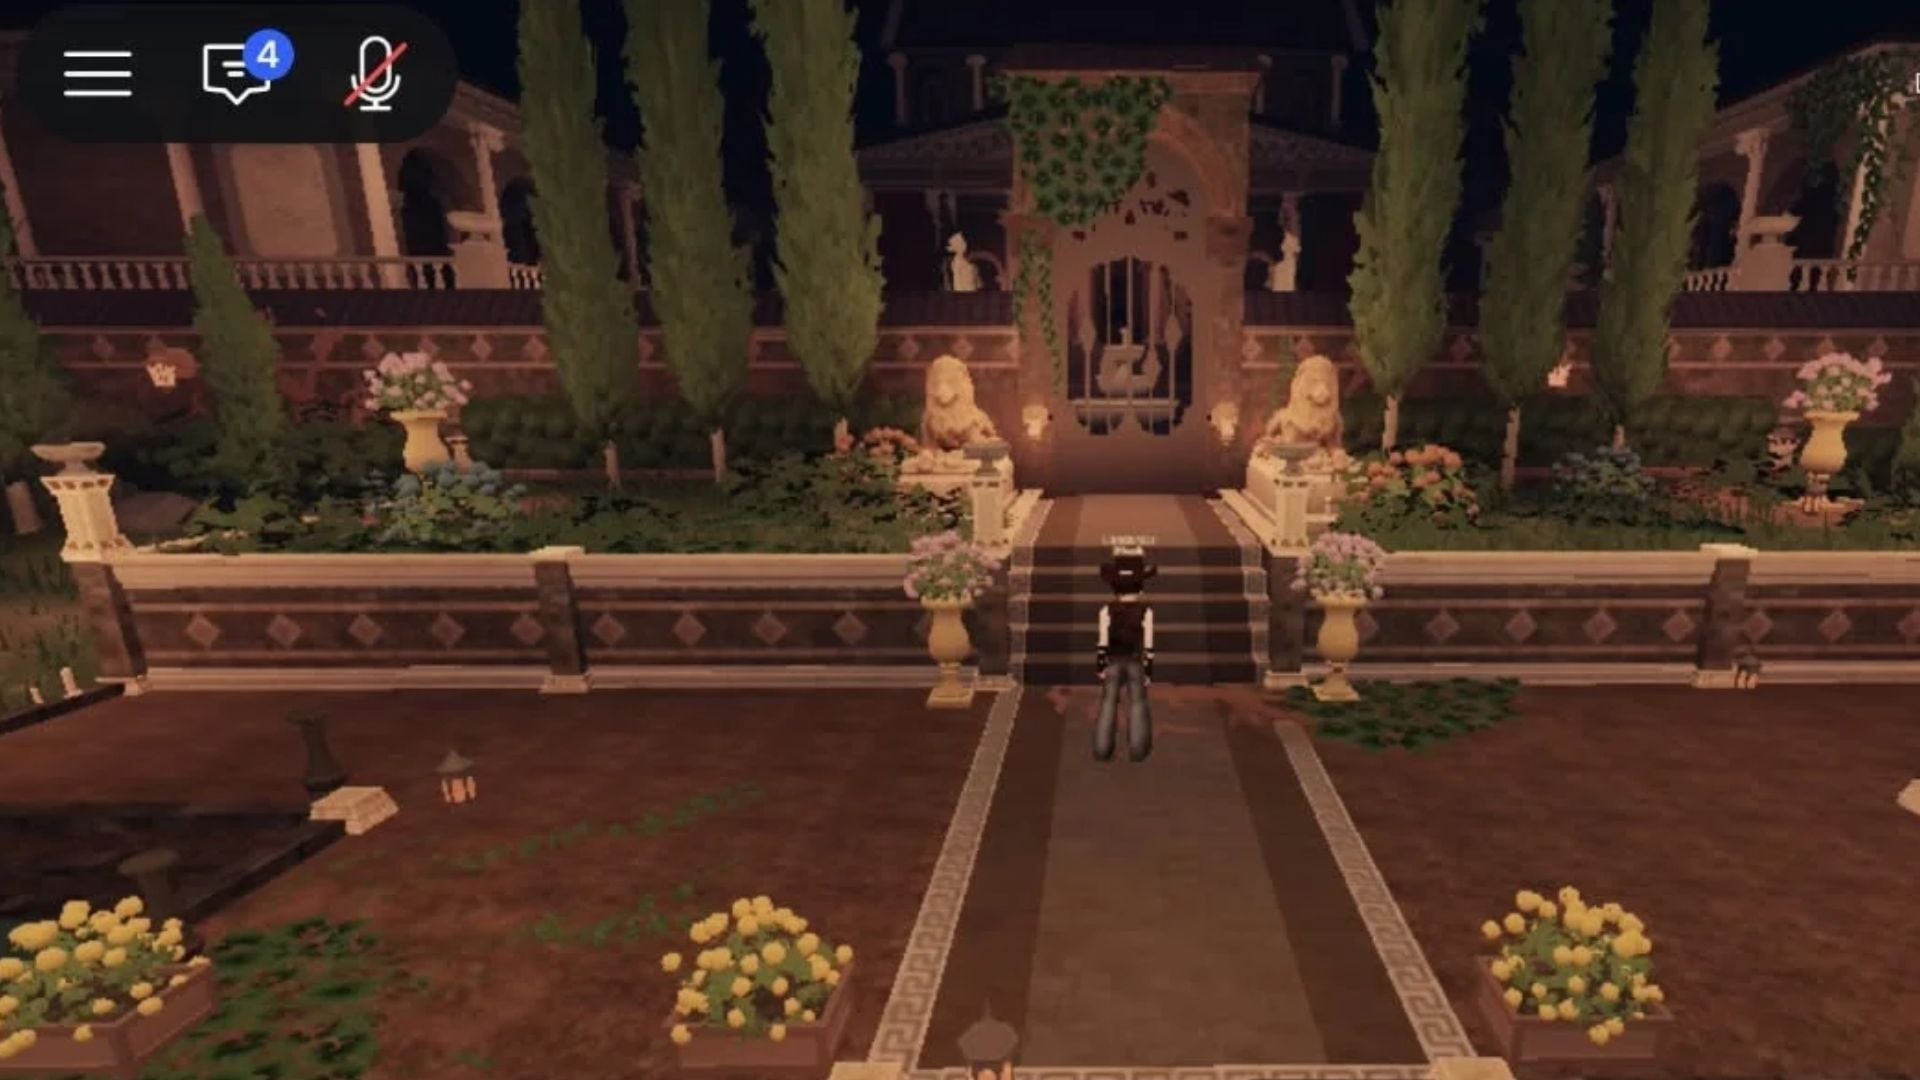
Enter the mansion from the main gate and keep walking straight until you reach a room with pedestals. This room contains the first puzzle, where you must arrange and place items on the pedestals in a particular order. Note that all puzzles in the mansion location must be done before 7:00 AM in the game.
Clues about the specific order are scattered in the mansion area.
Puzzle #1 (Pedestals)
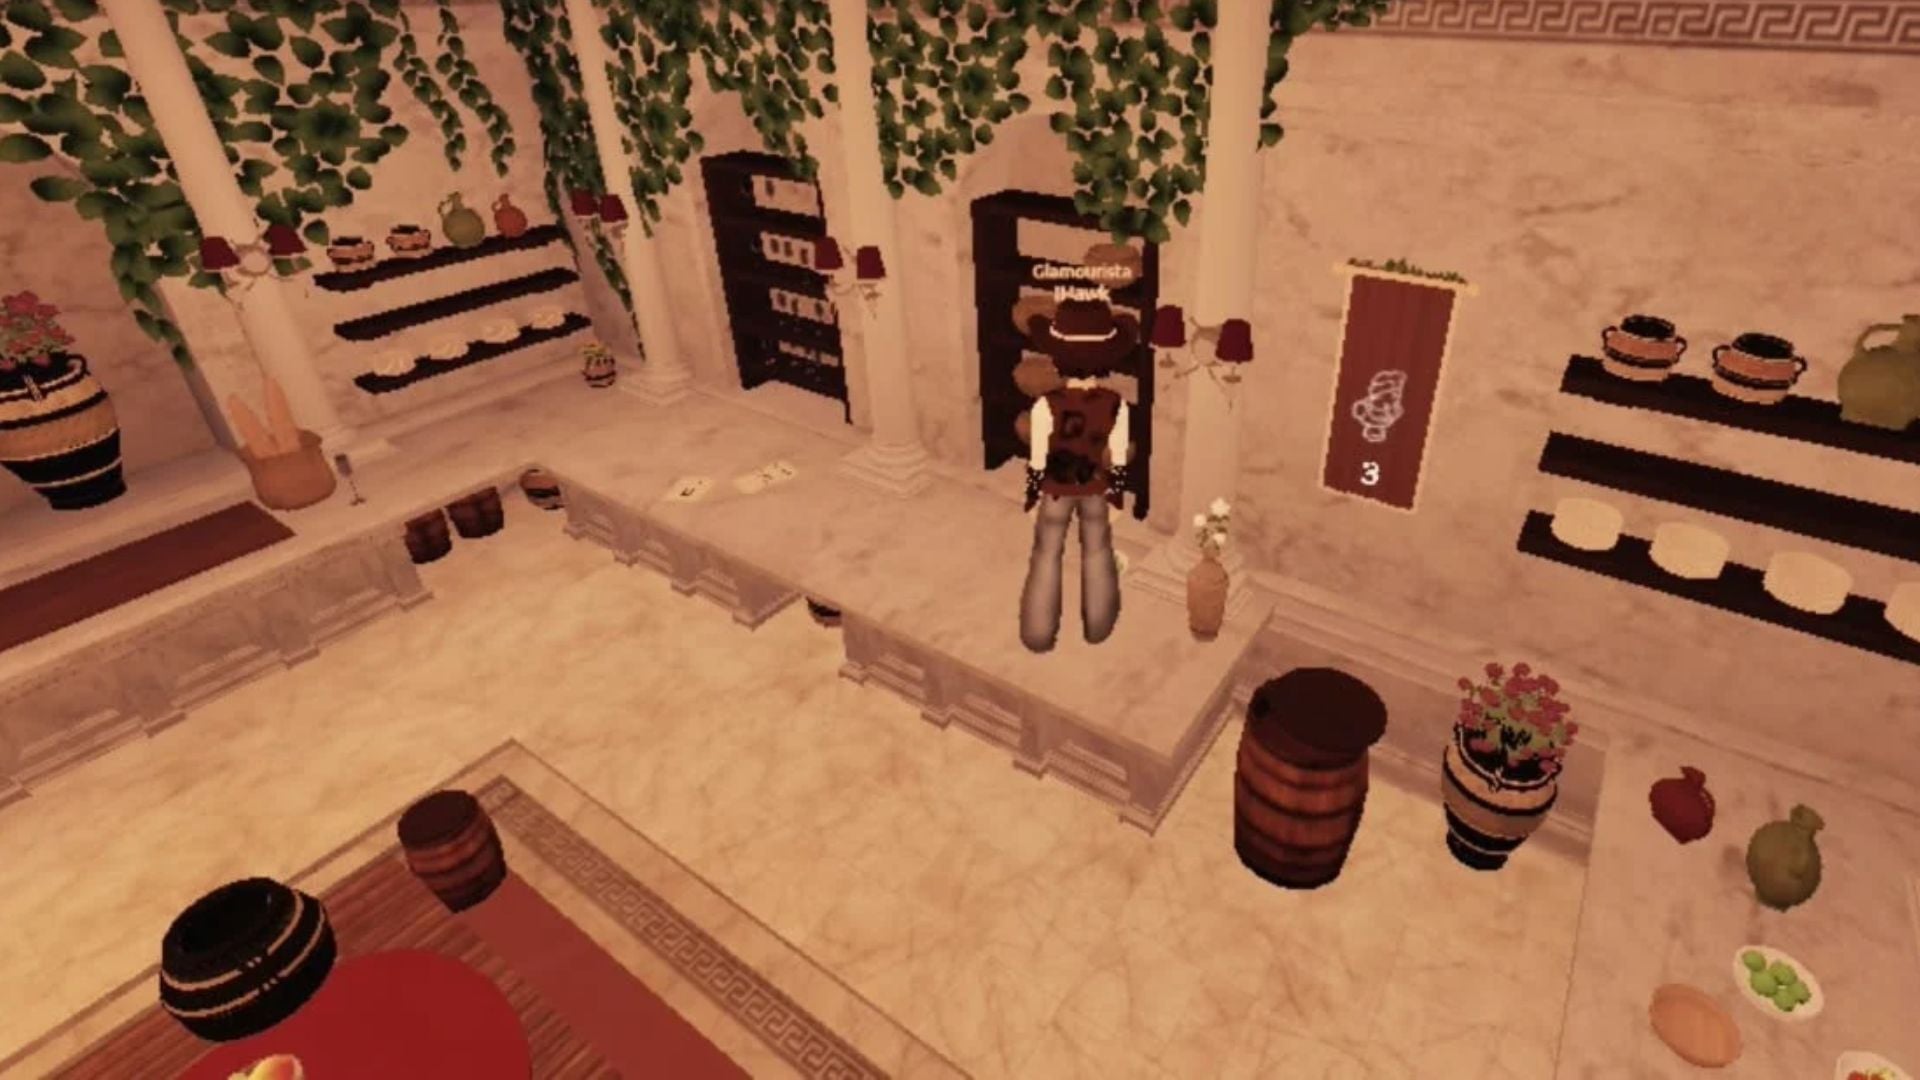
For the first puzzle, the clues appear as posters on walls. Each clue features an image of an item along with a number that indicates its position in the pedestal puzzle. For instance, if a poster has the image of a Vial and the number 3, it means the Vial item must be placed on the third pedestal.
To find all clues, follow these instructions precisely:
- Clue #1: Walk beyond the pedestal puzzle room and into the courtyard. Then, go to the left and enter the library room marked by three lanterns. Inside the library, walk to the black vase in front and turn right to find the first clue.
- Clue #2: After finding the first clue, go to the shelf that has red curtains. You’ll find a clue on the nearby wall.
- Clue #3: Exit the library and turn left to find another clue on the wall.
- Clue #4: From the third clue’s place, turn right and walk to the very end to find the fourth clue.
- Clue #5: From the fourth clue’s place, turn right and walk to the end to take the door on the left to enter the Dining Hall. Go past the hall, into the kitchen room, to find a clue on the wall next to the shelves.
It is advised to take a screenshot of every clue so that you know the item placements. Completing the first puzzle will unlock the Calchas Medallion.
Grab the Calchas Medallion, head to the courtyard, and slot the item at the base of the Athena Statue. After this, you’ll need two more medallions.
Puzzle #2 (Sundial)
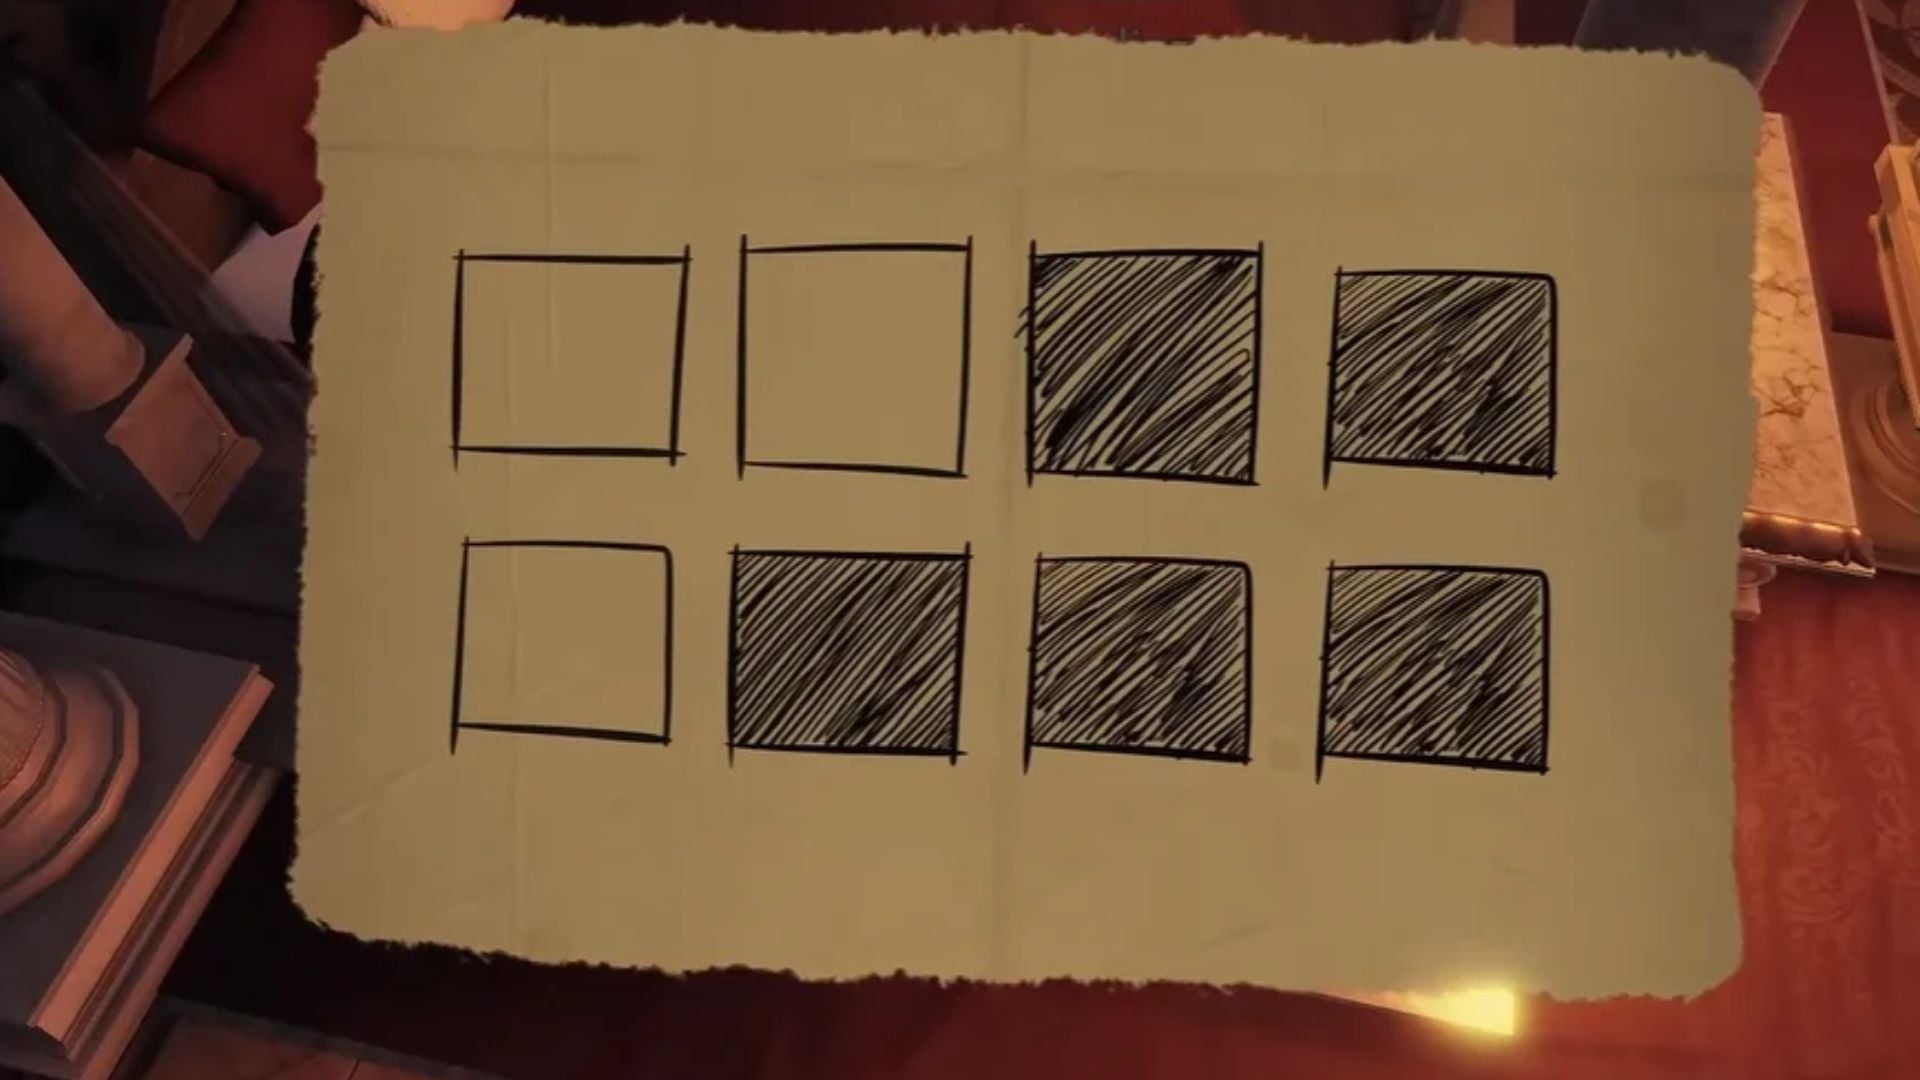
To begin the second puzzle, go to the same library where you found clues for the first puzzle. However, to solve this enigma, you must first find a note inside the bedroom, which features both shaded and unshaded rectangles.
Notice the tiles in the main section of the library. Based on what you saw on the note, step on the tiles that were shaded on the paper. Doing so will unlock a hidden door behind an empty bookshelf, which leads to a pedestal with a Key. You’ll also find the first note with a Roman numeral.
After obtaining the Key, exit the library and go to the locked room behind the Athena Statue. Use the Key to unlock the door and enter the Grand Hall. Reach the altar inside the hall to find the second note with a Roman numeral.
The third note with a Roman numeral is inside the kitchen. Find it quickly, leave the dining hall, and take a right to the middle door to enter the bath.
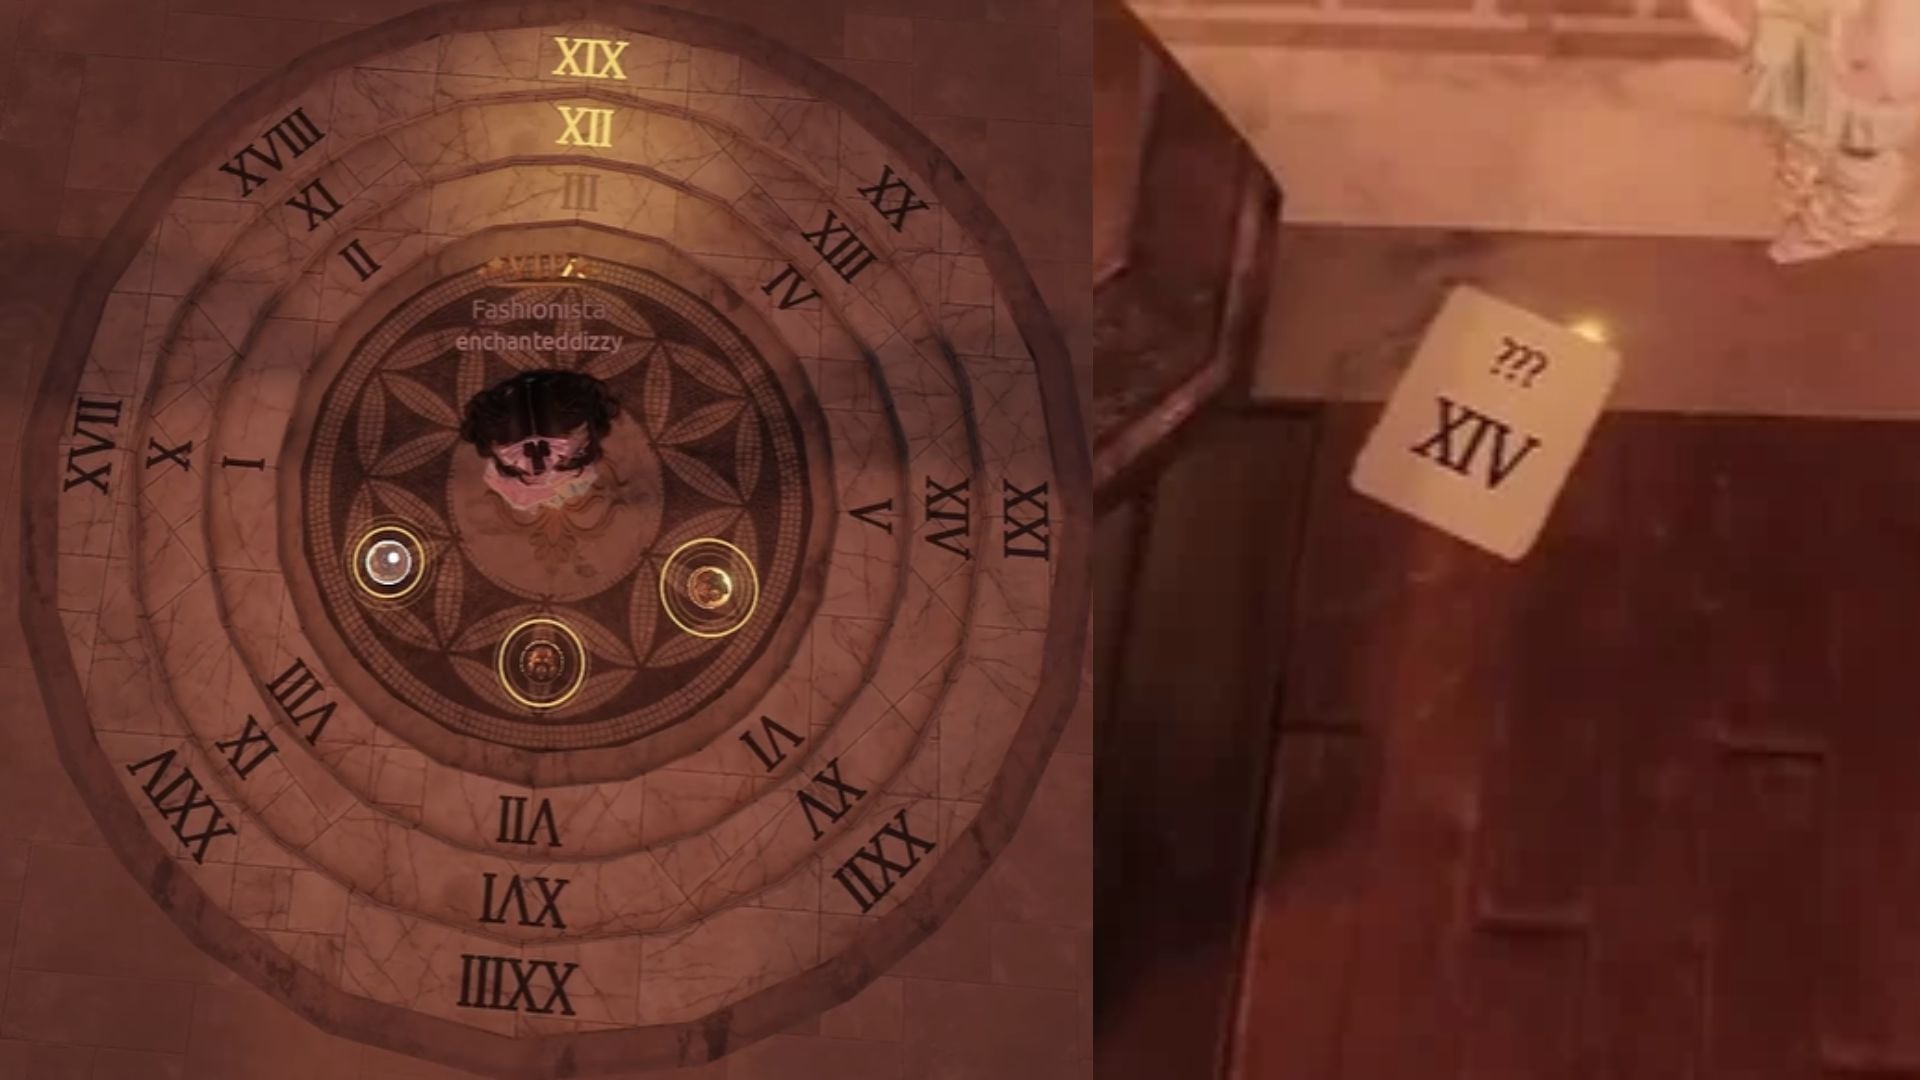
According to the Roman numerals you find on the notes, rotate the sundial inside the bath. Click on each circle to set the numbers in the specific order.
Finishing this puzzle unlocks the Artemis Medallion. Slot it on the Athena Statue in the courtyard to unlock the pyxis case in the bedroom.
Puzzle #3 (pyxis case)
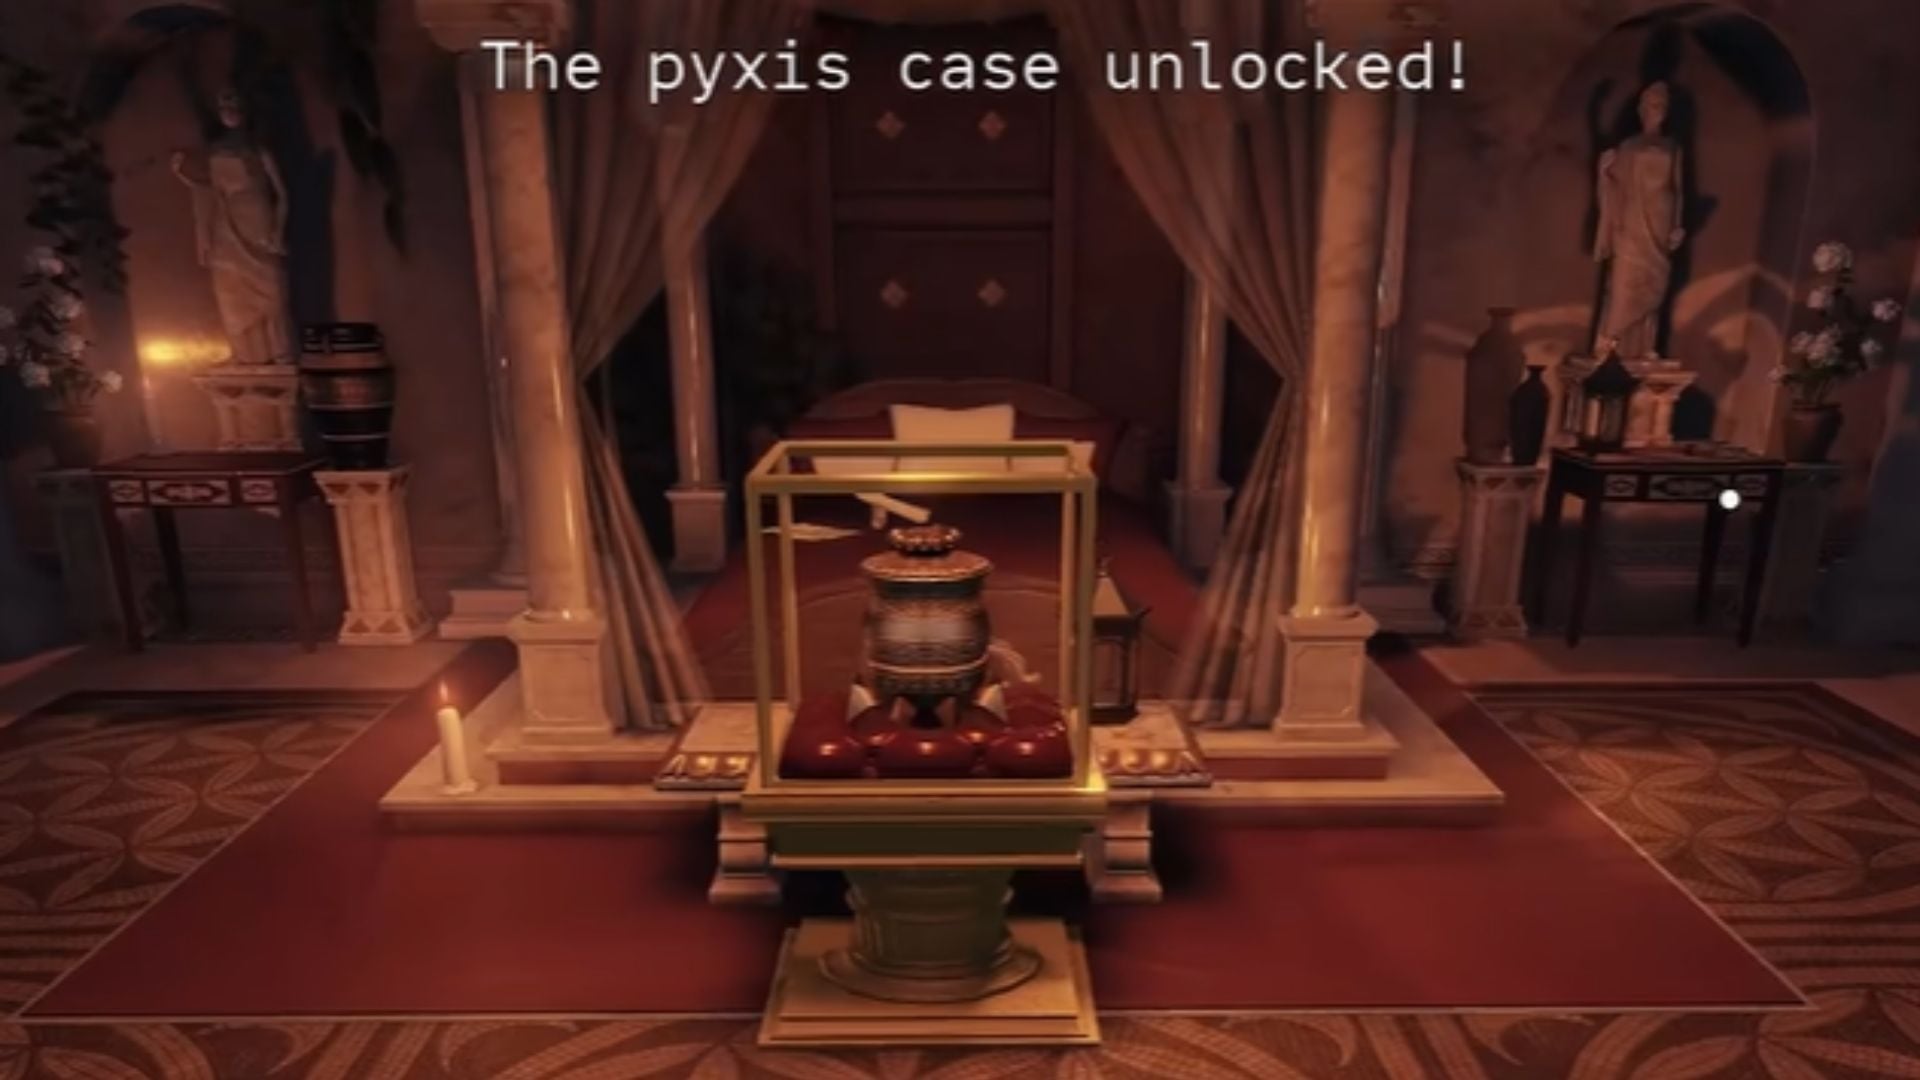
Pick up the pyxis case and take it to the grand hall. Go to the end of the hall to find a slot for a case and interact with it to trigger a cutscene.
Once the cutscene ends, obtain the Athena Medallion from the pedestal. Slot the last medallion at the base of the Athena Statue to open a secret gate leading to the catacombs.
Part 3
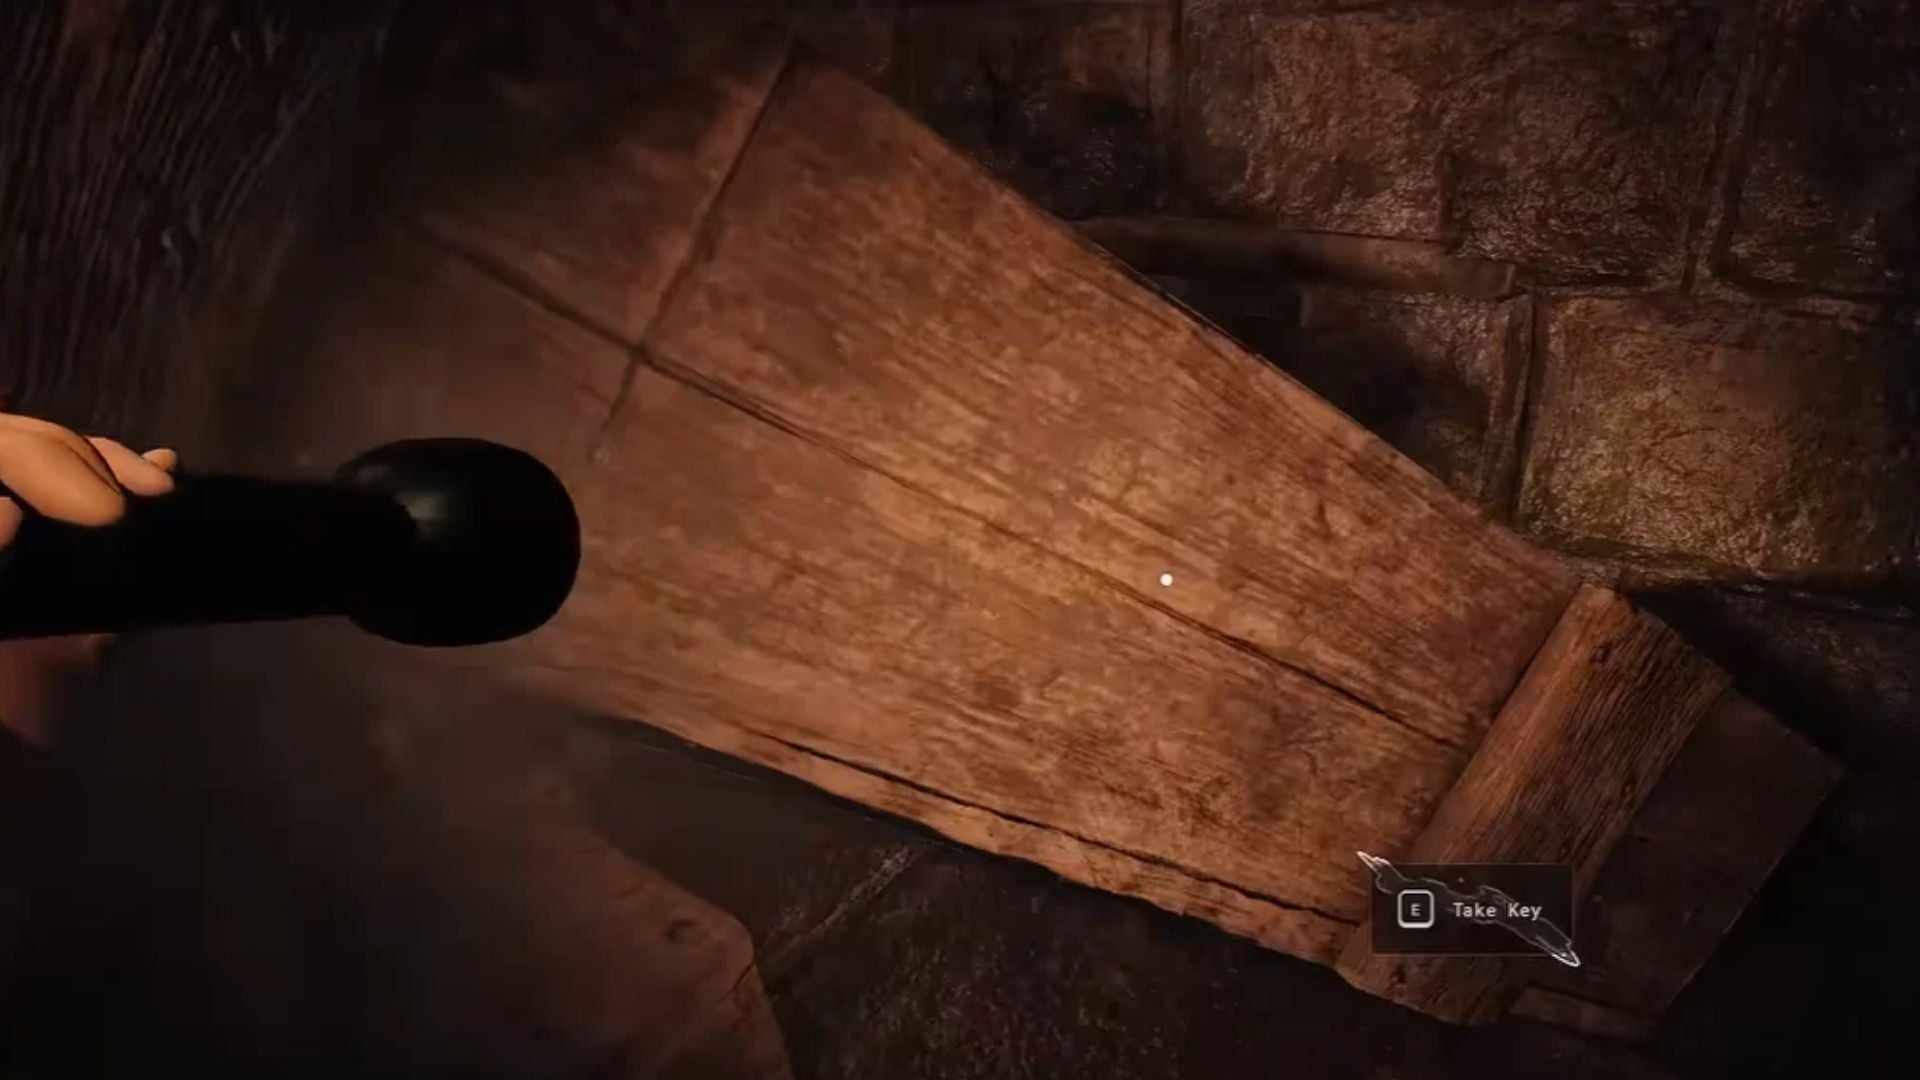
Enter the catacombs to proceed to the next part of the Chapter in Dress To Impress. Here, you must collect a Key inside the room filled with stacked coffins and use it on a locked gate close to the entrance area.
Beyond the gate is a crawling monster. Whenever it is near, you’ll hear a whispering voice, so keep the game volume up. Avoid the monster at all costs because getting caught will lead to an entire progress reset.
While being chased by the monster and with a flashlight as the only source of illumination, complete the following objectives:
- Find and enter a crevice that leads to a room with coffins. Here, collect the Rope.
- Go up the stairs and walk straight towards a pole. Climb the pole to release the chain containing a cage, which contains a Key. Collect the Key.
- Go down the stairs to find the last locked gate, near the entrance to the catacombs. Use the Key to unlock it.
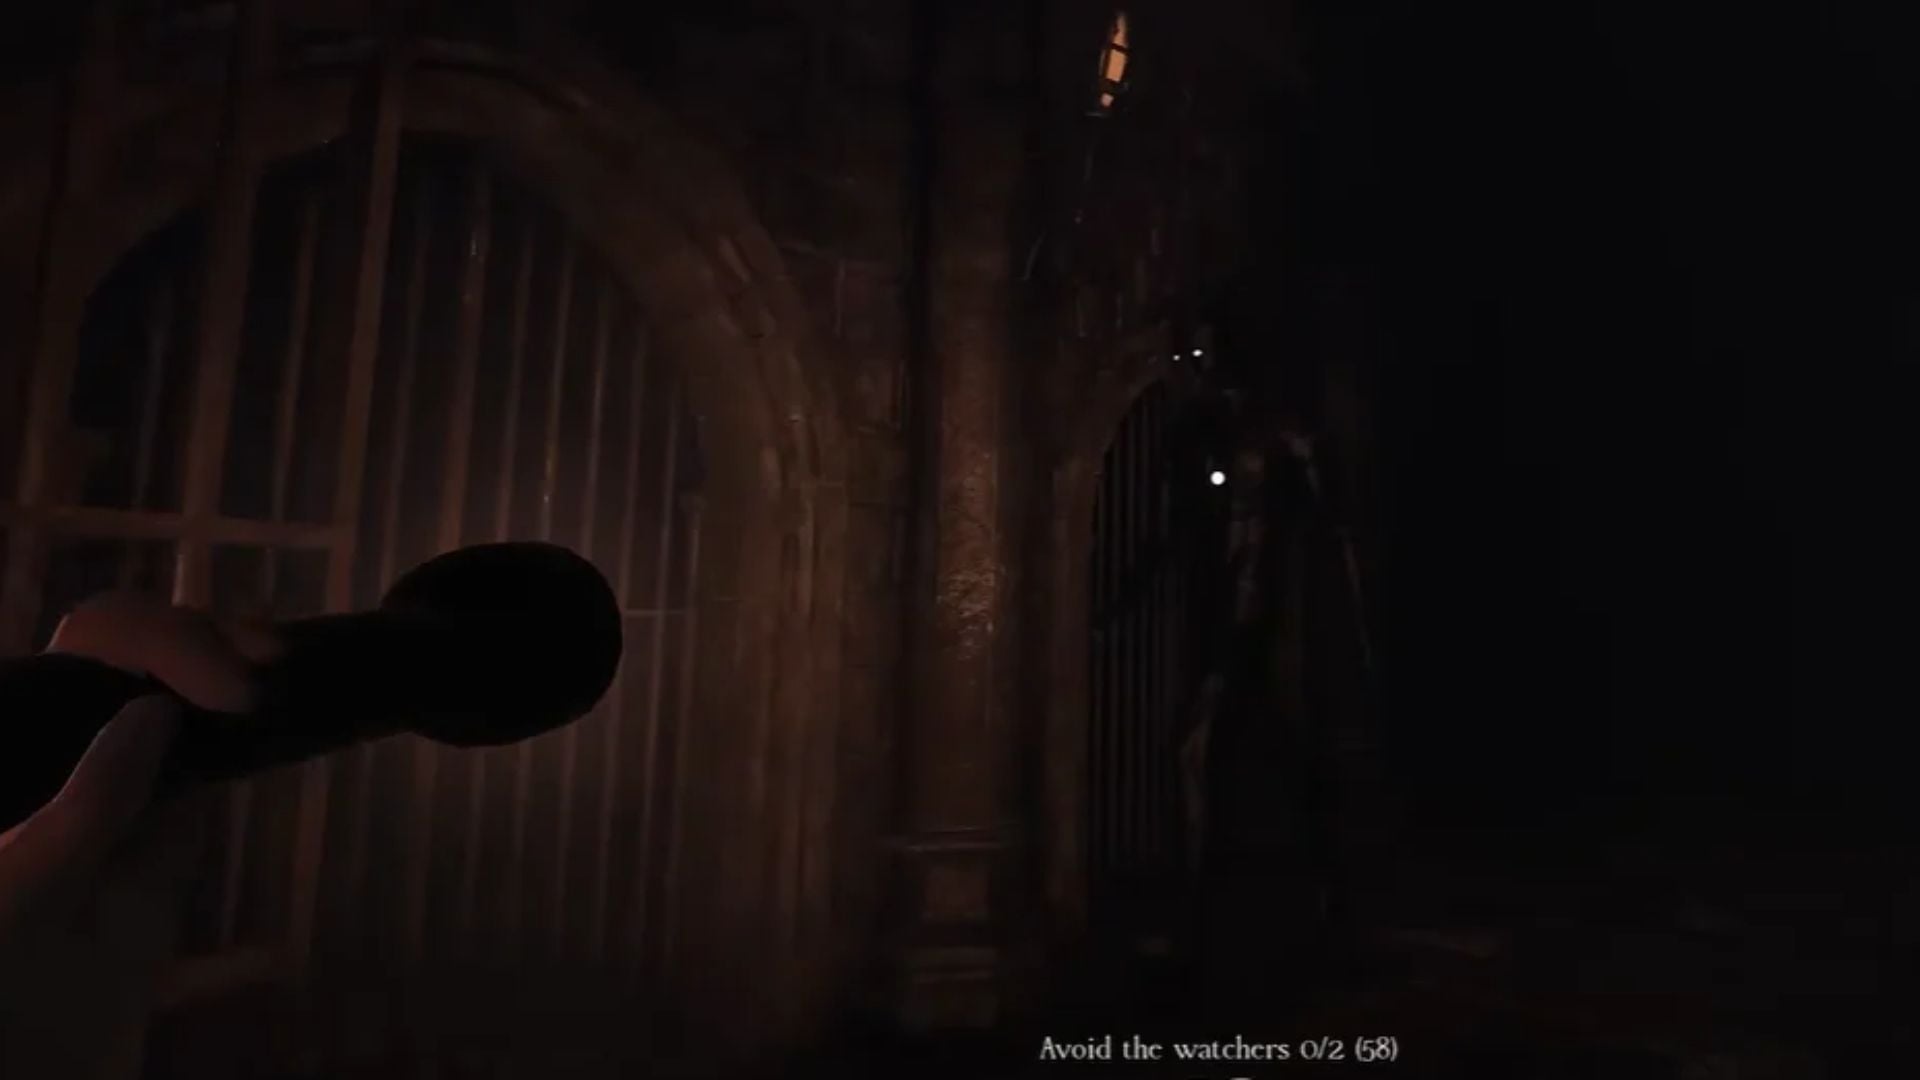
- Head beyond the gate. You will be chased by watchers until you reach the other, safe end, but you can shine the Flashlight on the watchers to freeze them.
- Once you reach the door at the opposite end, the watchers will give up the chase.
- Your avatar will be in the Cauldron Room. Here, you must make a few potions based on the recipes mentioned on the notes lying on the tables.
You’ll then enter Chapter 3 of the quest in Dress To Impress.
Also check: Dress To Impress Lana Quest Chapter 3 guide
FAQs on Dress To Impress
What are all the items for the pedestal puzzle in Dress To Impress?
There are six items: Statue, Vial, Vase, Fruit Bowl, Lion Head, and Cage.
What is the time given to complete all puzzles in the mansion in Dress To Impress?
You must complete all puzzles before 7:00 AM in the game.
What is the reward for completing Chapter 2 of the Dress To Impress Tales of the Dark King quest?
The “Chapter 2” badge is awarded for finishing the second Chapter in Dress To Impress.
Edited by Spandan Chatterjee