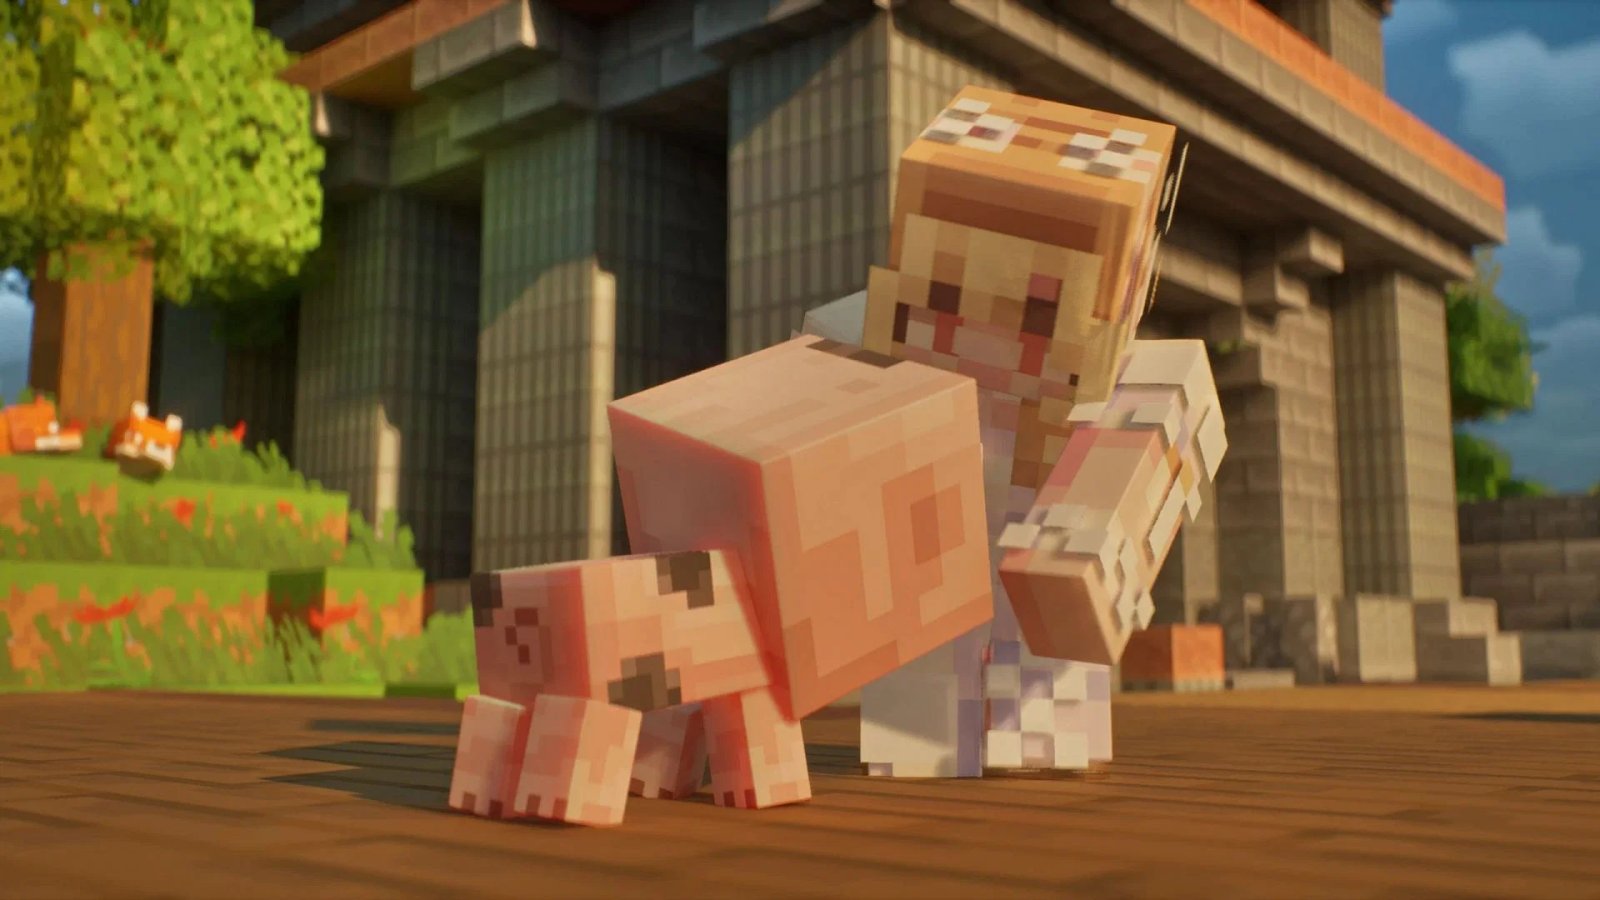

The community has recently found out a way to add custom skins to Minecraft Dungeons II. The new action-adventure title from Mojang only allows you to use a few default skins baked into the game itself. However, with a few new mods that have been released, you can create and add almost any skin to the game.
Here is a step-by-step guide on adding custom skins to Minecraft Dungeons II.
Steps to add custom skins in Minecraft Dungeons II
1) Download necessary mods
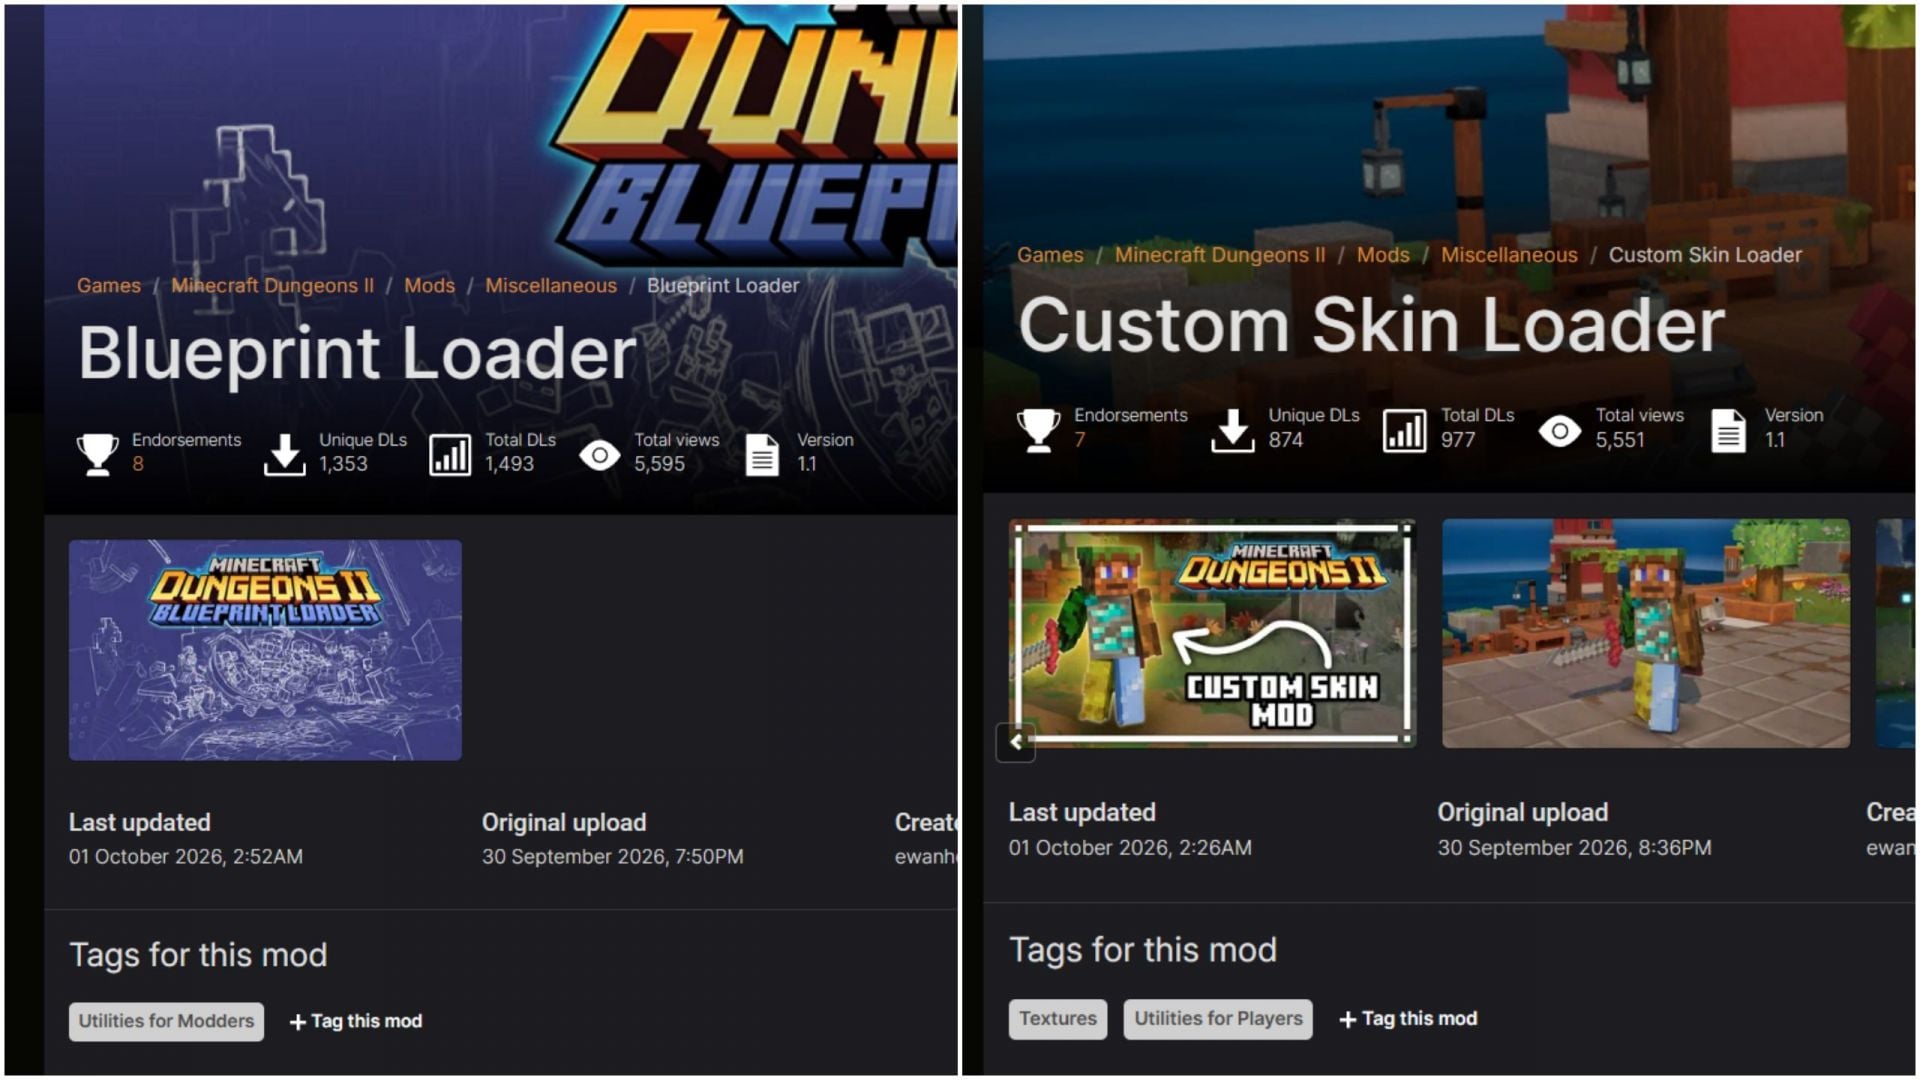
First, you need to download Blueprint Loader and Custom Skin Loader mods that will help you run mods on the game and replace a default skin with a custom one.
You need to create an account on Nexus Mods to download both of these mods. Then, open both mod product pages and click on the orange “Manual” download button on the right side of the page. Select the “Slow Download” option, and the zip file will start downloading after five seconds.
Also Read: 5 iconic Minecraft skins of all time
2) Create a mods folder and extract the mods
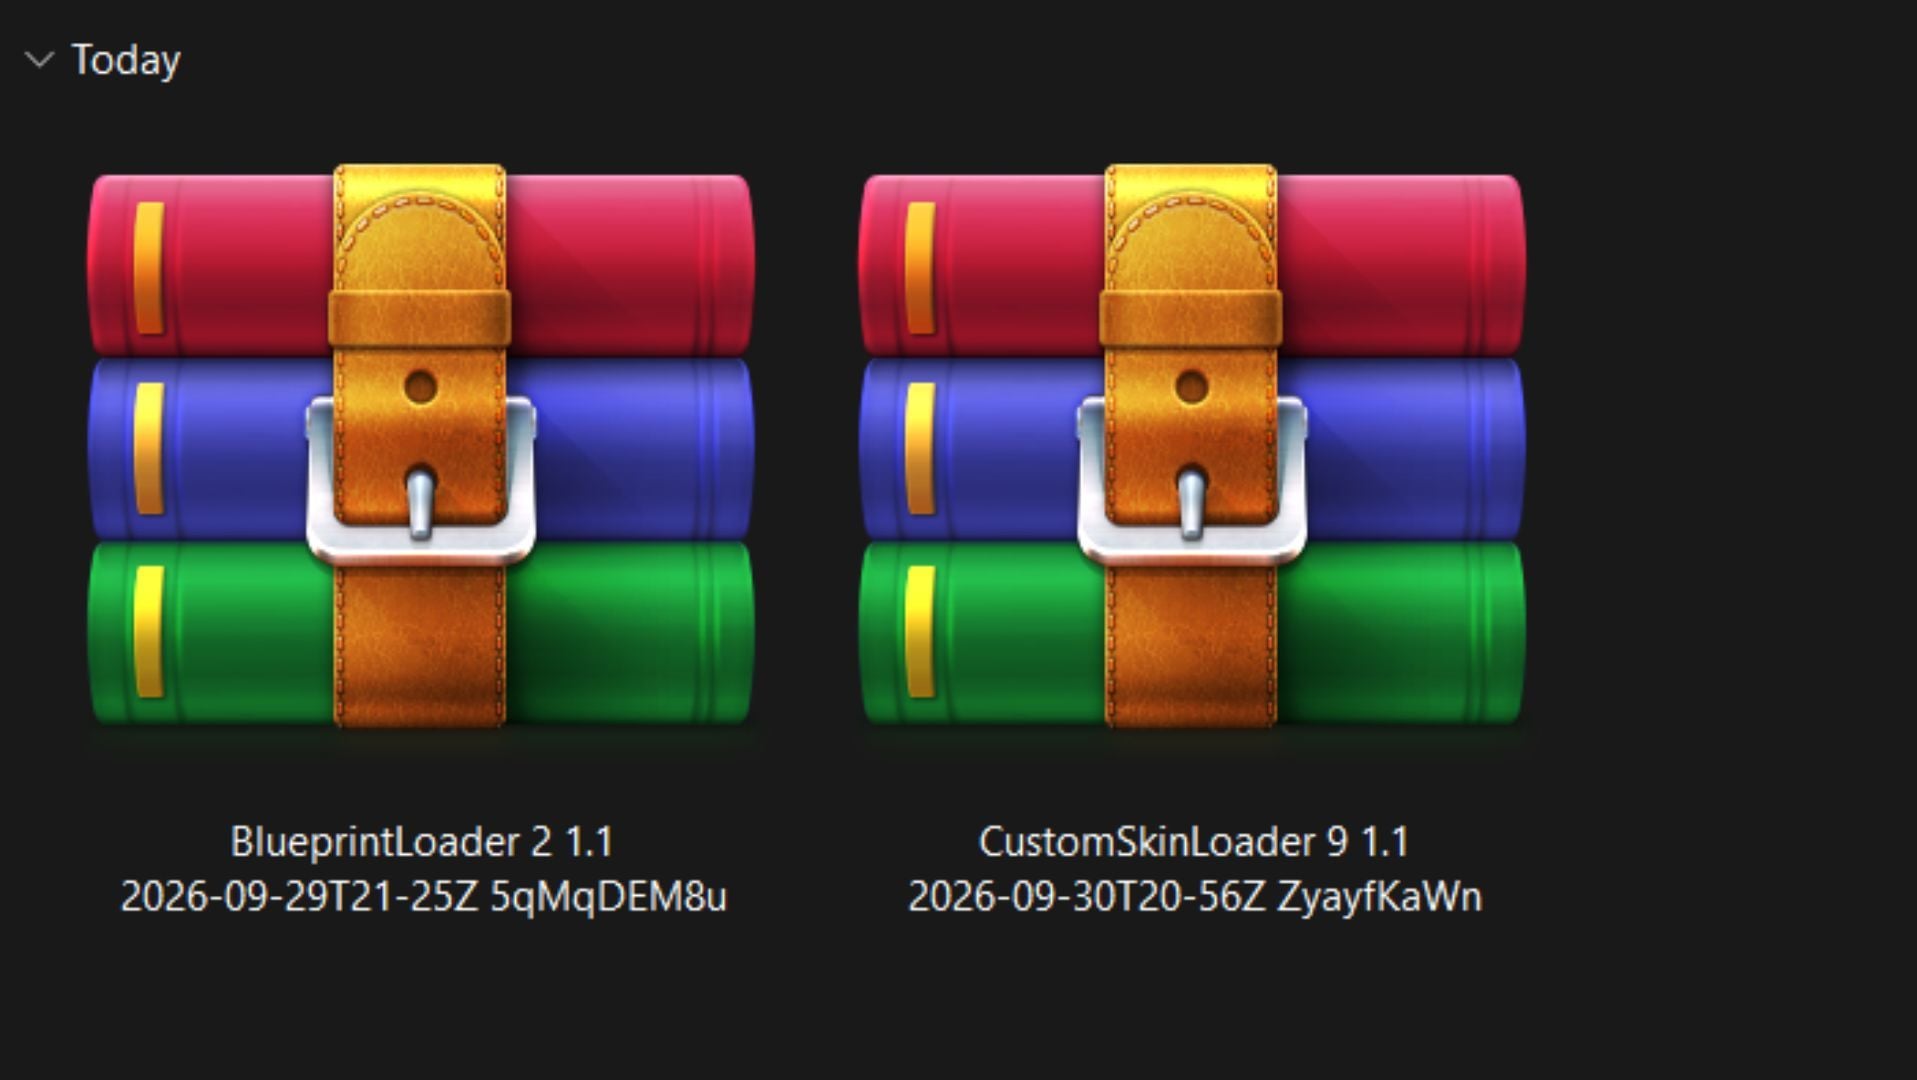
After downloading both mods, you need to create a new mods folder at a specific location in the Minecraft Dungeons II directory.
Here are the steps to get to the exact directory path and create the mods folder:
- If you own the game on Steam, right-click on it, select Manage, and then Browse local files. Once you are in the main game directory, open Dungeons\Content\Paks.
- If you own the game on Minecraft Launcher, simply head to this folder location: C:\XboxGames\Minecraft Dungeons II\Content\Dungeons\Content\Paks.
- In the Paks folder, you need to create a new folder called “~mods”. The tilde key should be right below the Escape button on the keyboard.
You then need to extract both Blueprint Loader and Custom Skin Loader zip folders and copy-paste them into the ~mods folder.
Also Read: How to equip capes in Minecraft Dungeons II
3) Create or find a custom skin and convert it for Minecraft Dungeons II
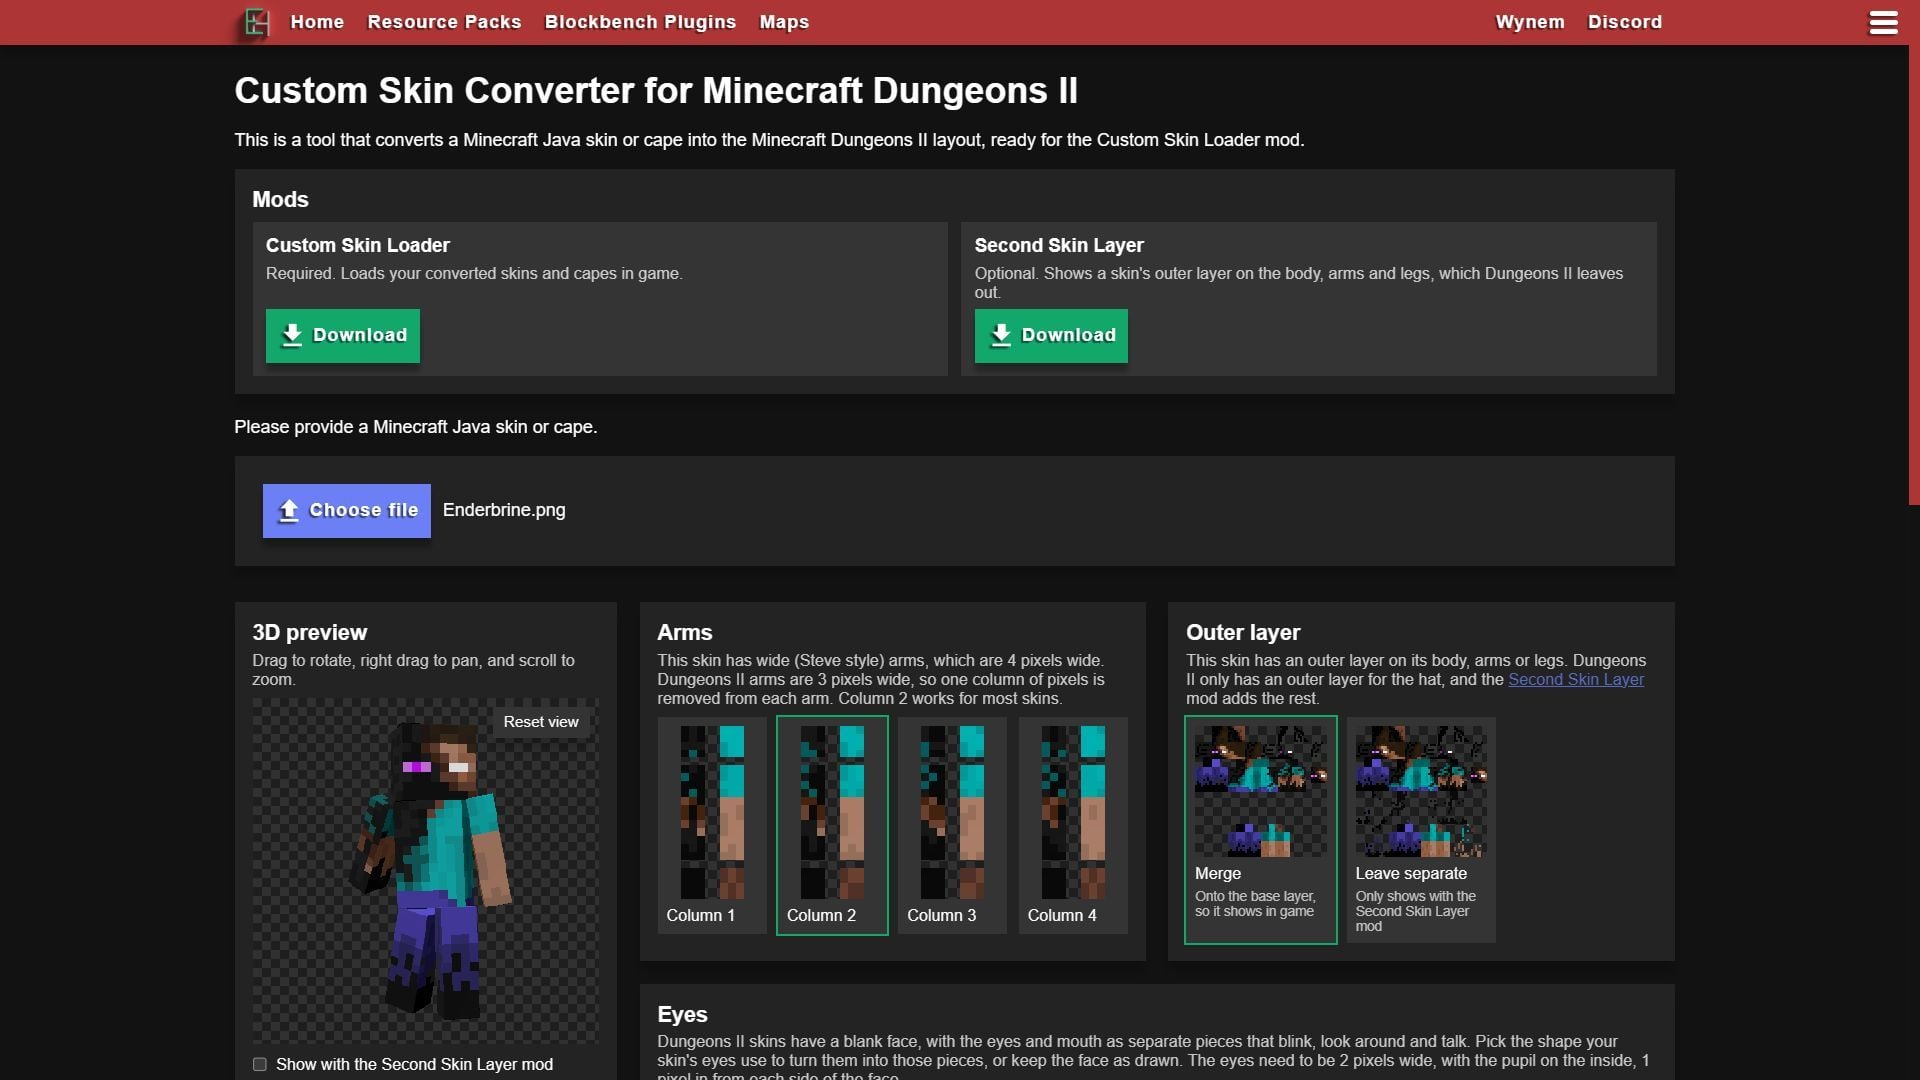
After you copy-paste the mod folders, you then need to find and download a desirable skin for Java Edition. Once you make or find one, you need to reupload it on Ewan Howell’s website. This website basically converts Java Edition-compatible skins to Dungeons II-compatible skins.
Here is a step-by-step process of creating a skin for the action-adventure game:
- Start the game once so that every skin in the game loads to the Custom Skin Loader/skins/_defaults folder. In this folder, each in-game skin will be named, for example, Valorie.png or Adventure Steve.png.
- Once this is done, open the website and upload any Java Edition skin. The website will instantly convert it for Dungeons II and show different options to change eyes, arms, mouth, and more.
- Download the skin after editing it, and name it the same as the default skin you want to replace. For example, if you want to replace Valorie, simply rename the skin to “Valorie.png” and place it in the Custom Skin Loader/skins folder. Do not place the custom skin in the “_defaults” folder.
- Press F5 in-game to reload your skins in-game.
Check out our other content:
Edited by Akshat Kabra