Voidsea Outlook is one of the newest sub-areas that was released alongside the latest Genshin Impact Luna IV update. This area contains around 25 Lunoculus, one Shrine of Depth, and various other chests that you can obtain by completing World Quests and other challenges.
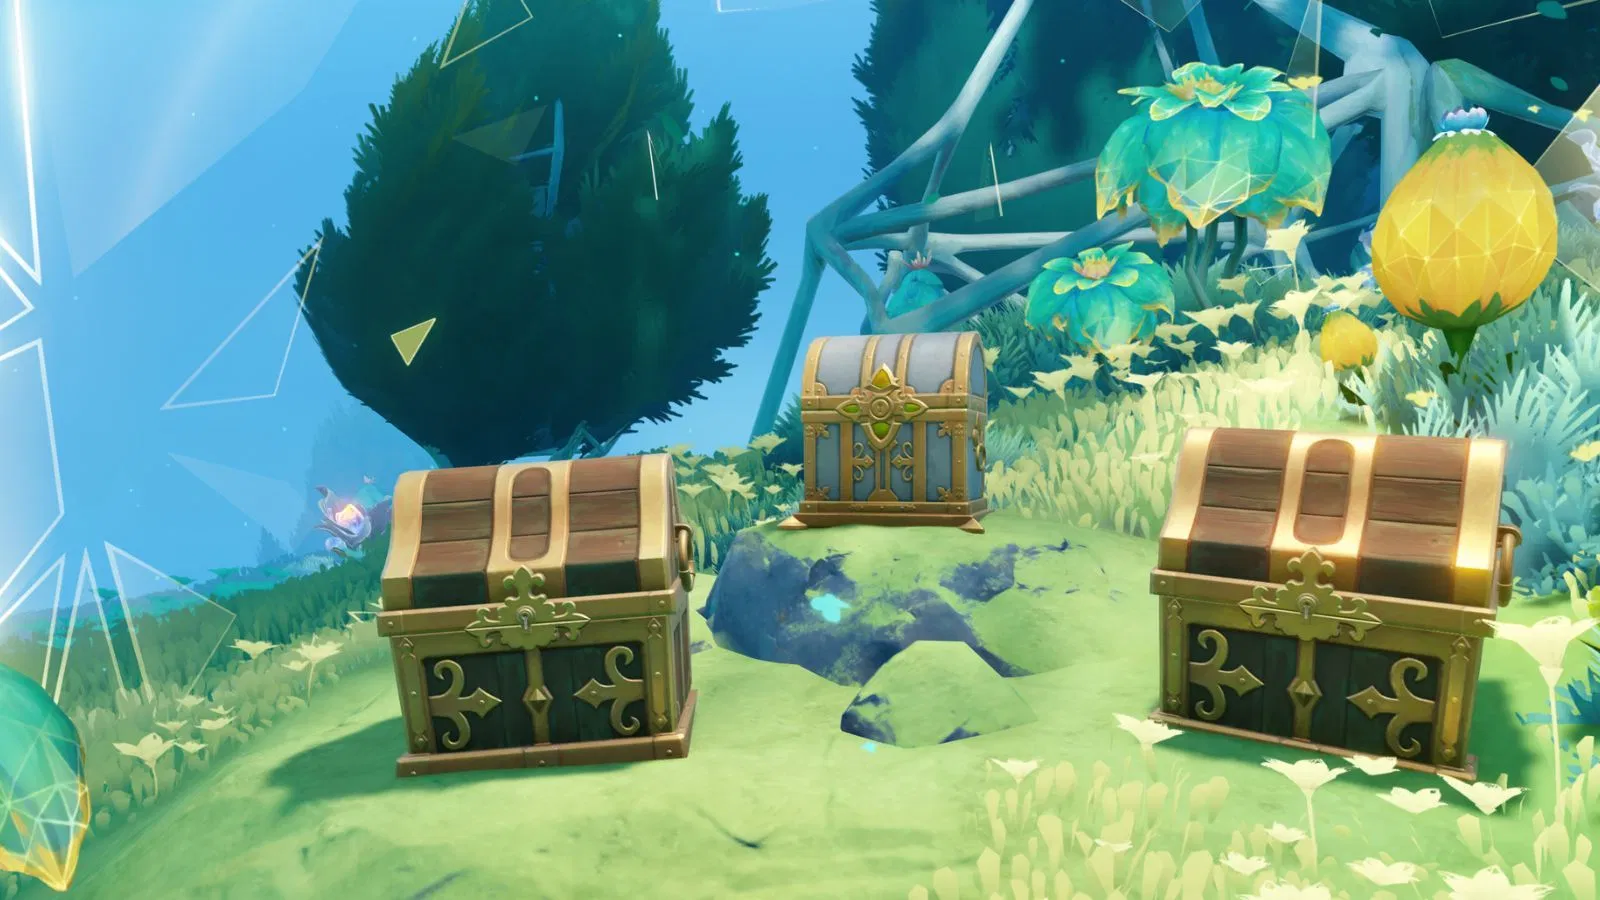
Similar to other map expansions in the title, the developers have also added many new Remarkable chests containing special furnishing blueprints in the new areas. Furthermore, they have added many Precious chests containing Primogems and other materials.
On that note, this article lists the location of all Remarkable and Precious chests that you can find in the Voidsea Outlook sub-area in Genshin Impact.
All Precious and Remarkable chest locations in the Voidsea Outlook sub-area in Genshin Impact
All Remarkable chests in Voidsea Outlook
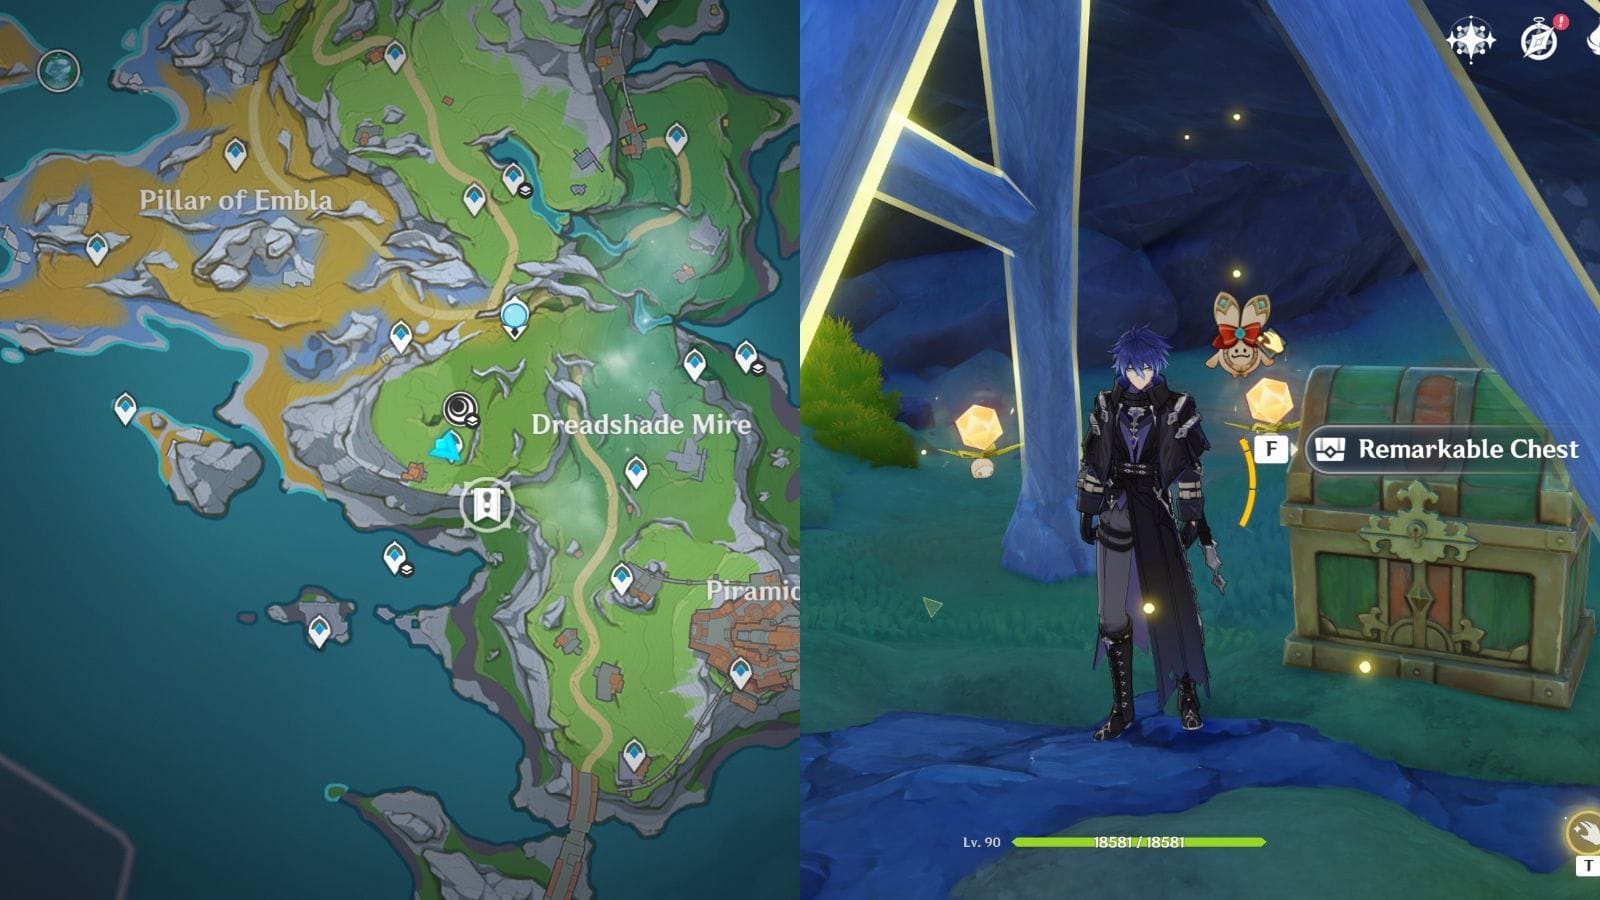
Location 1

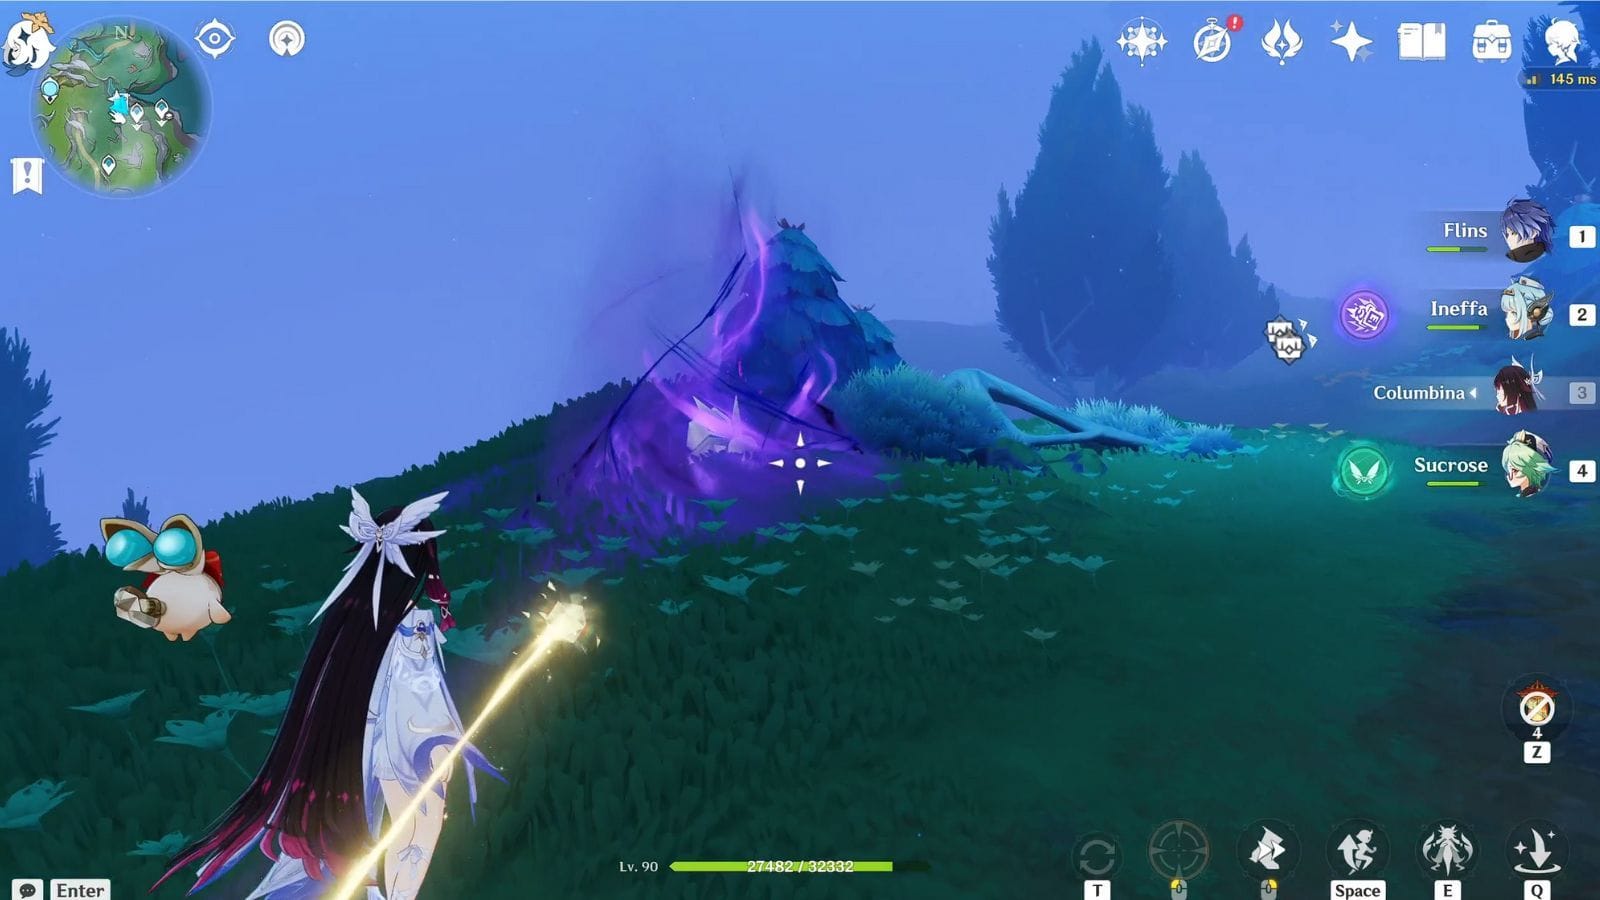
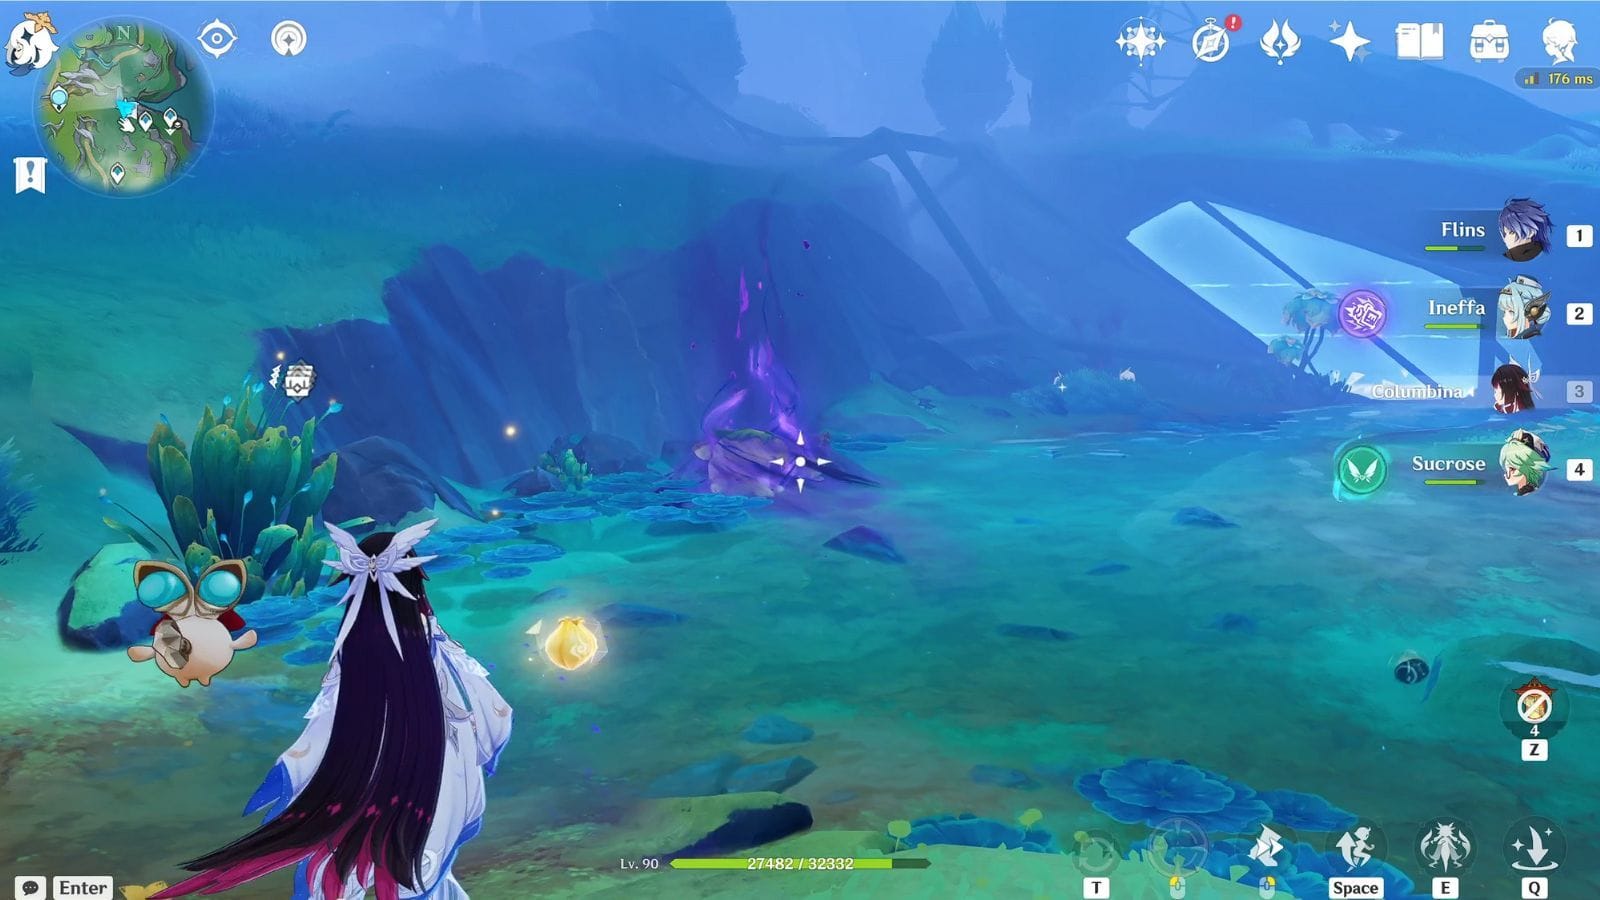
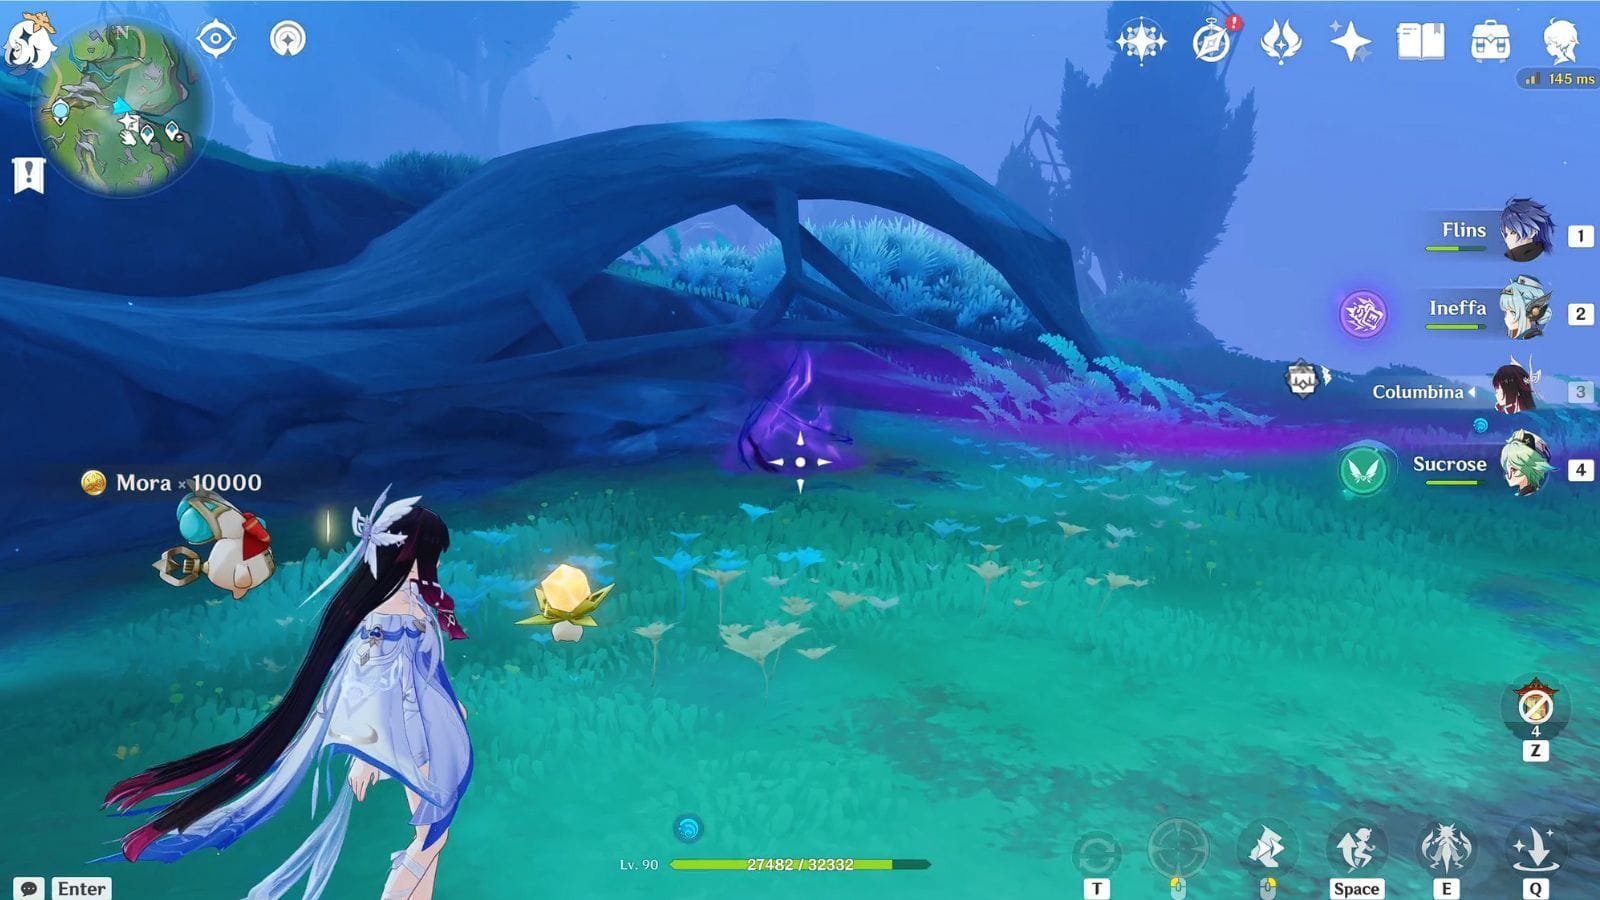
Teleport to the waypoint at Dreadshade Mire, and head towards the marked area shown in the image above. Over here, you will find a small Prism that will lead you towards the location of the first Remarkable chest in Voidsea Outlook. You will get the Adjustable Metal Barrier furnishing blueprint after opening this chest.
Also read: Genshin Impact Luna IV Voidsea Outlook Lunoculus guide
Location 2

Teleport to the waypoint near The Witch’s Garden Meeting Point, and head towards the marked location shown in the image above. Over here, you will find a small house, and you can find the Remarkable chest behind it. This chest has the Command With Confidence furnishing blueprint.
Also read: Genshin Impact Luna IV hidden teleport waypoint locations and unlock guide
Location 3
You can unlock this Remarkable chest by breaking the barrier blocking the route to The Witch’s Garden Meeting Point in Genshin Impact. This chest has the Simple Care Bed furnishing blueprint.
Location 4
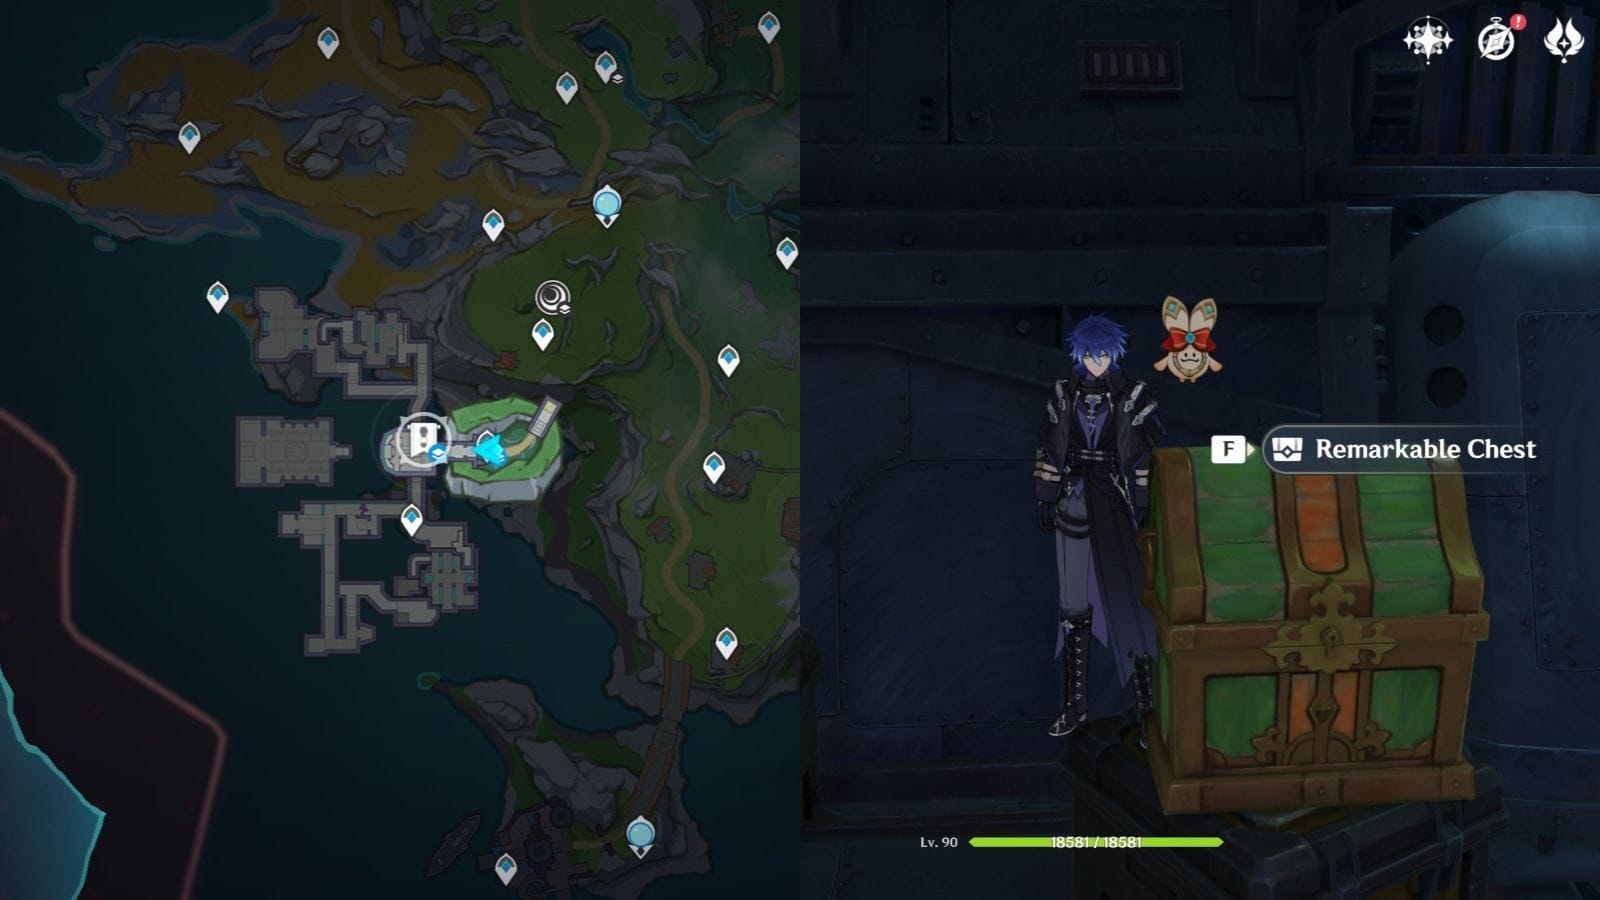
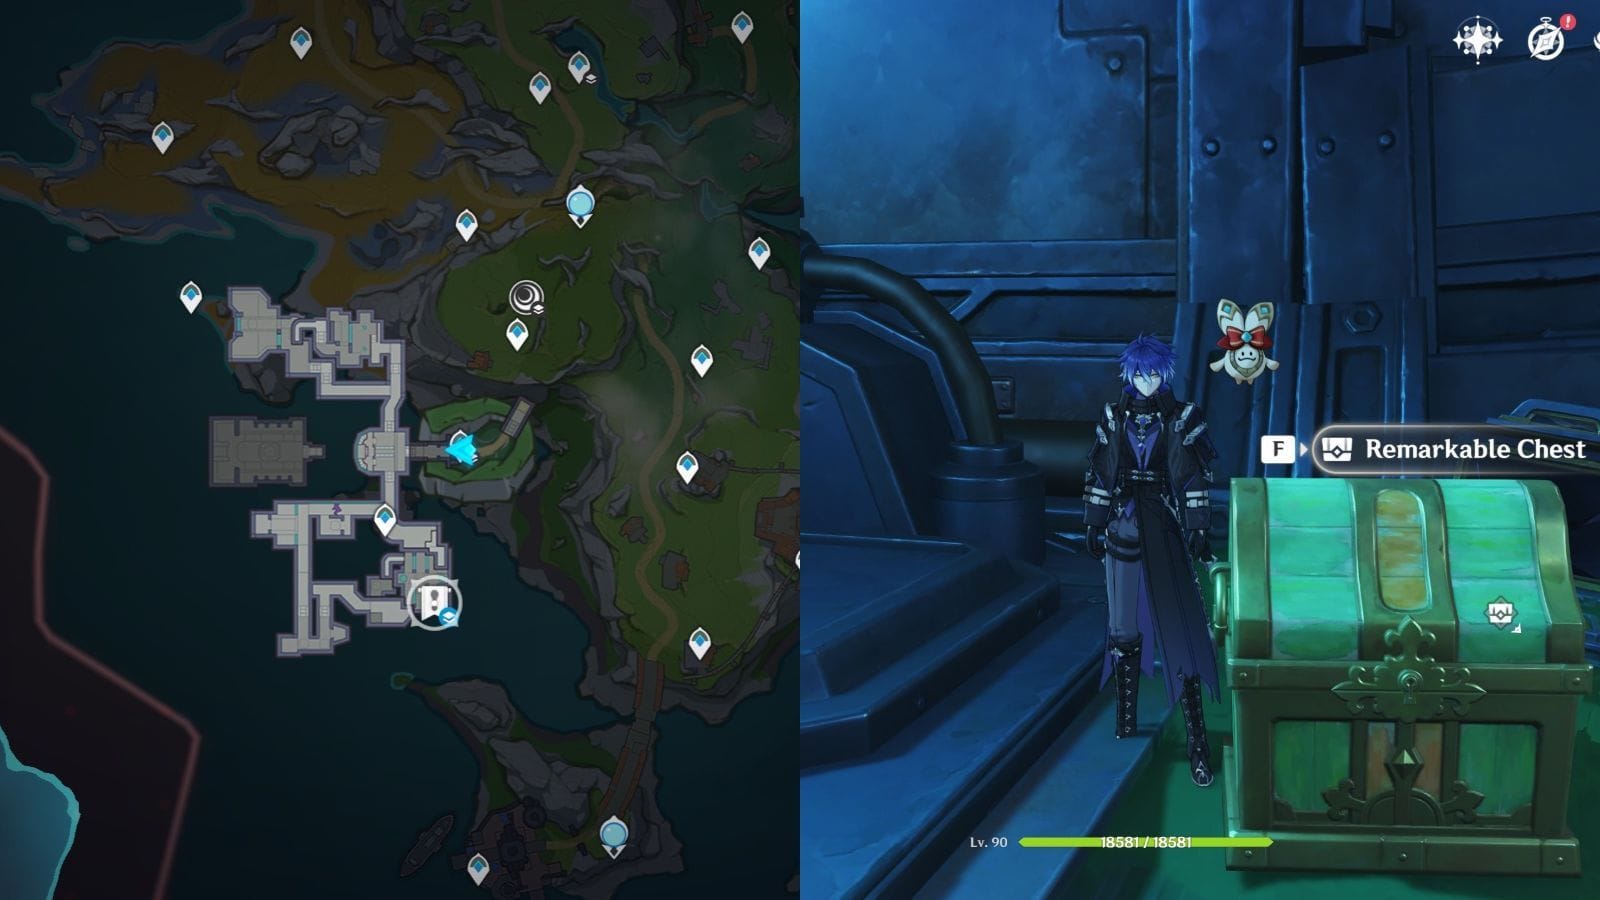
To find this Remarkable chest, teleport to the “Post-Apocalyptic Elysium” Nod-Krai waypoint and head north, and you will find a small room containing the terminal you activated in the Return to Sender World Quest. From this terminal, turn south and head towards the marked area. You will find the Remarkable chest, containing the Shimmer of Life furnishing blueprint, atop some crates.
Also read: Genshin Impact Luna IV achievements list
Location 5
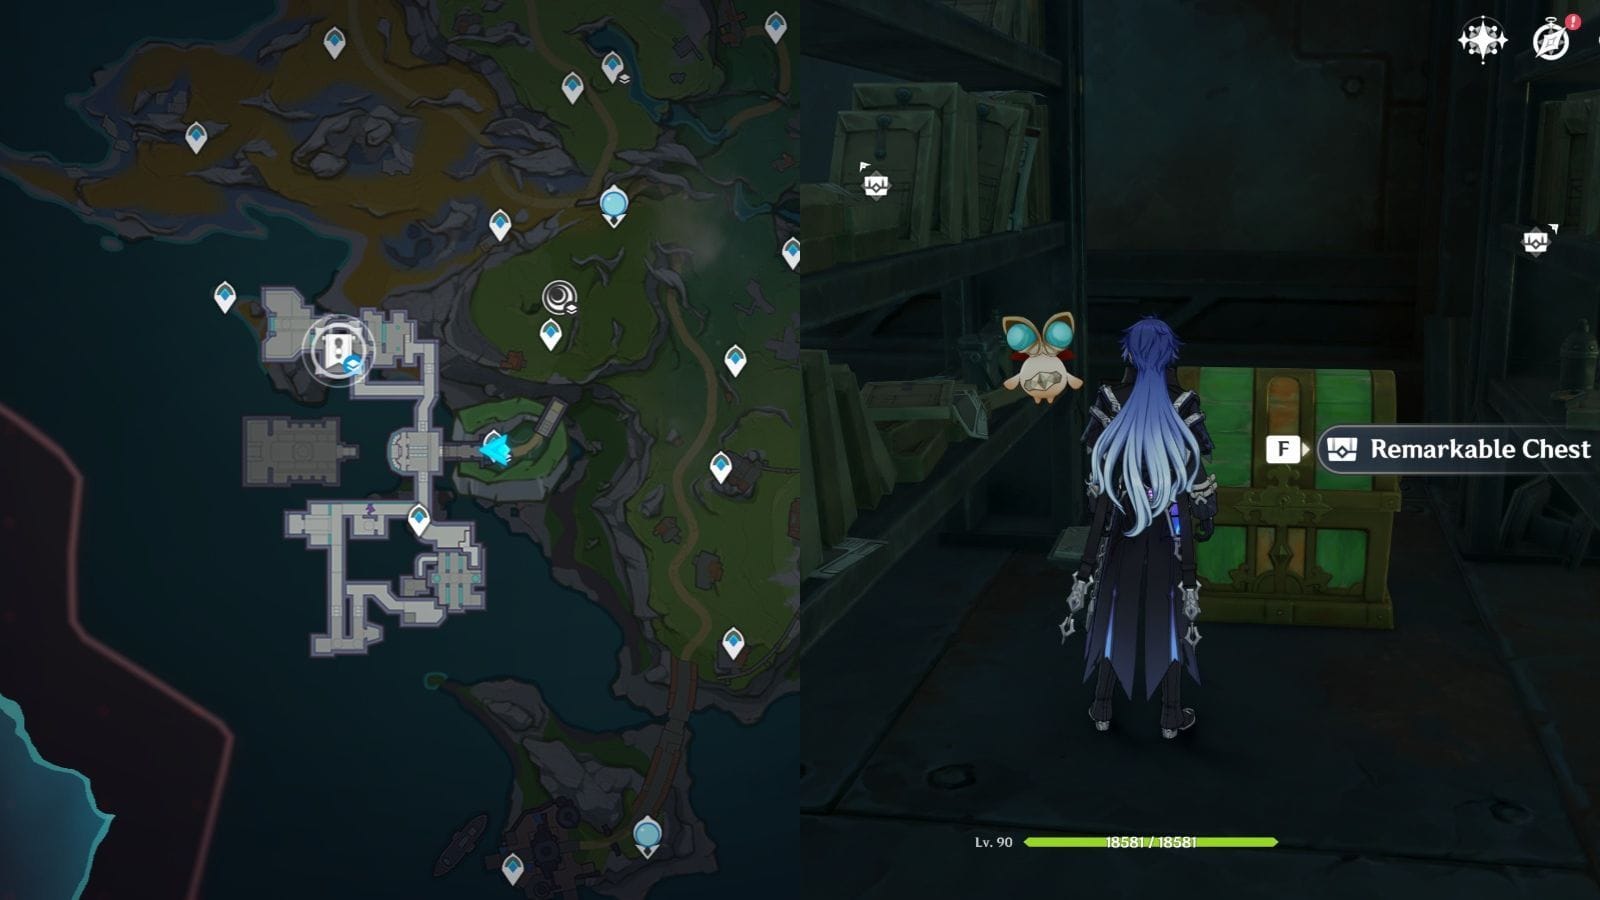
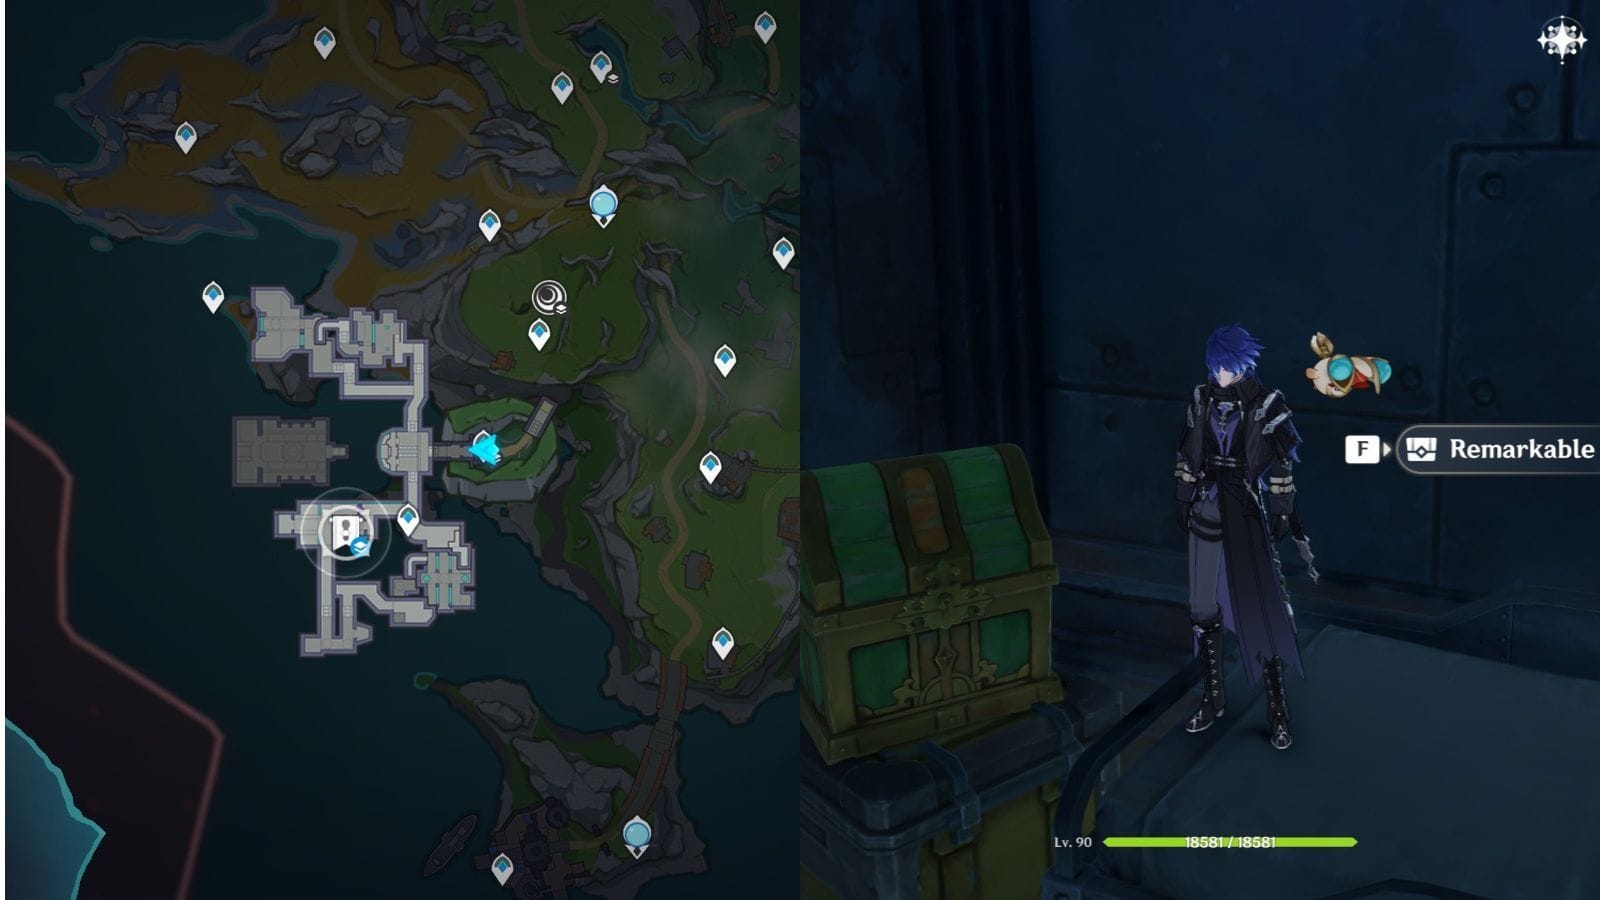
Teleport to the “Post-Apocalyptic Elysium” Nod-Krai waypoint, and then head towards the Research Zone 1. Take the first left in this area, and then follow the route till you reach the marked location shown in the image above. Over here, you will find the Remarkable chest containing the Standing Street Lamp: Efficiency Maxed furnishing blueprint sitting between some bookshelves.
Also read: Genshin Impact Luna IV quest list
Location 6
You can claim this Remarkable chest after clearing the contamination at the Research Zone 1 in the Return to Sender World Quest. This chest contains the Bright Verdure furnishing blueprint.
Location 7
To unlock this Remarkable chest, you must progress through the Return to Sender World Quest. Teleport to the “Post-Apocalyptic Elysium” Nod-Krai waypoint, and then head straight till you find a small terminal. Head to the Research Zone 2, and then follow the route on the door to your right, and then head inside a small room to your left.
Over here, you will find a bunker, and you can find the Remarkable chest beside it. This chest contains the Lush Verdure furnishing blueprint.
Also read: Genshin Impact Luna IV: All Radiant Spincrystal locations
All Precious chests in Voidsea Outlook
Location 1

The first Precious chest is located near The Witch’s Garden Meeting Point. First, teleport to the waypoint near this Meeting Point, and then turn west and head toward the marked area shown in the image above. Over here, you will find a locked Precious chest behind some Mandragoras.

To open this chest, you must free some Mandragoras from two Linear Conflux Barriers and place them on some rocks. You can also find some Suffused Mandragoras that are affected by Kuuvahki just beside the chest. You can throw them at the barrier to break it.
The first barrier is located to the north of the chest. After breaking the barrier, you will find a Mandragora lacking Kuuvahki. Throw a Suffused critter towards it to infuse it with Kuuvahki.

Meanwhile, the second barrier lies southeast of the Precious chest. Similar to the previous one, break the barrier and free the Mandragoras inside it.
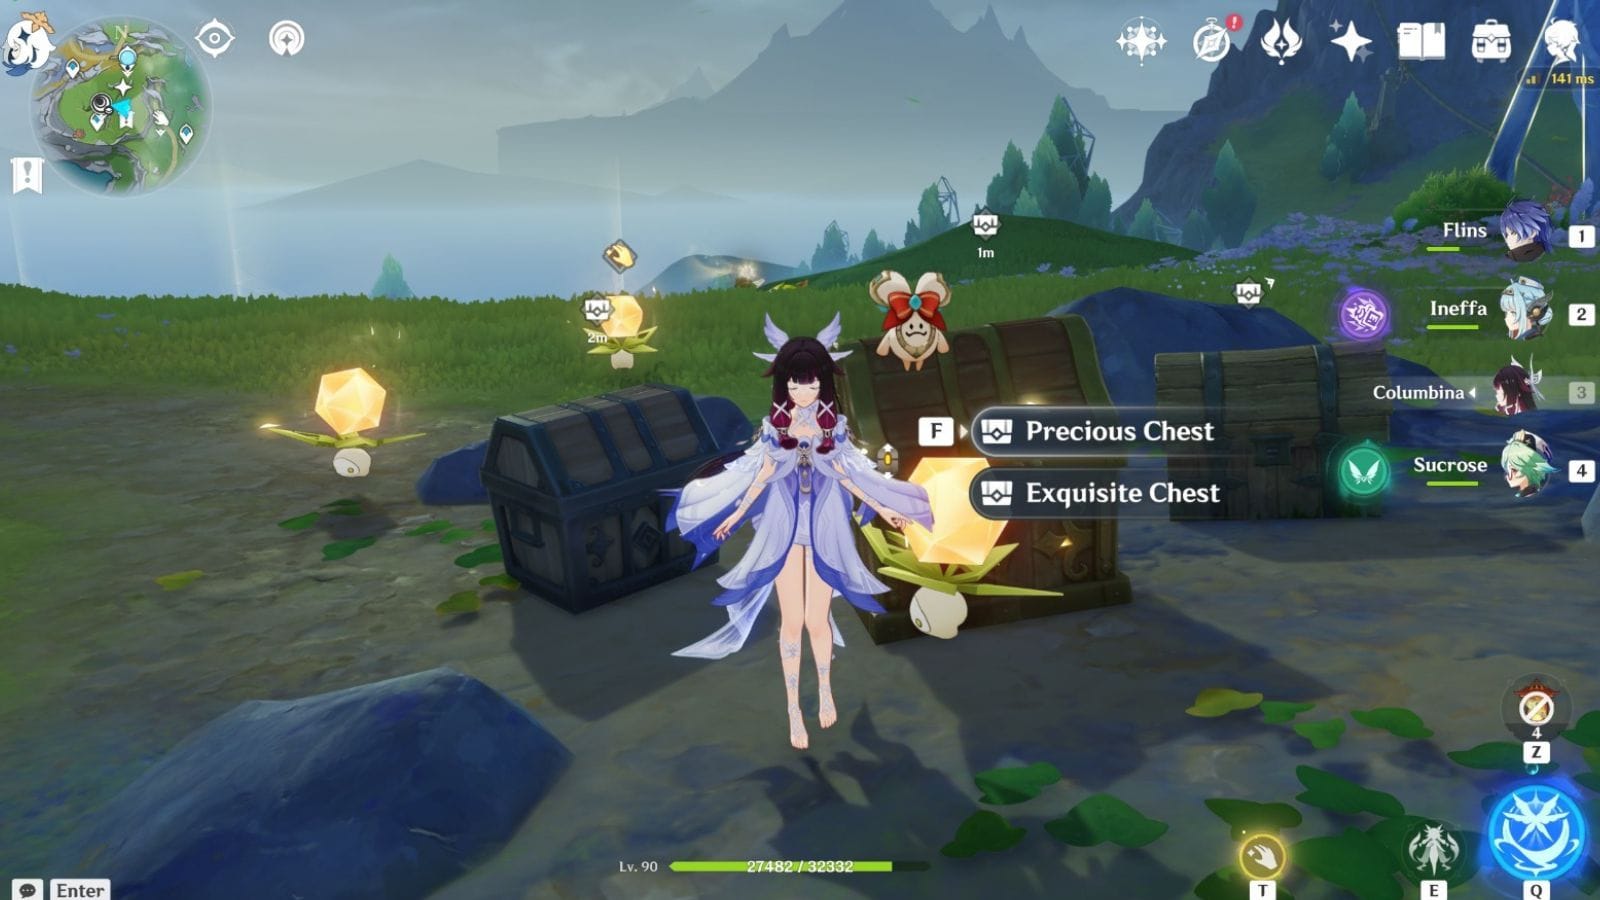
After freeing all Mandragoras, collect them and place them near the rocks at the chest. You can get one Precious, Exquisite, and Common chest after completing this puzzle.
Also read: Genshin Impact: Precious and Remarkable chest locations in Ashveil Peak
Location 2
The second Precious chest is also near the first. Teleport back to the same waypoint, but this time, head east. You will find a locked chest and a small Bulletin Board beside it.

To unlock this chest, you must find a Slothsheep; you can find it at the marked area shown in the image above. The Slothsheep at this location will try to absorb Kuuvahki from a nearby Glimmerfruit.
After it has absorbed Kuuvahki, you can direct it towards any location using its seed core. You can press the T button on the keyboard to direct its movements. After bringing the Slothsheep back to the area of the Precious chest, you can open it. You will also get The Shepherd achievement by guiding the animal towards the chest.
Also read: Genshin Impact: Precious and remarkable chest locations in Wavechaser Plain
Location 3

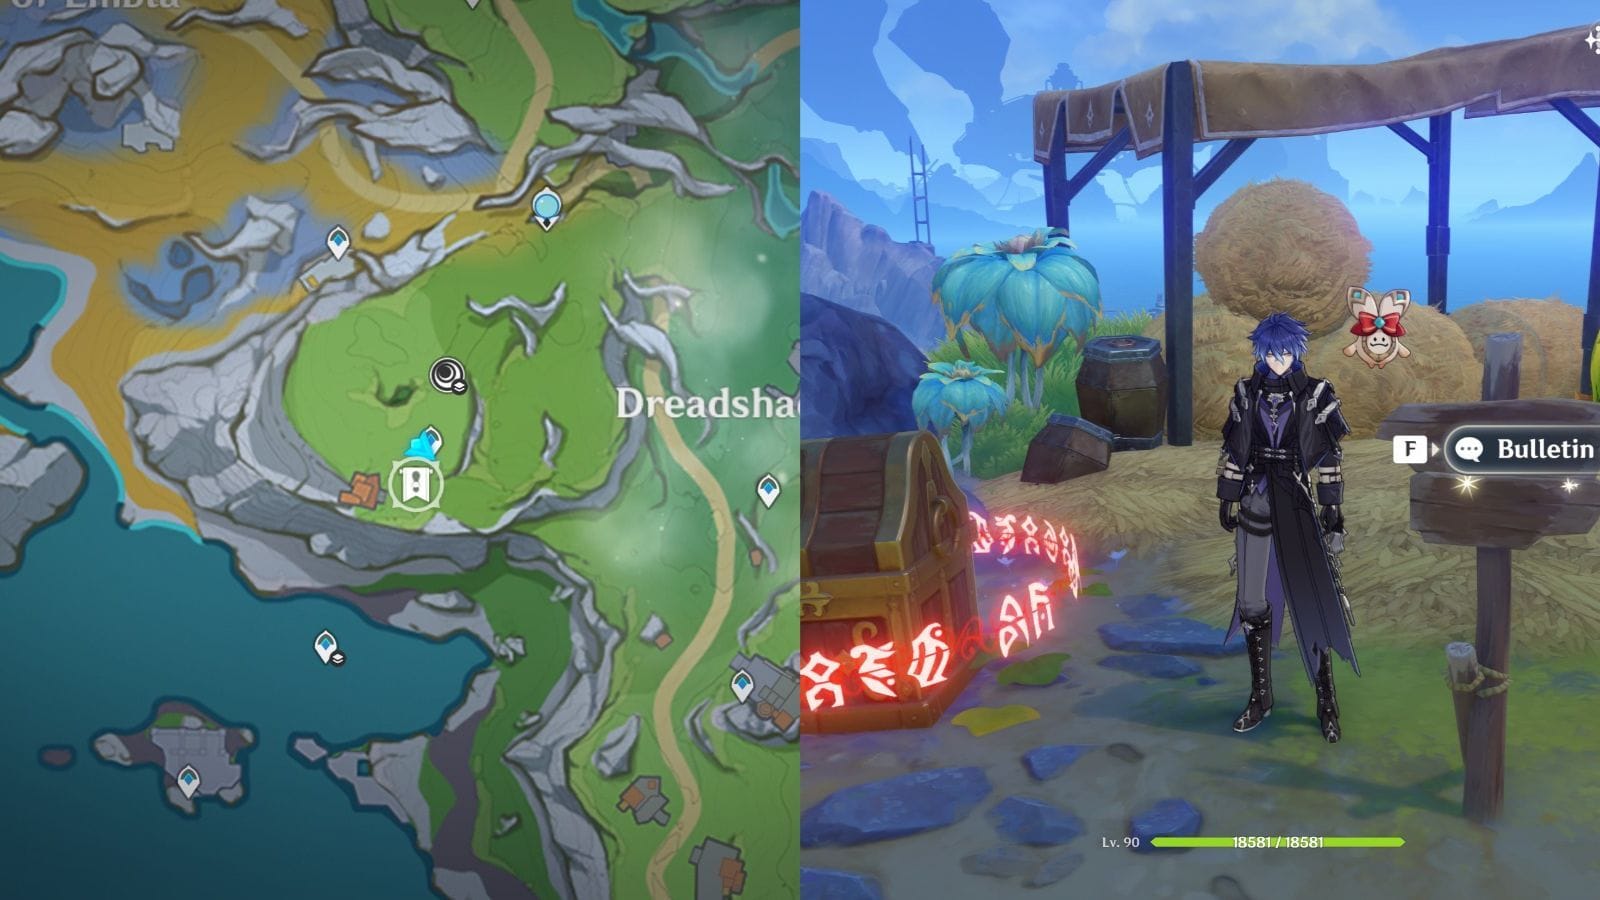
To find the third Precious chest in this sub-area, teleport to the waypoint located to the northeast of the Dreadshade Mire, and head towards the marked location shown in the image above. Over here, you will find a Precious Chest inside a carriage surrounded by Abyssal powers.
To get this chest, you must clear these Abyssal powers from two different creatures and one plant. These places can be found beside the carriage, and they will also emit the same Abyssal aura coming from the carriage.
You can find a Glimmerfuit beside the carriage, and you can use its Kuuvahki powers to purify the creatures corrupted by the Abyss. The first creature, Mandragora, can be found to the south of the carriage. Hit it with Kuuvahki to cleanse it from the Abyssal powers.
The second creature is a Slothsheep, located to the north of the carriage containing the chest. Similar to the previous one, hit this creature with Kuuvahki to clear the Abyssal powers from it.
Lastly, look towards the northeast to the carriage, and you will find a Glimmerfruit covered by some Abyssal powers. After hitting it with Kuuvahki, the Abyssal corruption from the carriage will be cleansed, and you can claim the chest.
Also read: Genshin Impact: All Luxurious chest locations in Voidsea Outlook, Wavechaser Plain, and Ashveil Peak
Location 4

Teleport to the waypoint located to the east of Dreadshade Mire. Turn south and head towards the marked area shown in the image above, and you will find a time-trial challenge.
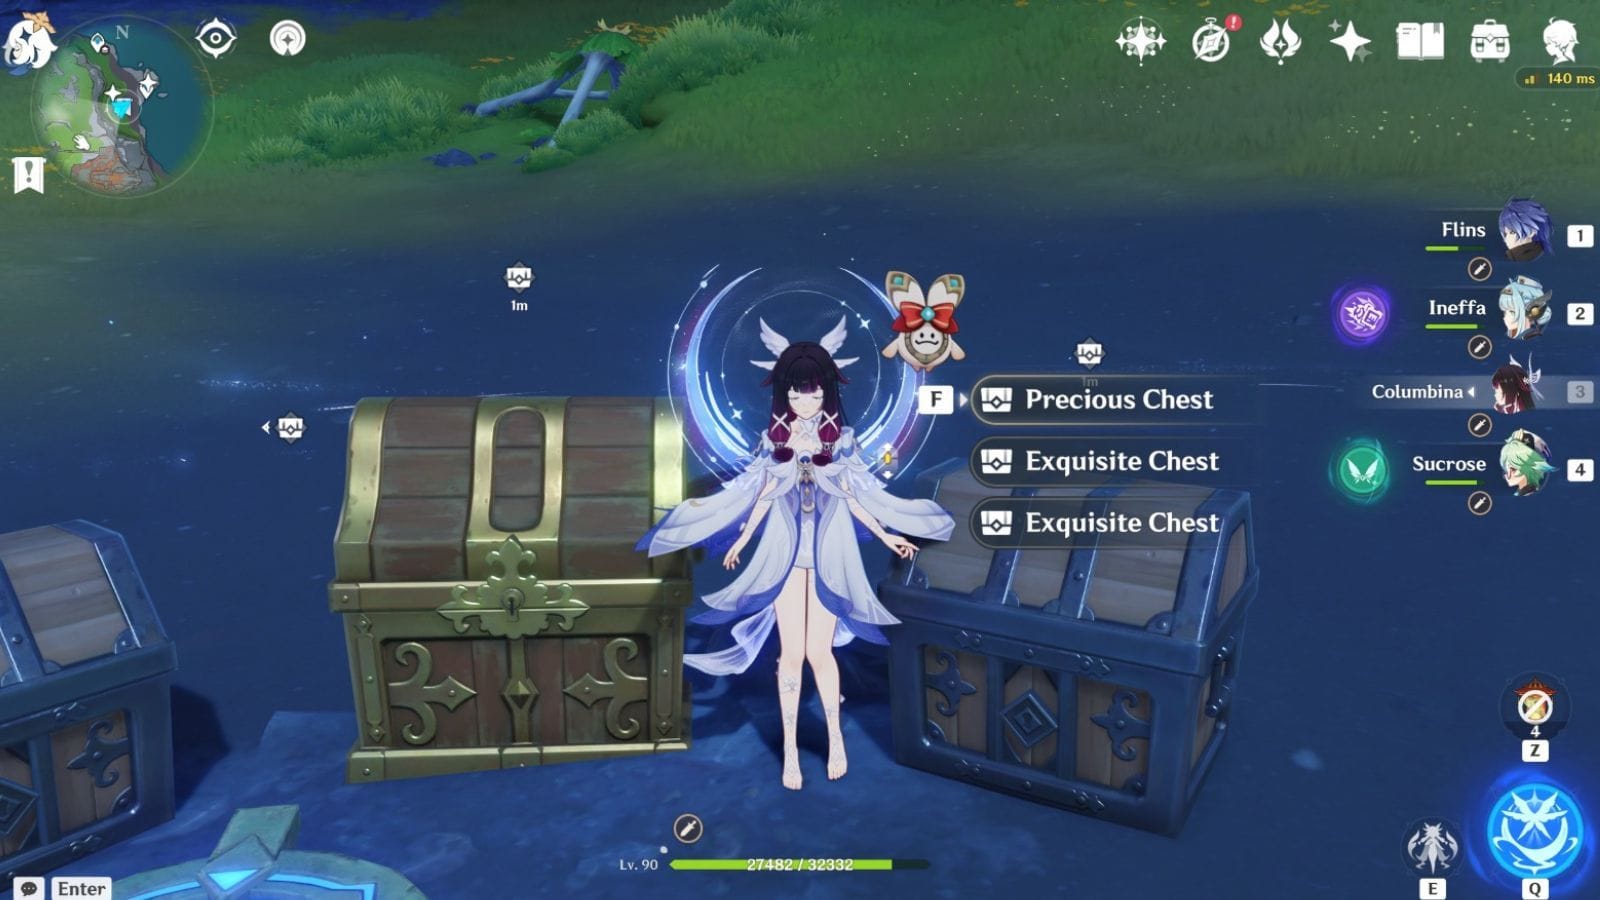
In this challenge, you must defeat a lot of enemies corrupted by Abyssal powers. You can get two Exquisite chests and one Precious chest after completing this challenge.
Location 5
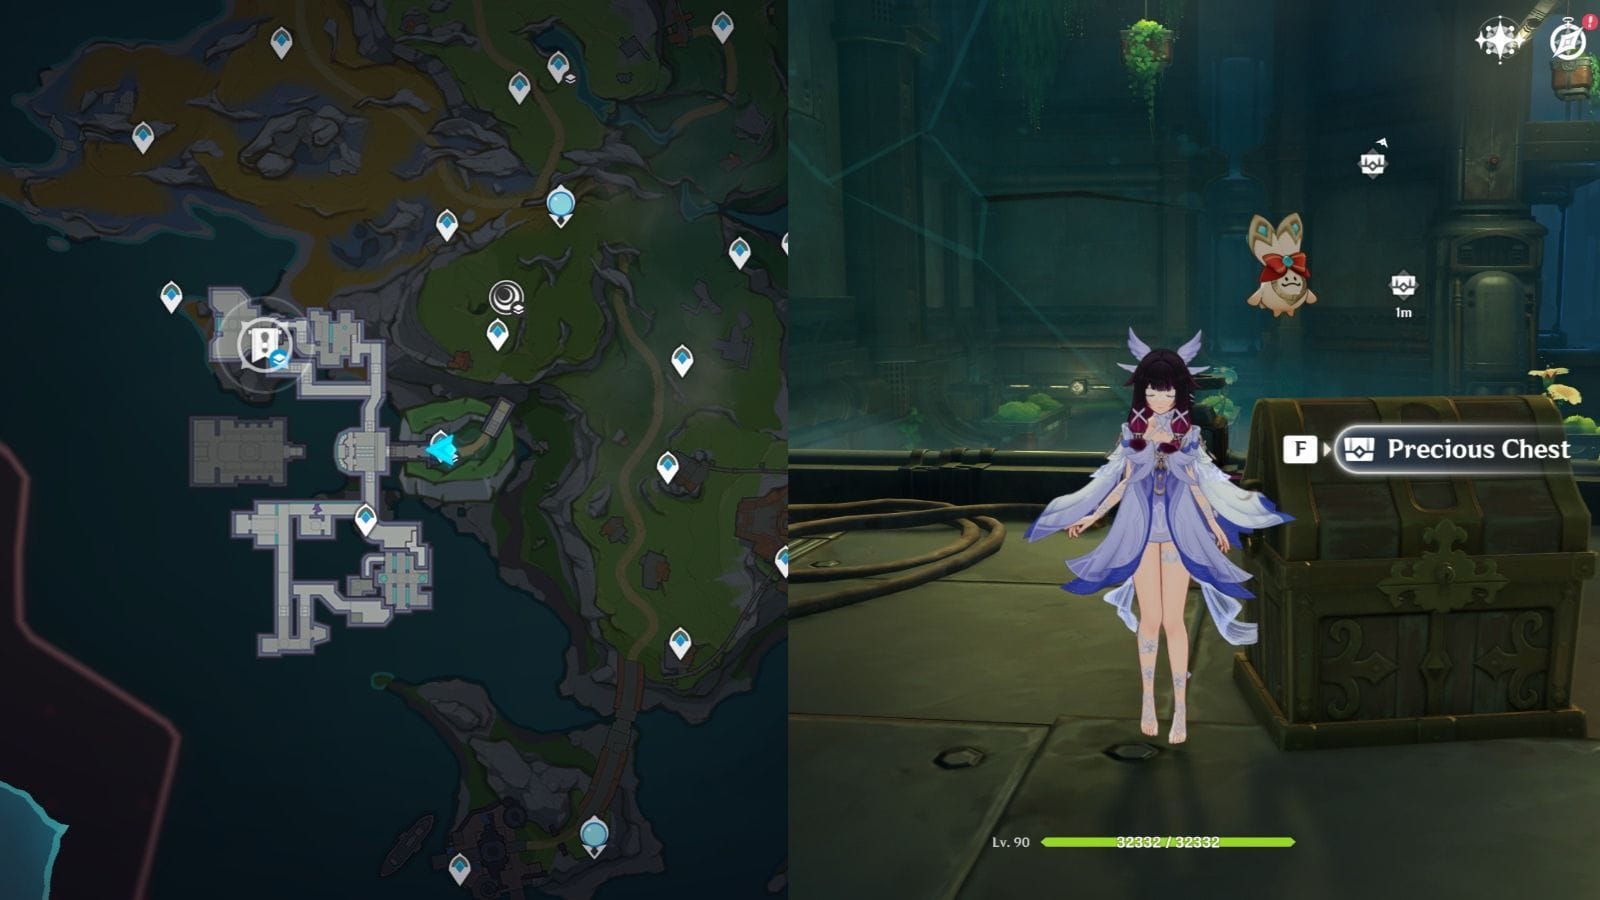
Progress through the Return to Sender World Quest till you repair four valves at an experimental site to obtain this Precious chest in Genshin Impact.
Location 6
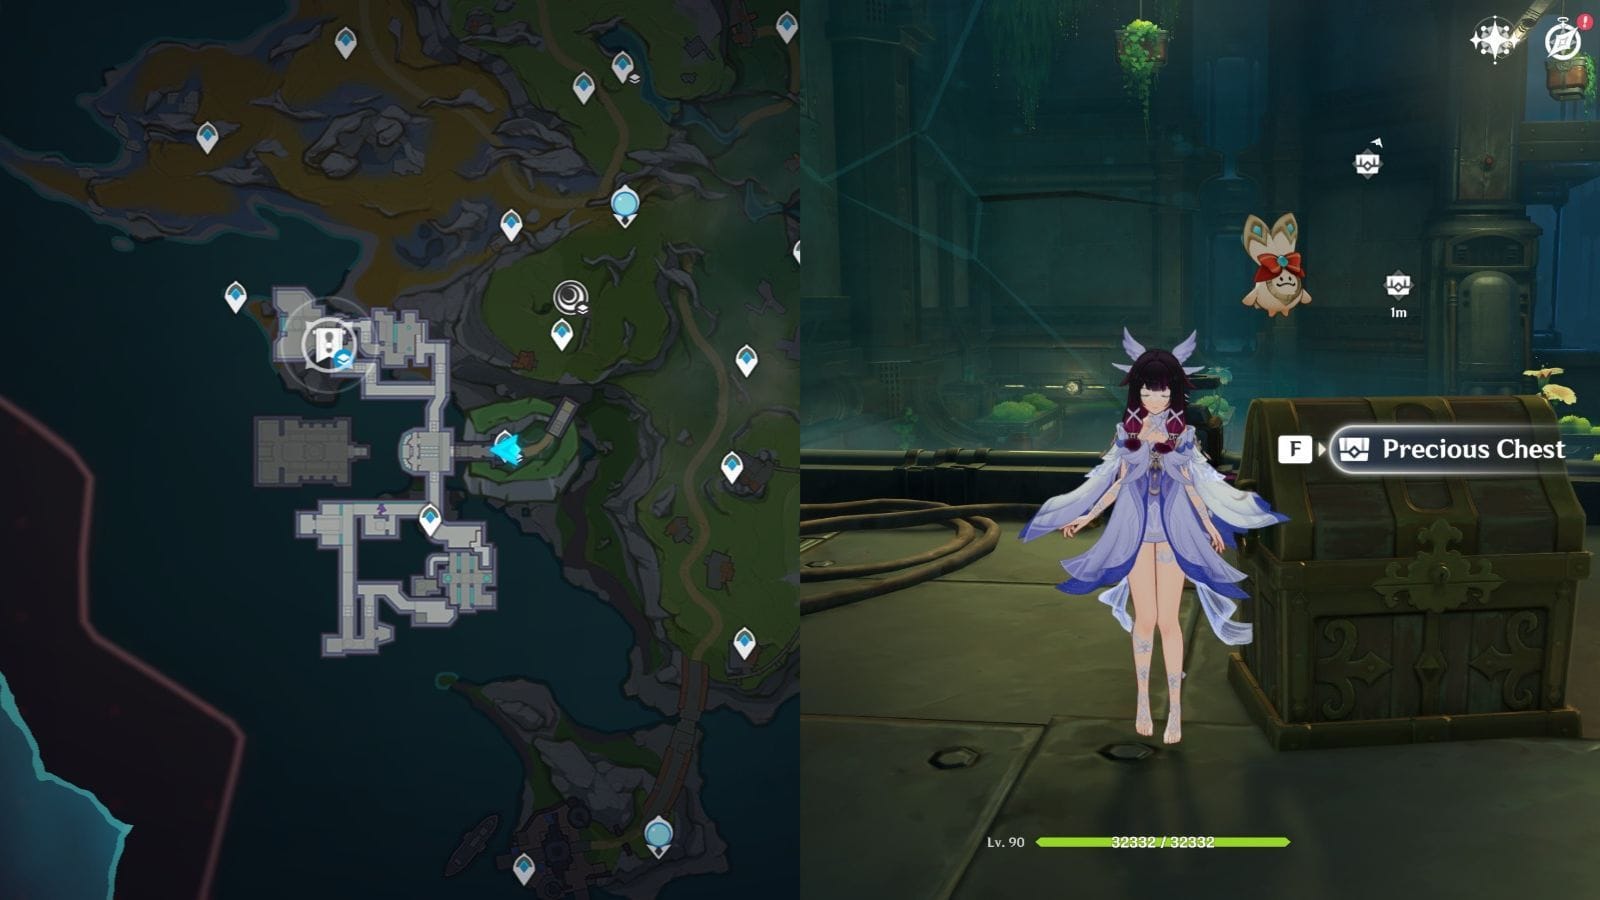
This Precious chest can also be obtained by playing the Return to Sender World Quest. This chest is spawned after you defeat the Rifthound in this quest.
Location 7
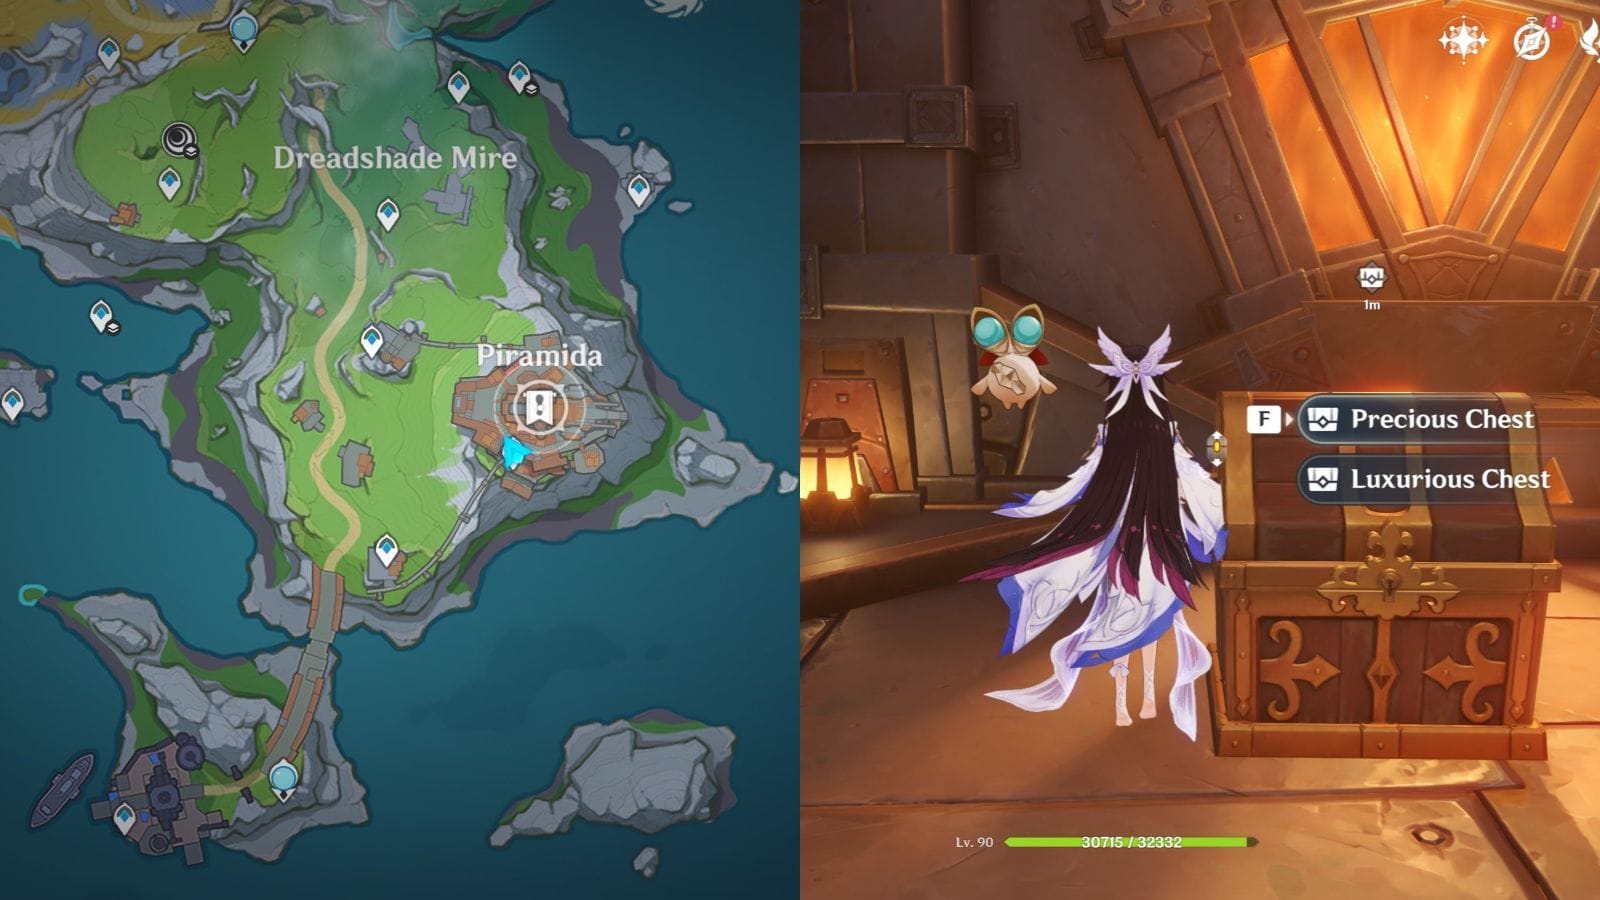
The seventh Precious chest in Voidsea Outlook can be obtained after completing the Return to Sender World Quest.
Locations 8 and 9
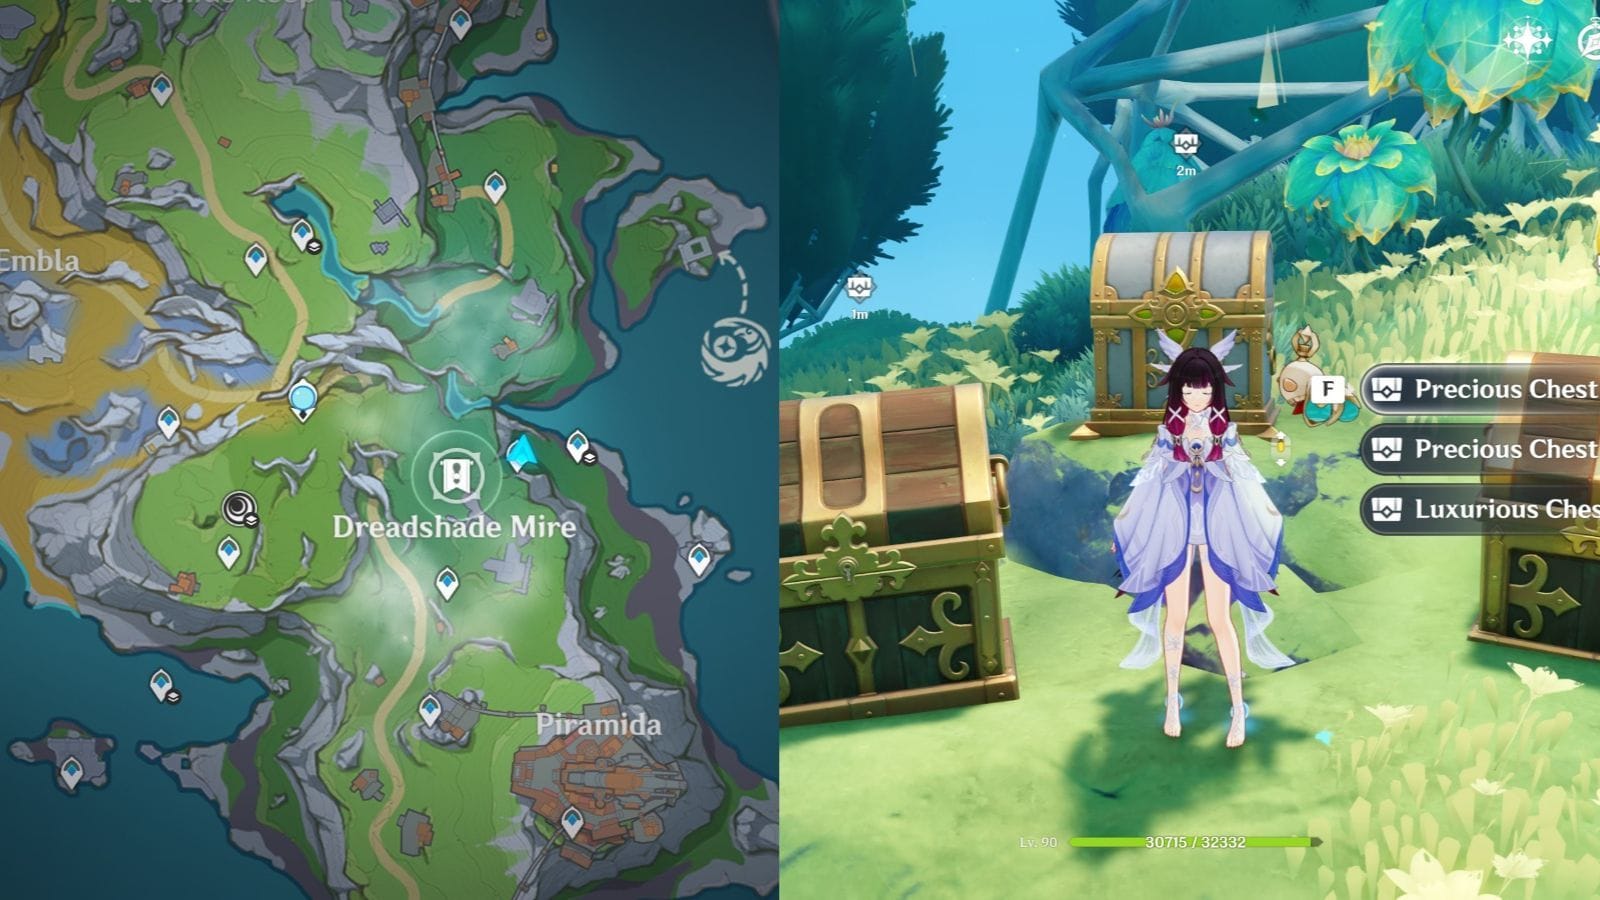
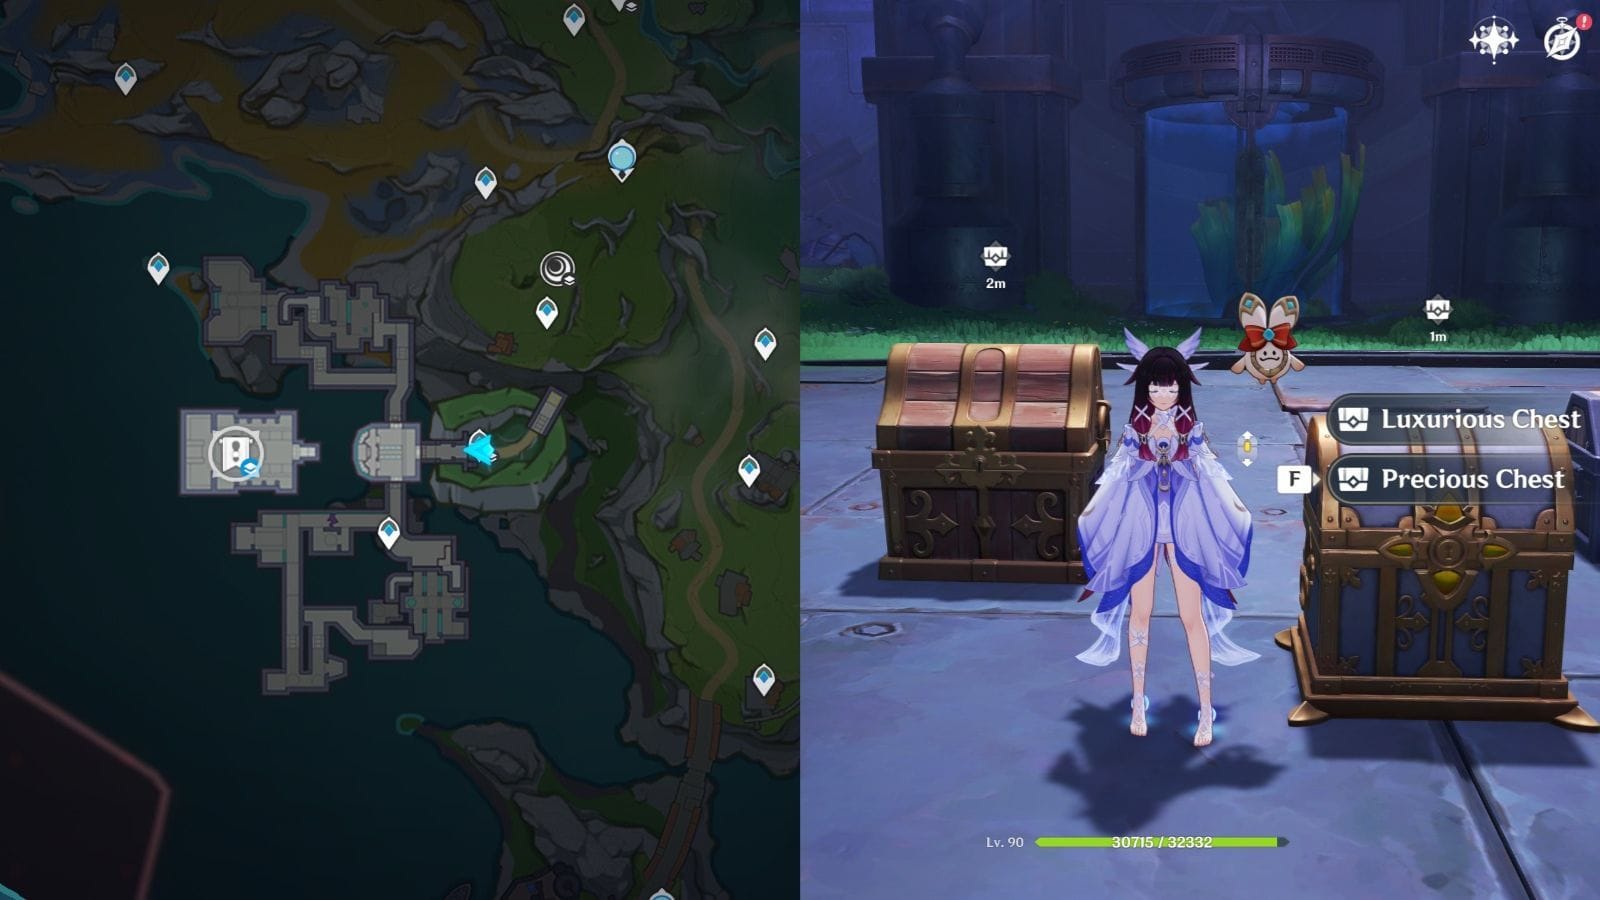
You can get two Precious and one Luxurious chest after completing the To Turn Each Sin Against the Sinner World Quest at the Dreadshade Mire location in Genshin Impact.
Location 10
Complete The Last Night, the first Light World Quest, to get this Precious chest in Genshin Impact.
Location 11

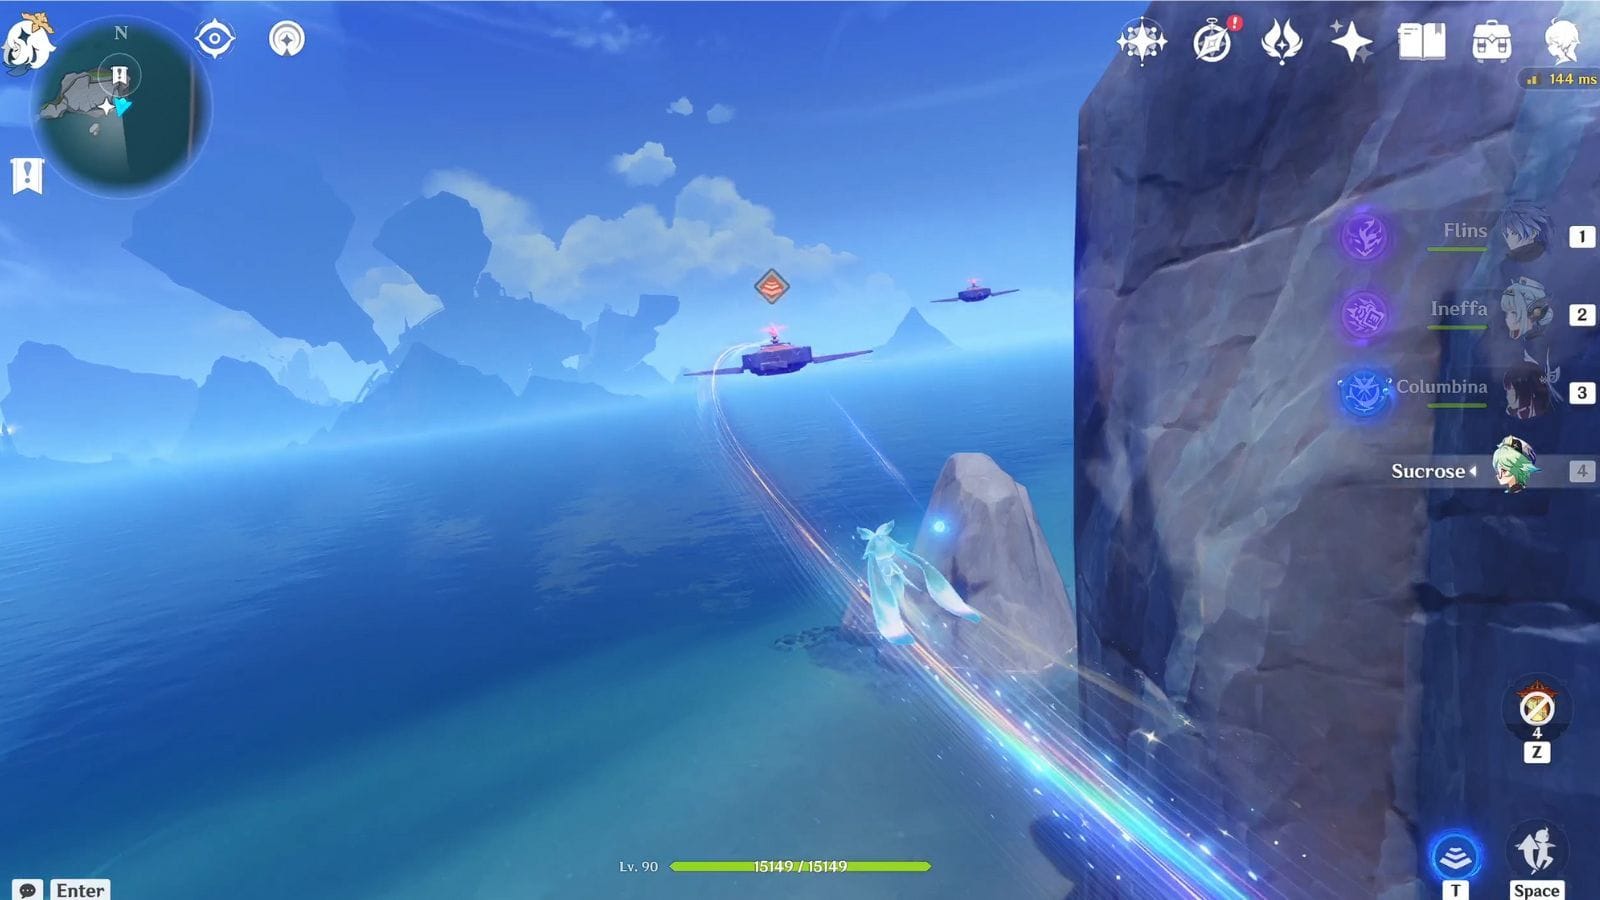
To obtain the last Precious in Voidsea Outlook, teleport to the Waypoint at Piramida, turn south, and glide towards the marked area at the small Island. Over here, you will find some Fatui Oprichnik enemies. After defeating these enemies, a blue Kuuhenki and a Moonlane will spawn beside the chest.
Furthermore, three Recon Bots will also be activated after you defeat the Fatui enemies. Get close to the blue Kuuhenki to get its power, and then ride the Moonlane. With its power, you can deactivate all three Recon Bots.
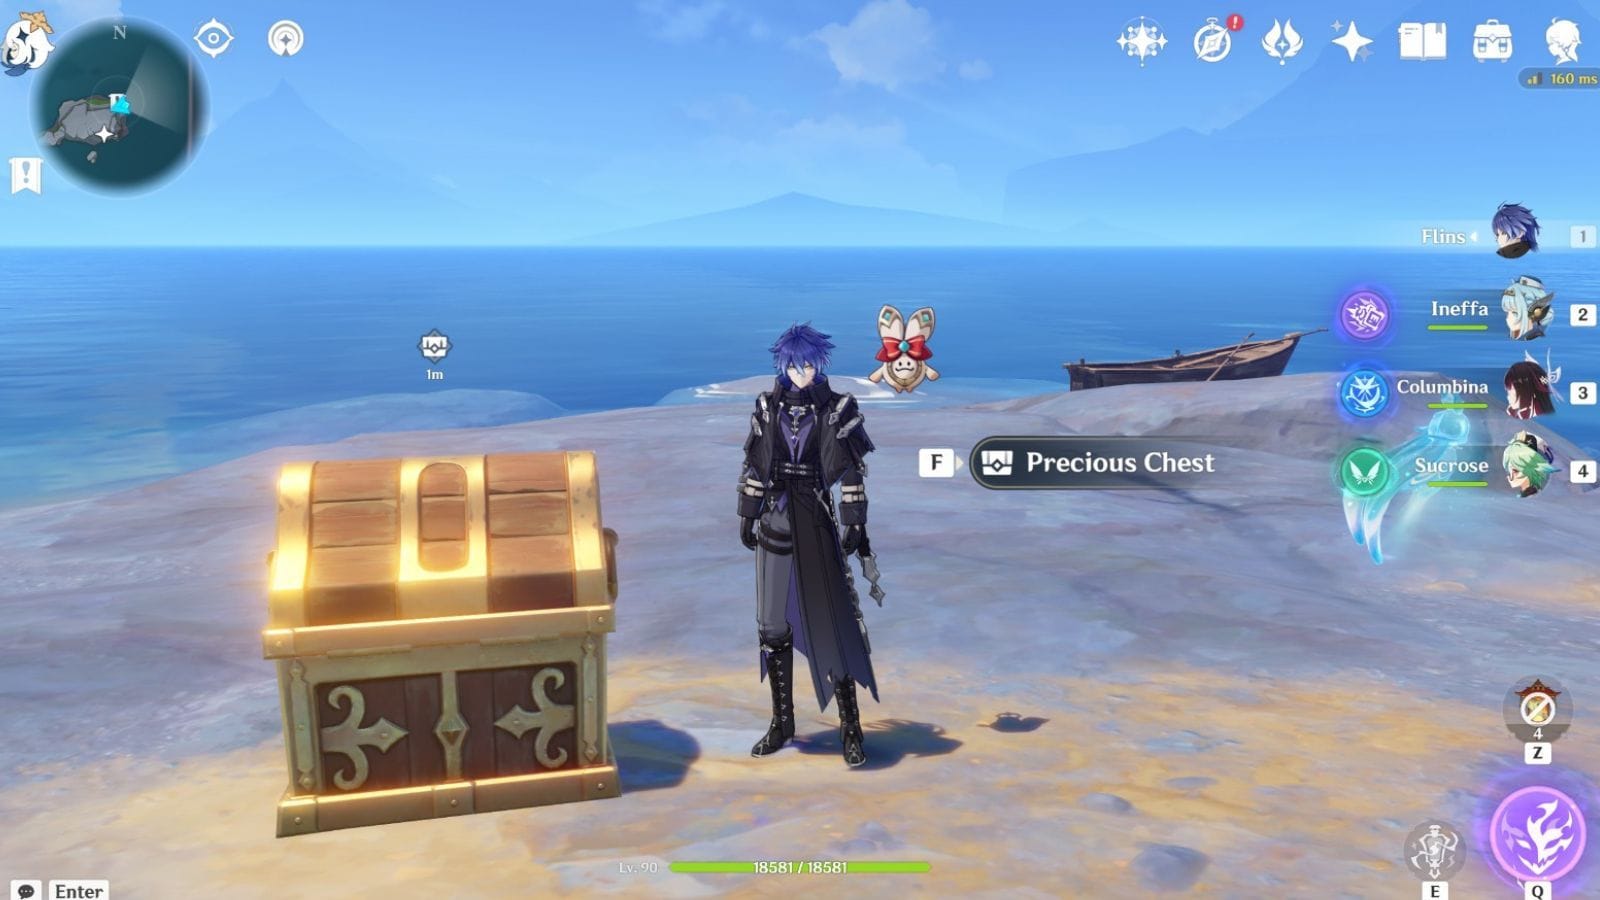
The Moonlane will lead you to the top of the Island, where you will find the third Recon Bot. You can drop down from the cliff and claim this precious chest after deactivating all these robots in Genshin Impact.
Also read: Genshin Impact Luna IV book locations
Are you stuck on today’s Wordle? Our Wordle Solver will help you find the answer.
Edited by Eswar Keshav